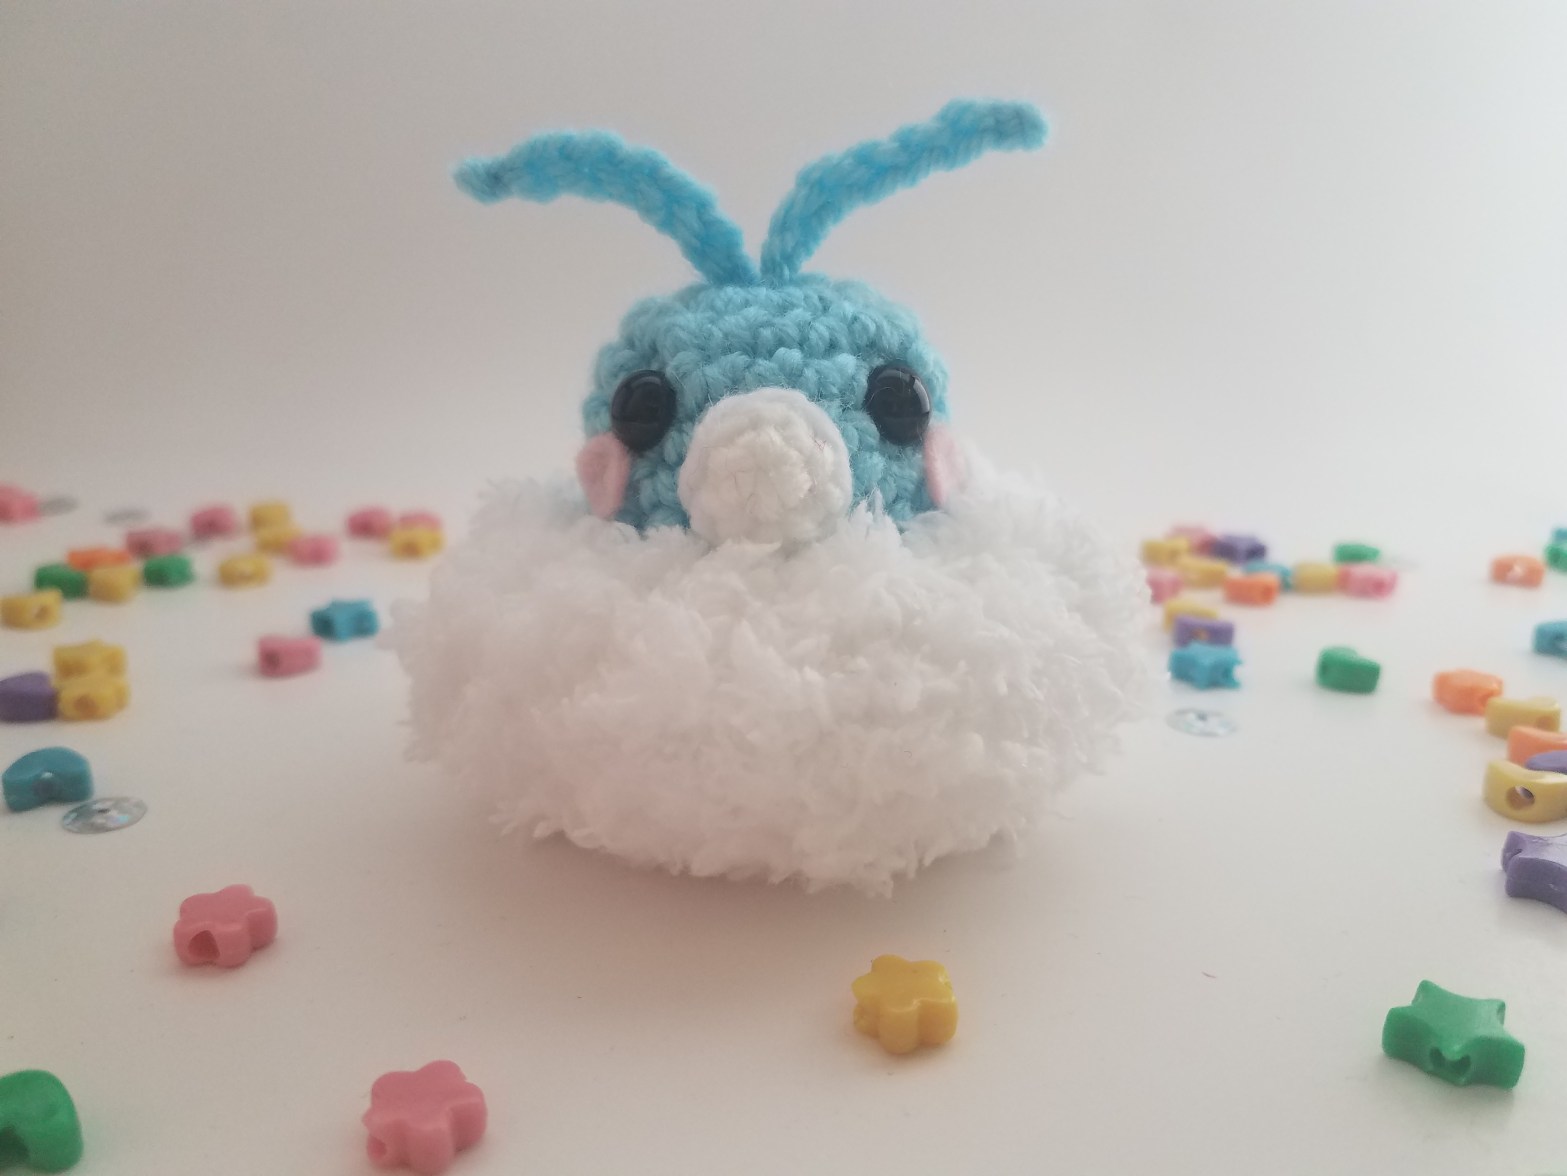
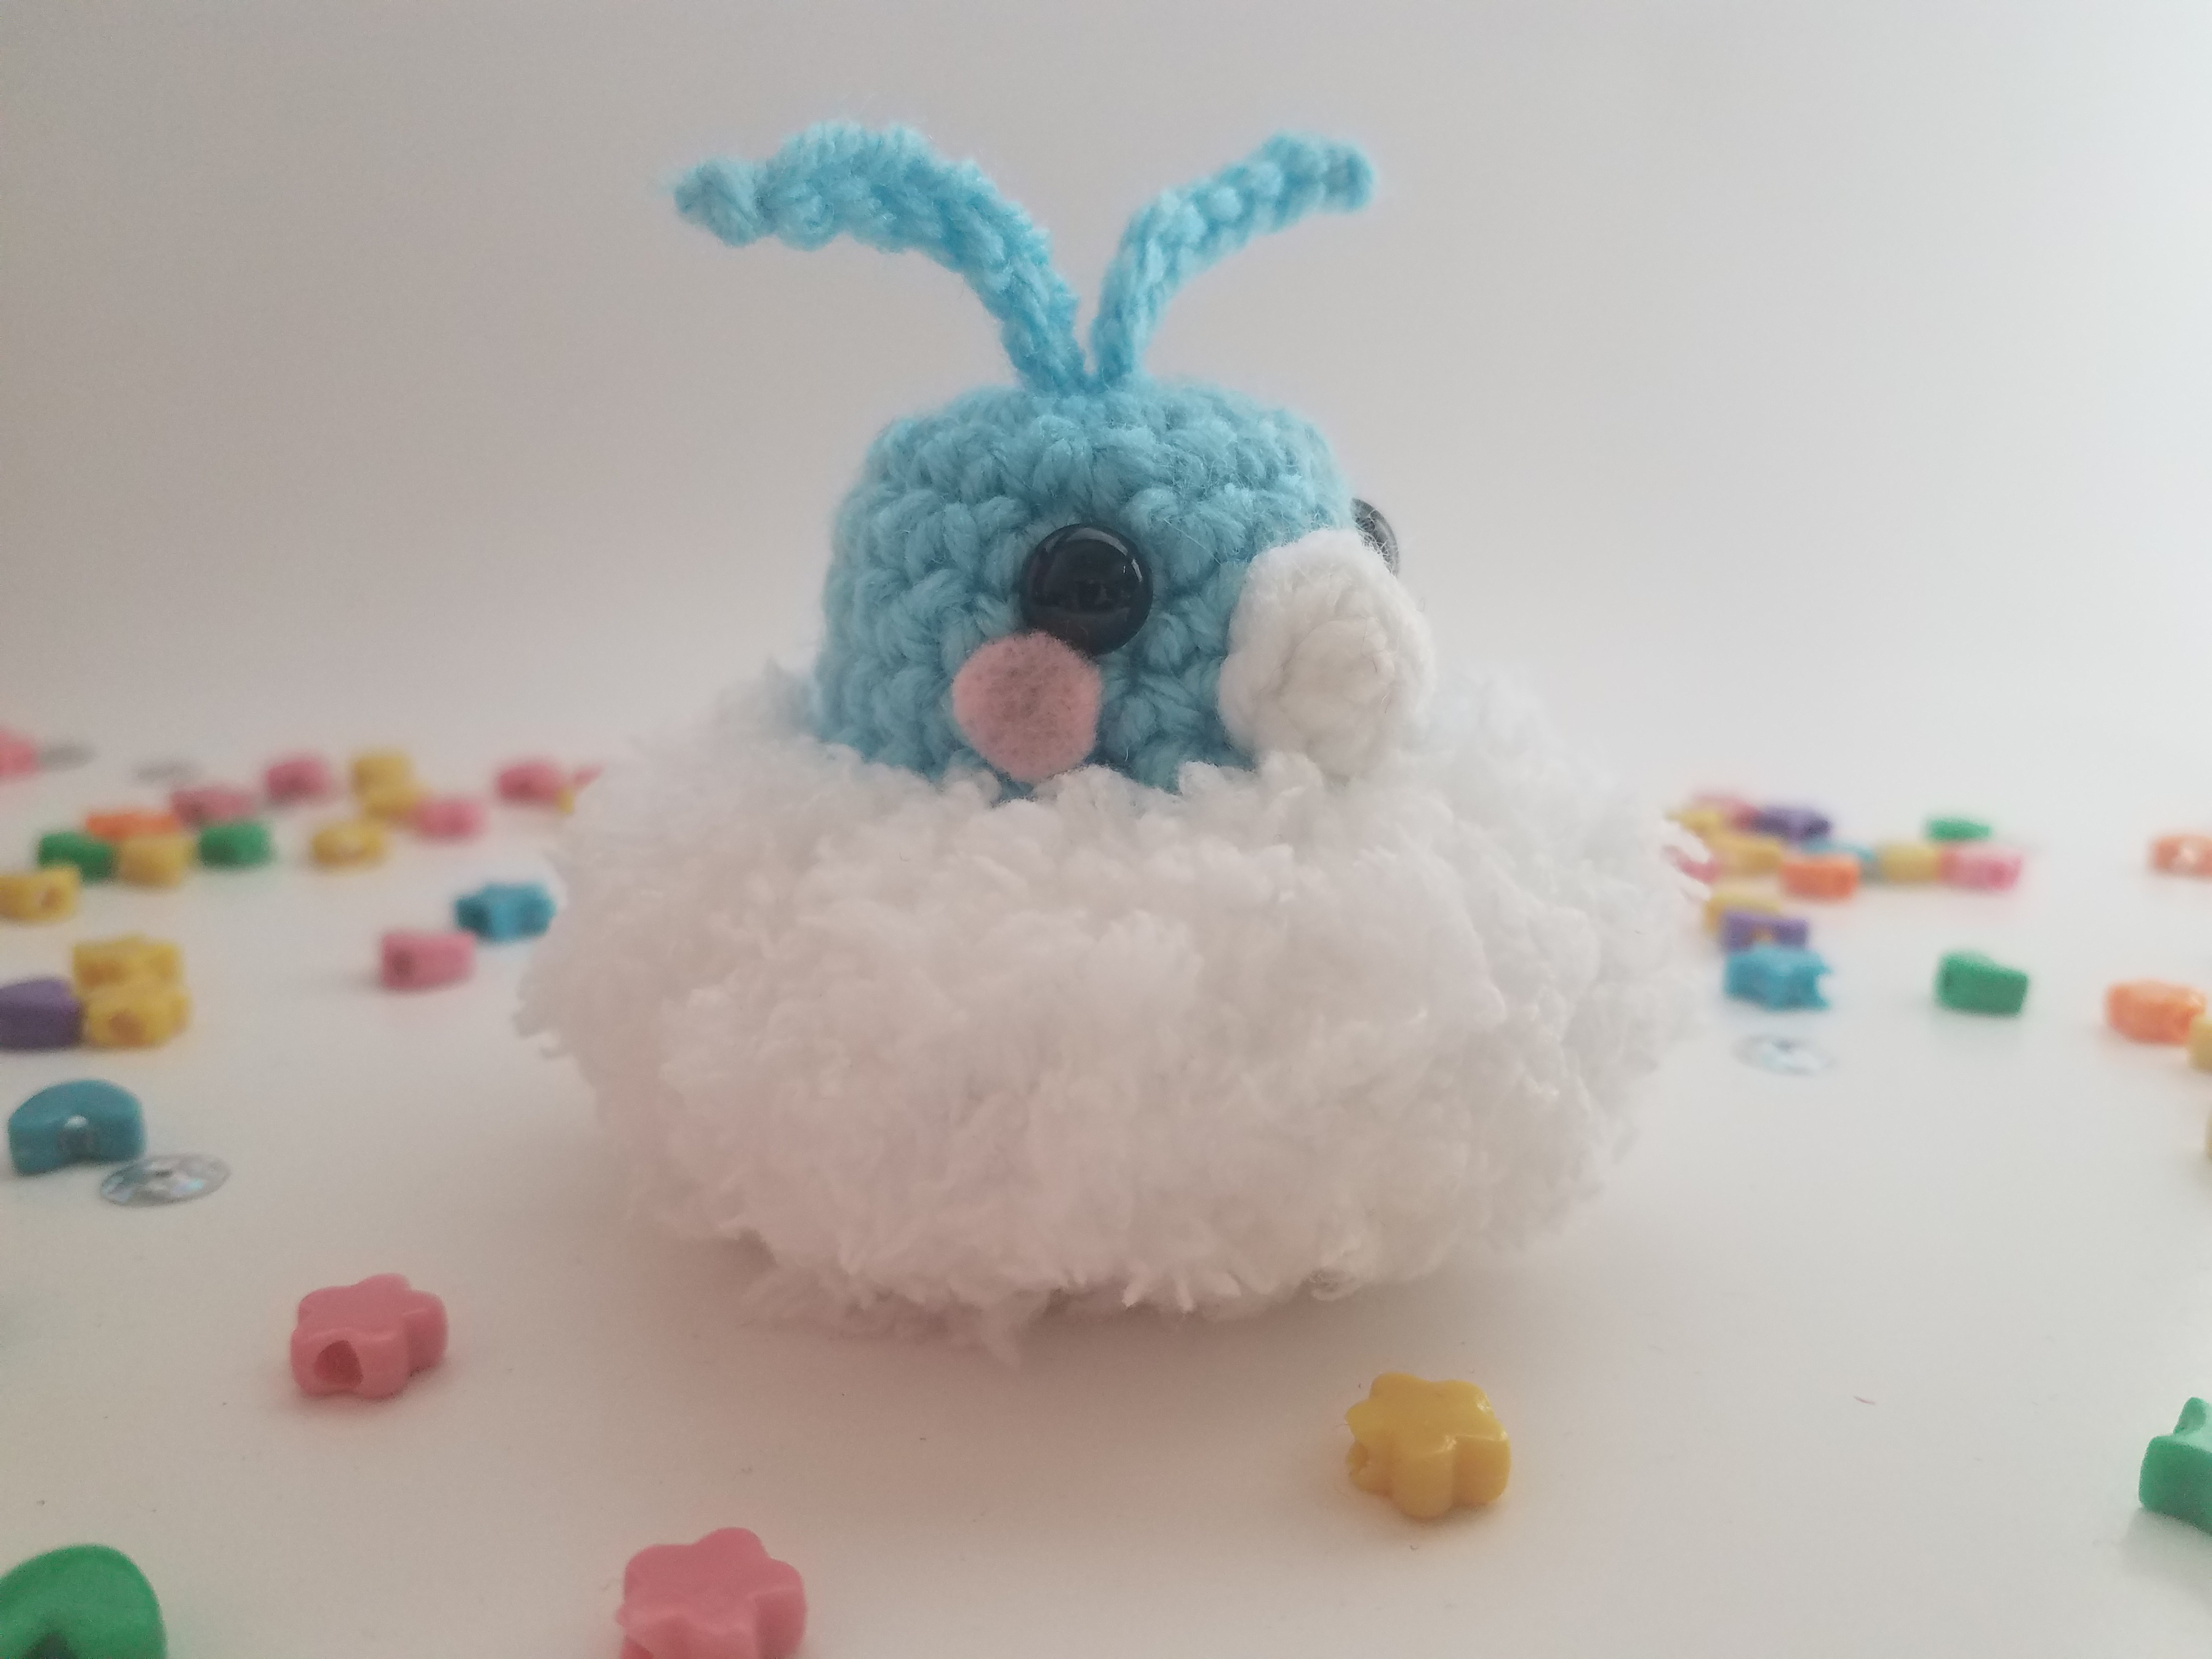
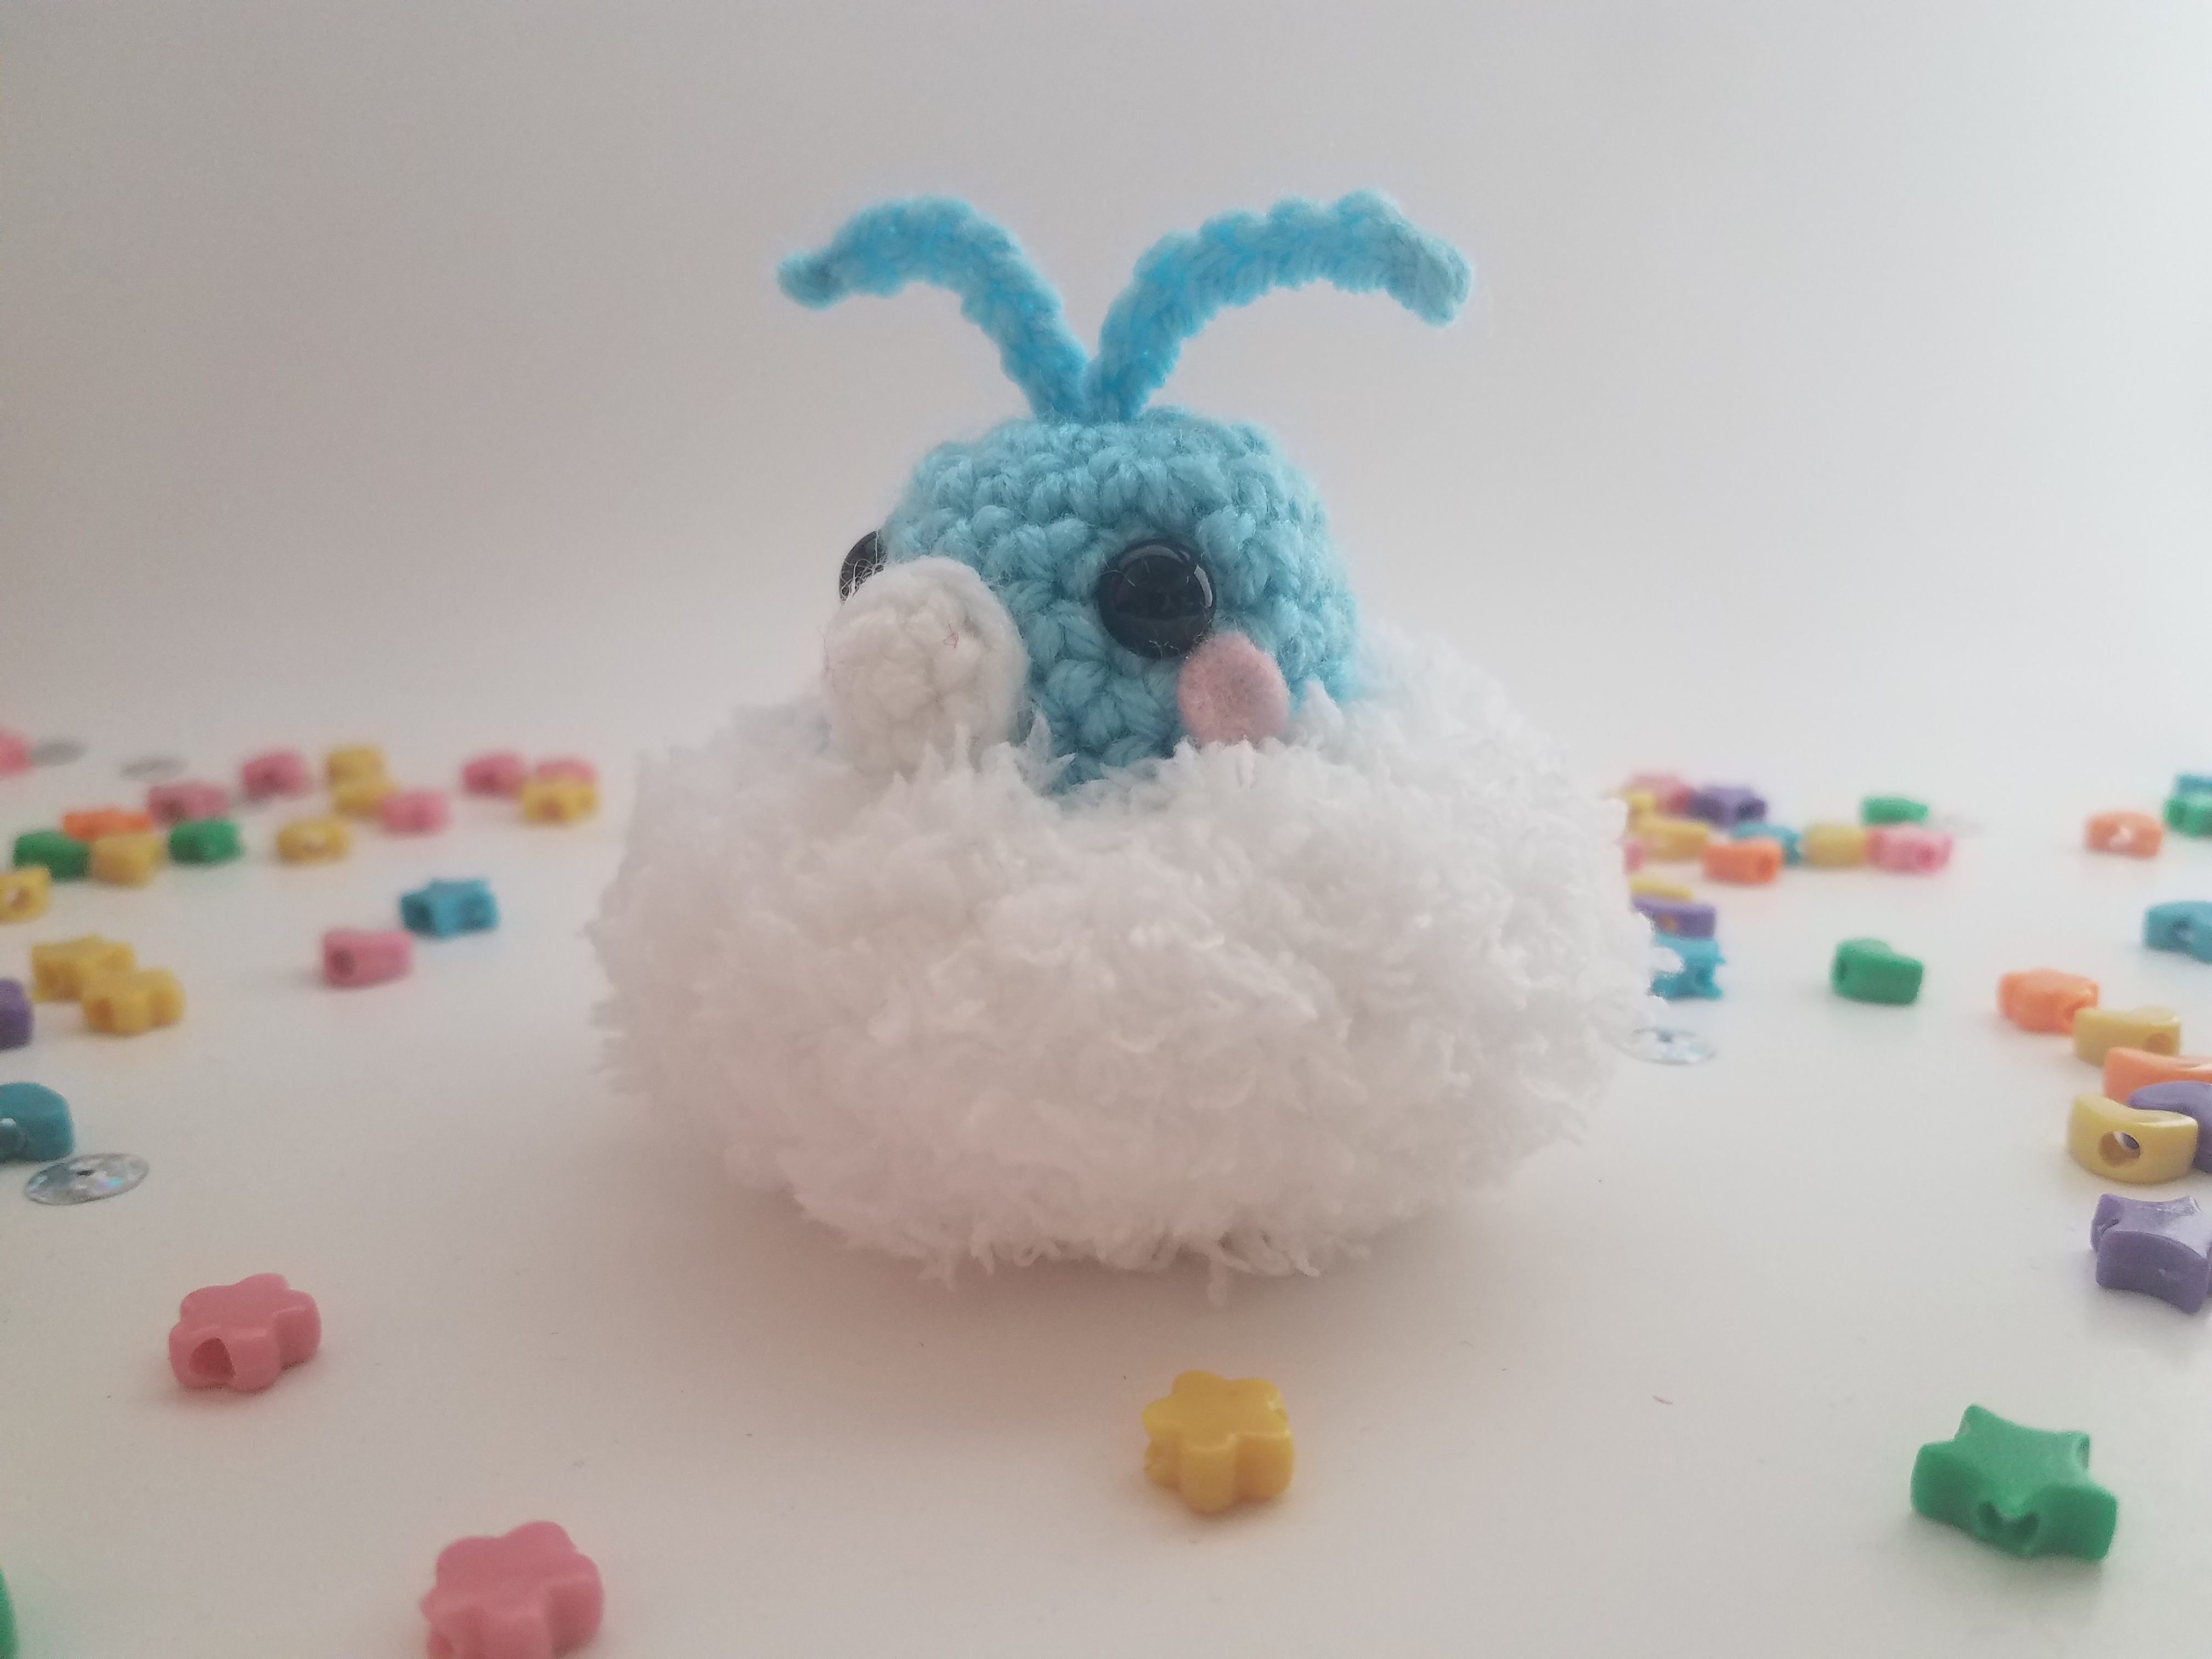
Once again we’ve come to the end of another year. It’s been a crazy roller coaster ride of a year, and to wish us all luck in 2021 is this New Year’s Panda Keychain!
New Year’s Panda Keychain
Materials
- White yarn
- Black yarn
- 8mm safety eyes (x2)
- Crochet hook (size G / 4.5)
- Stuffing
- Darning needle
- Scissors
- Pink felt for blush
- Black felt for eyes
- Hot glue gun (to attach the felt)
- Keychain ring
- Jump rings
- Embroidery thread (red & gold)
Abbreviations
*US crochet terms
- MC = magic circle
- SC = single crochet
- INC = increase
- DEC = decrease
- SS = slip stitch
- CH = chain
- * = repeat around
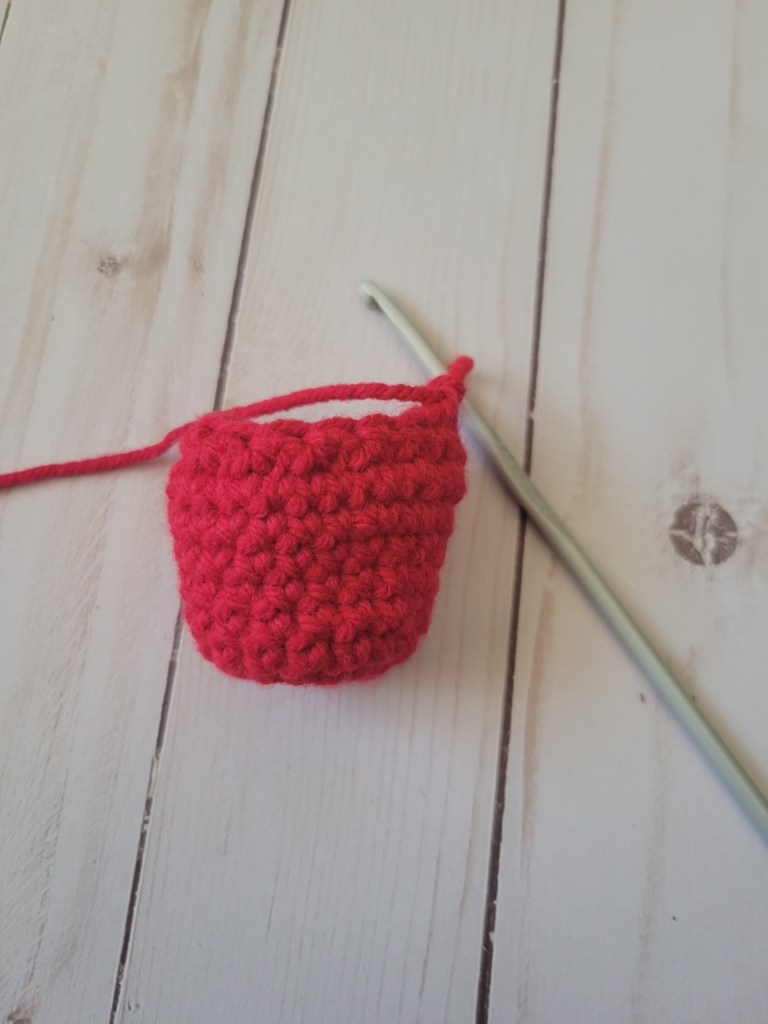
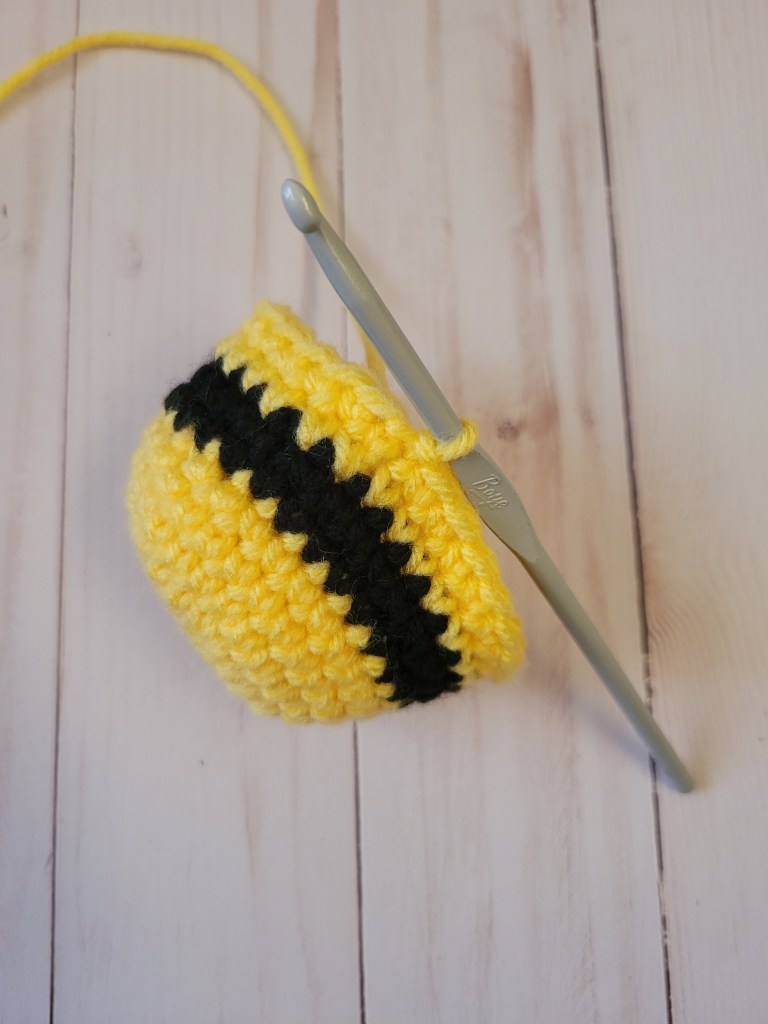
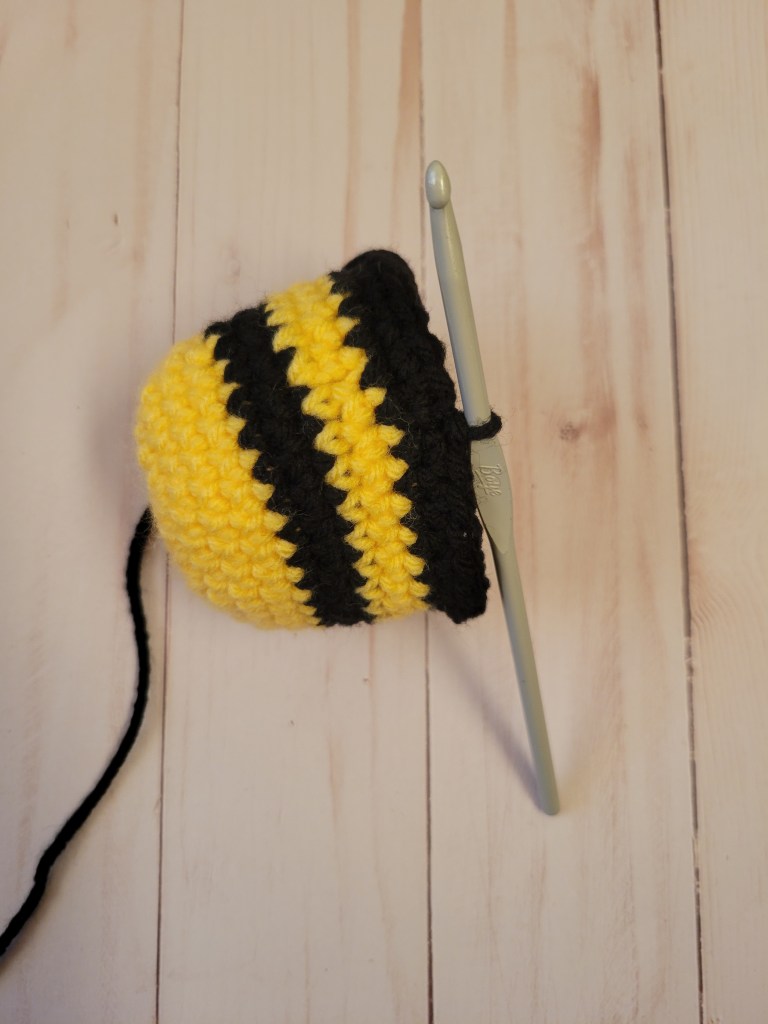
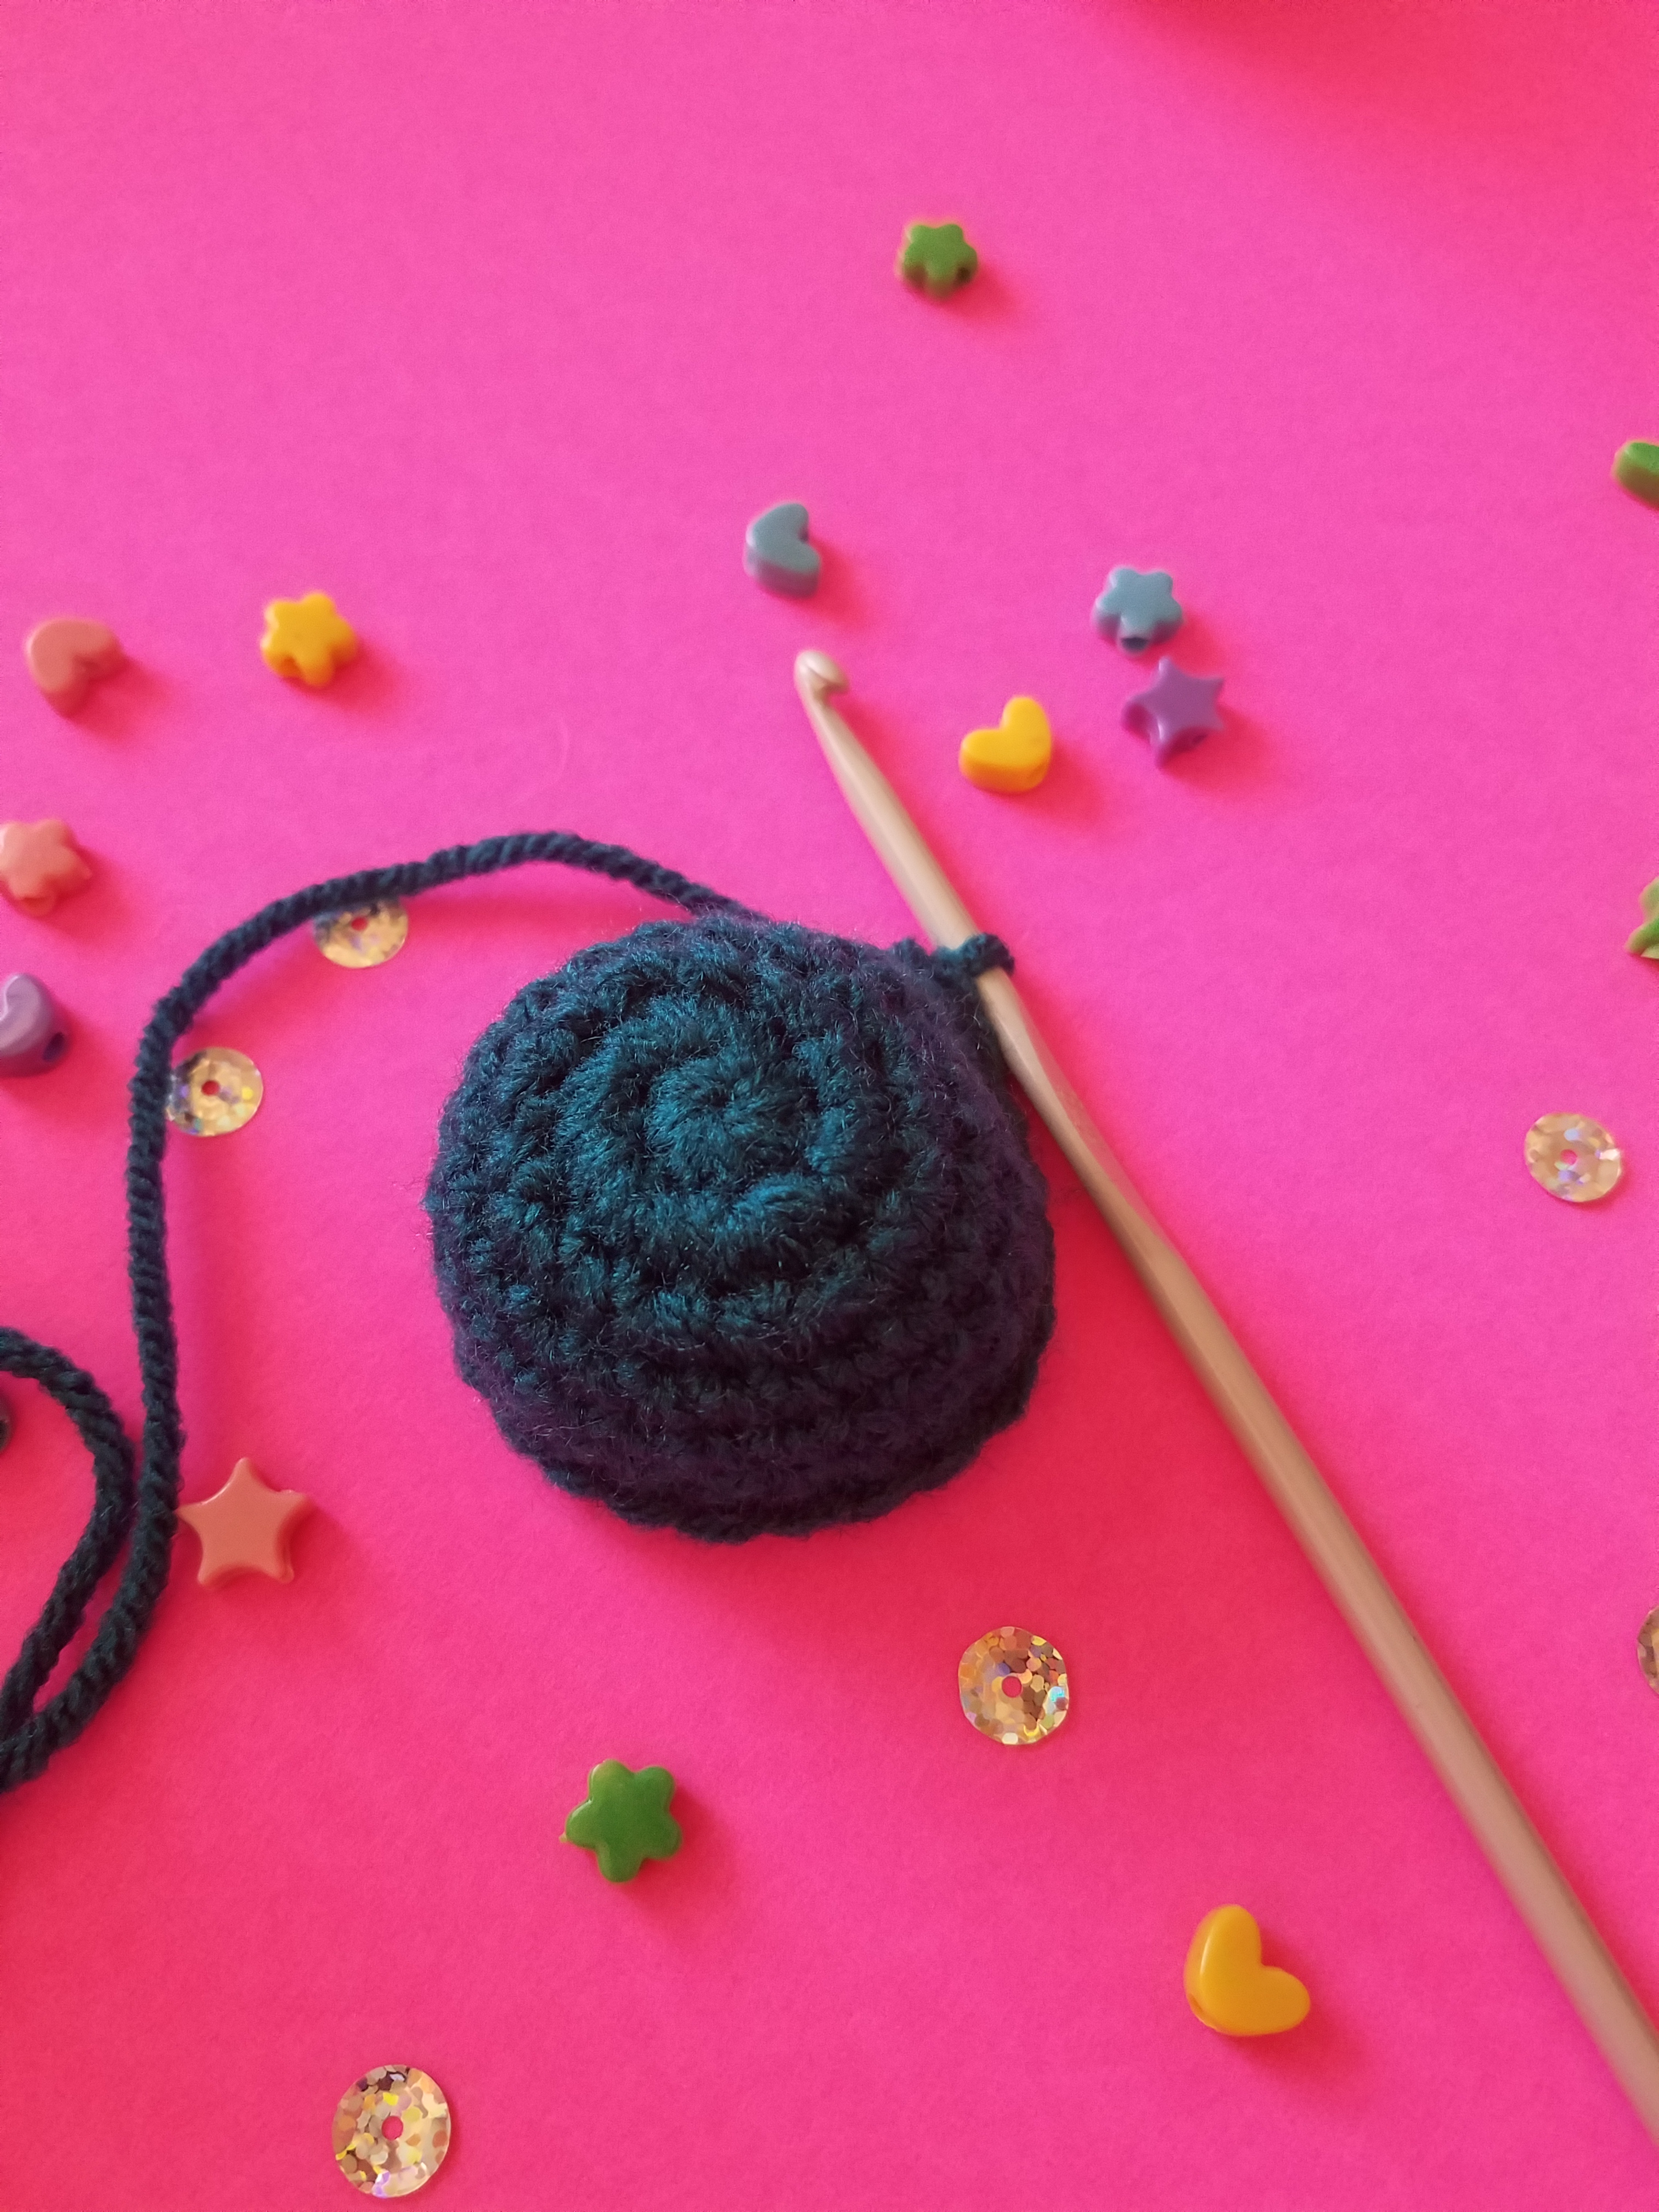
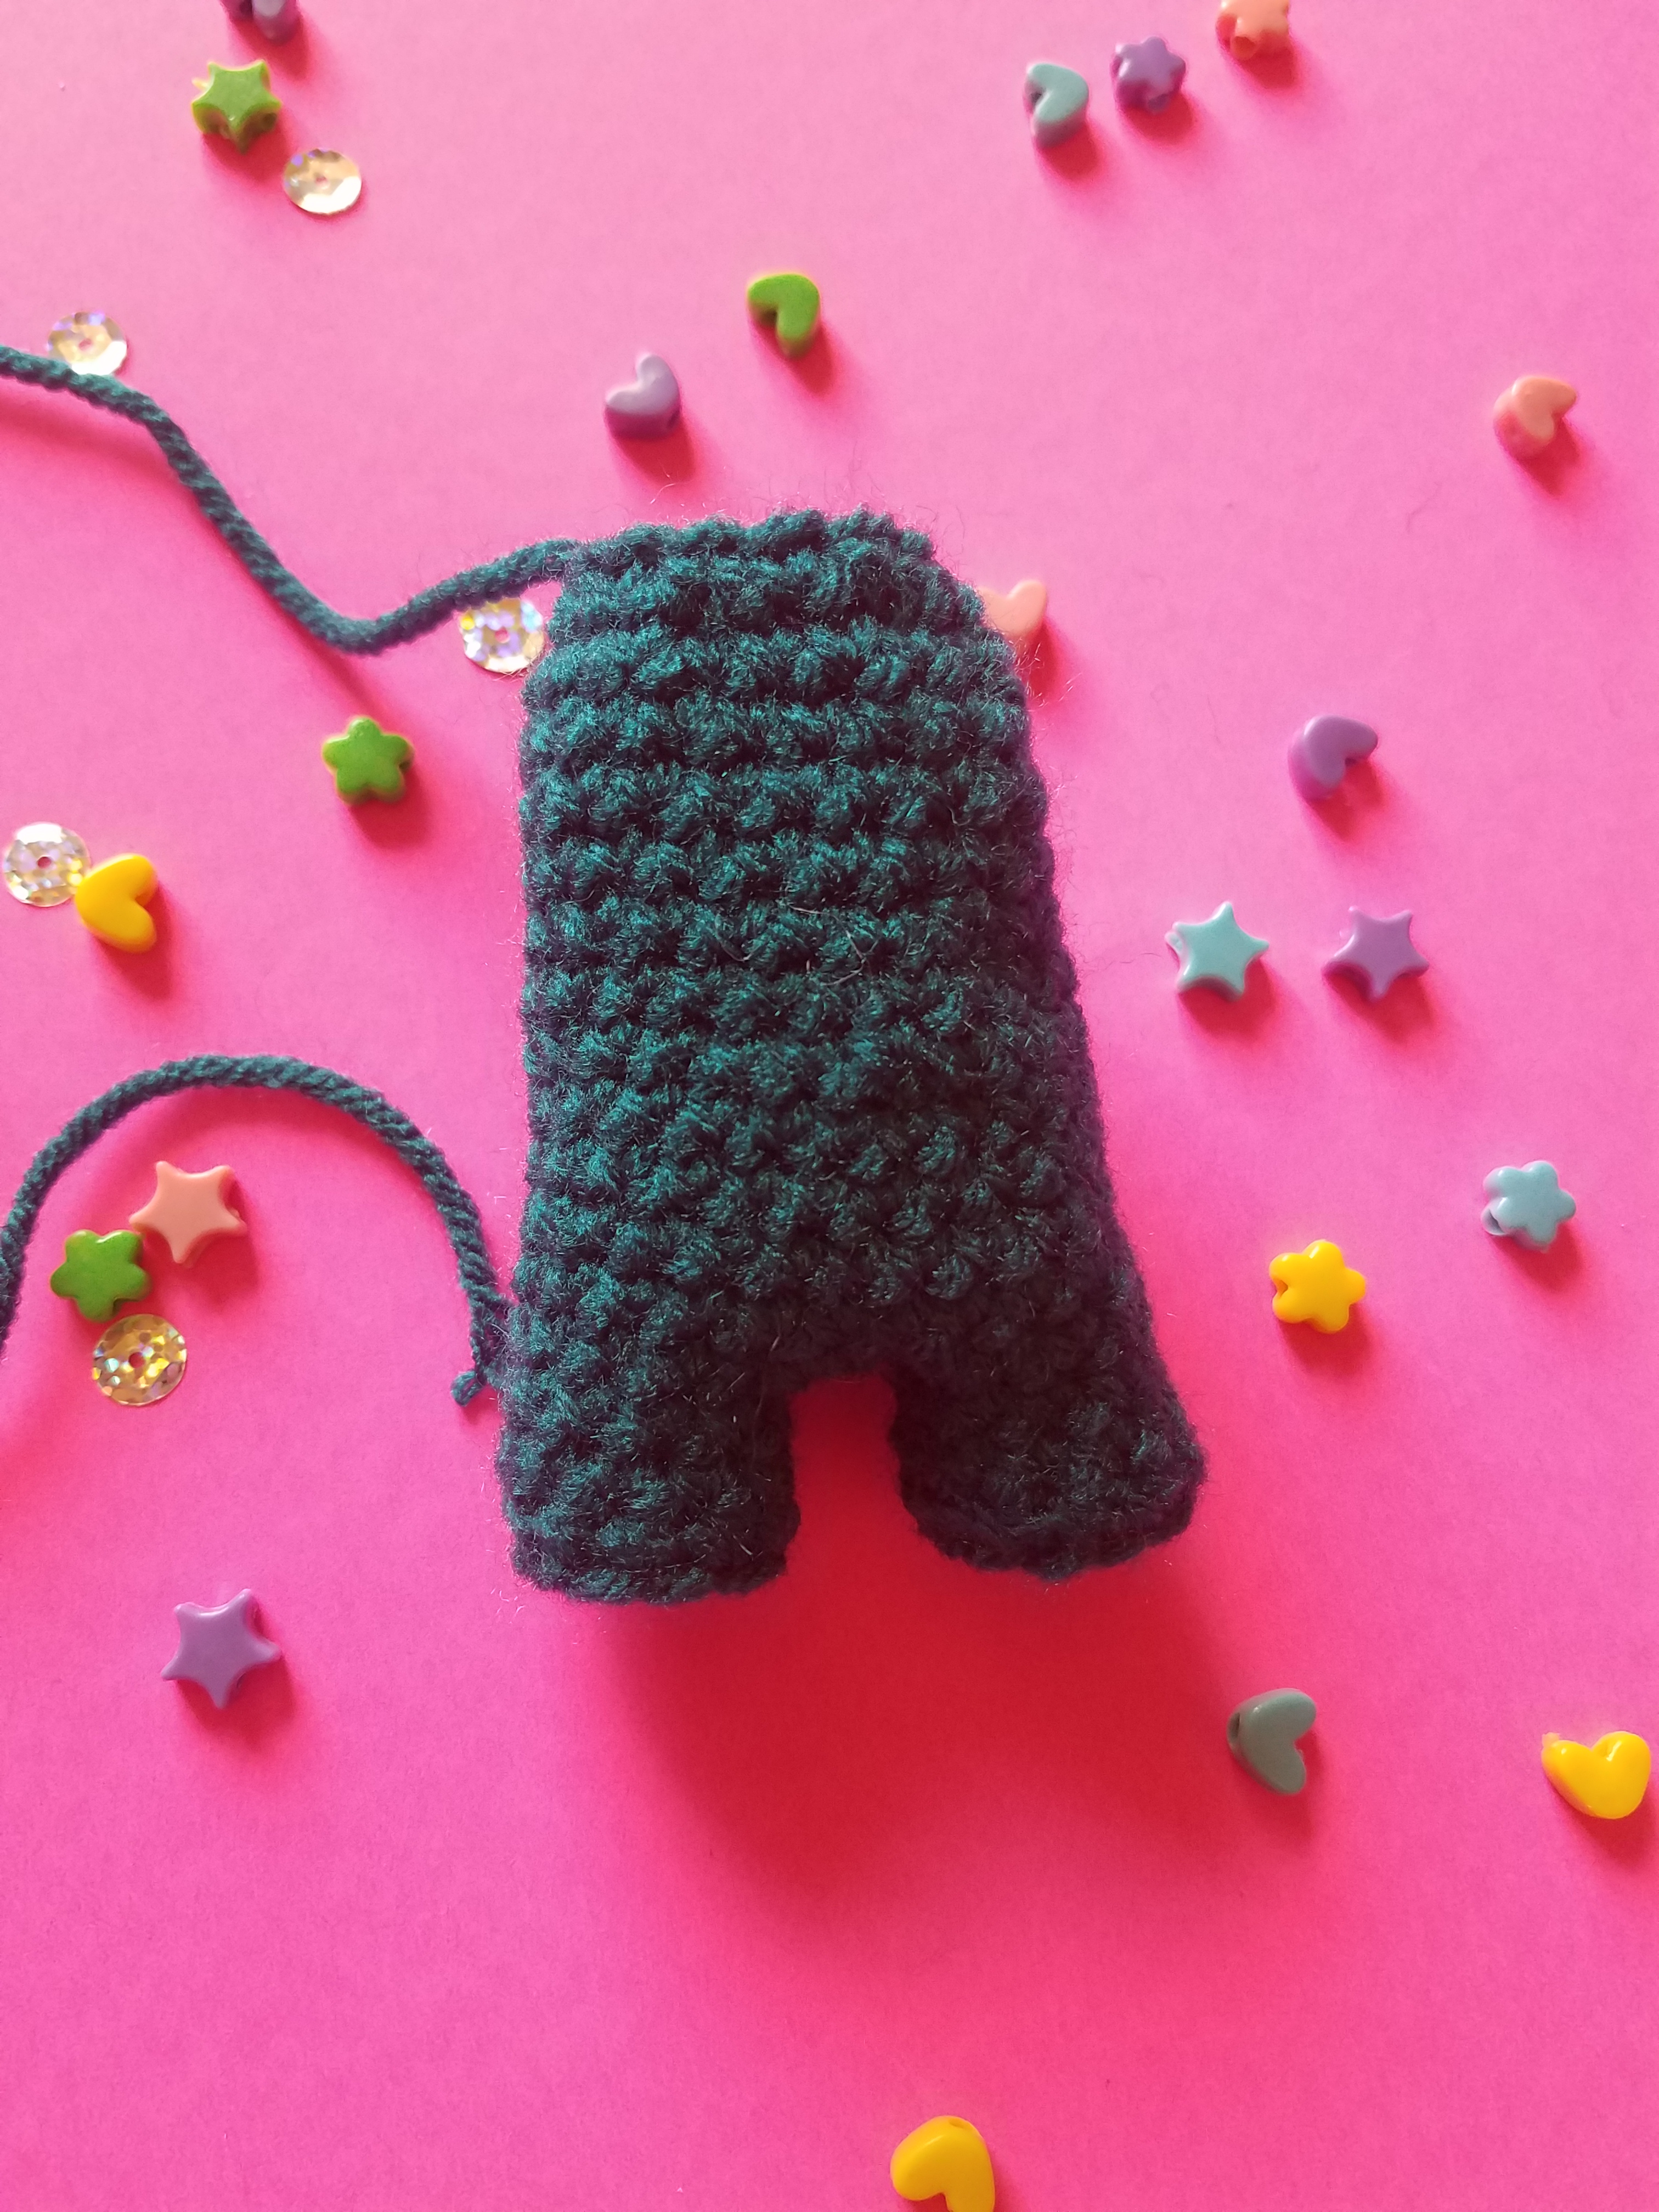
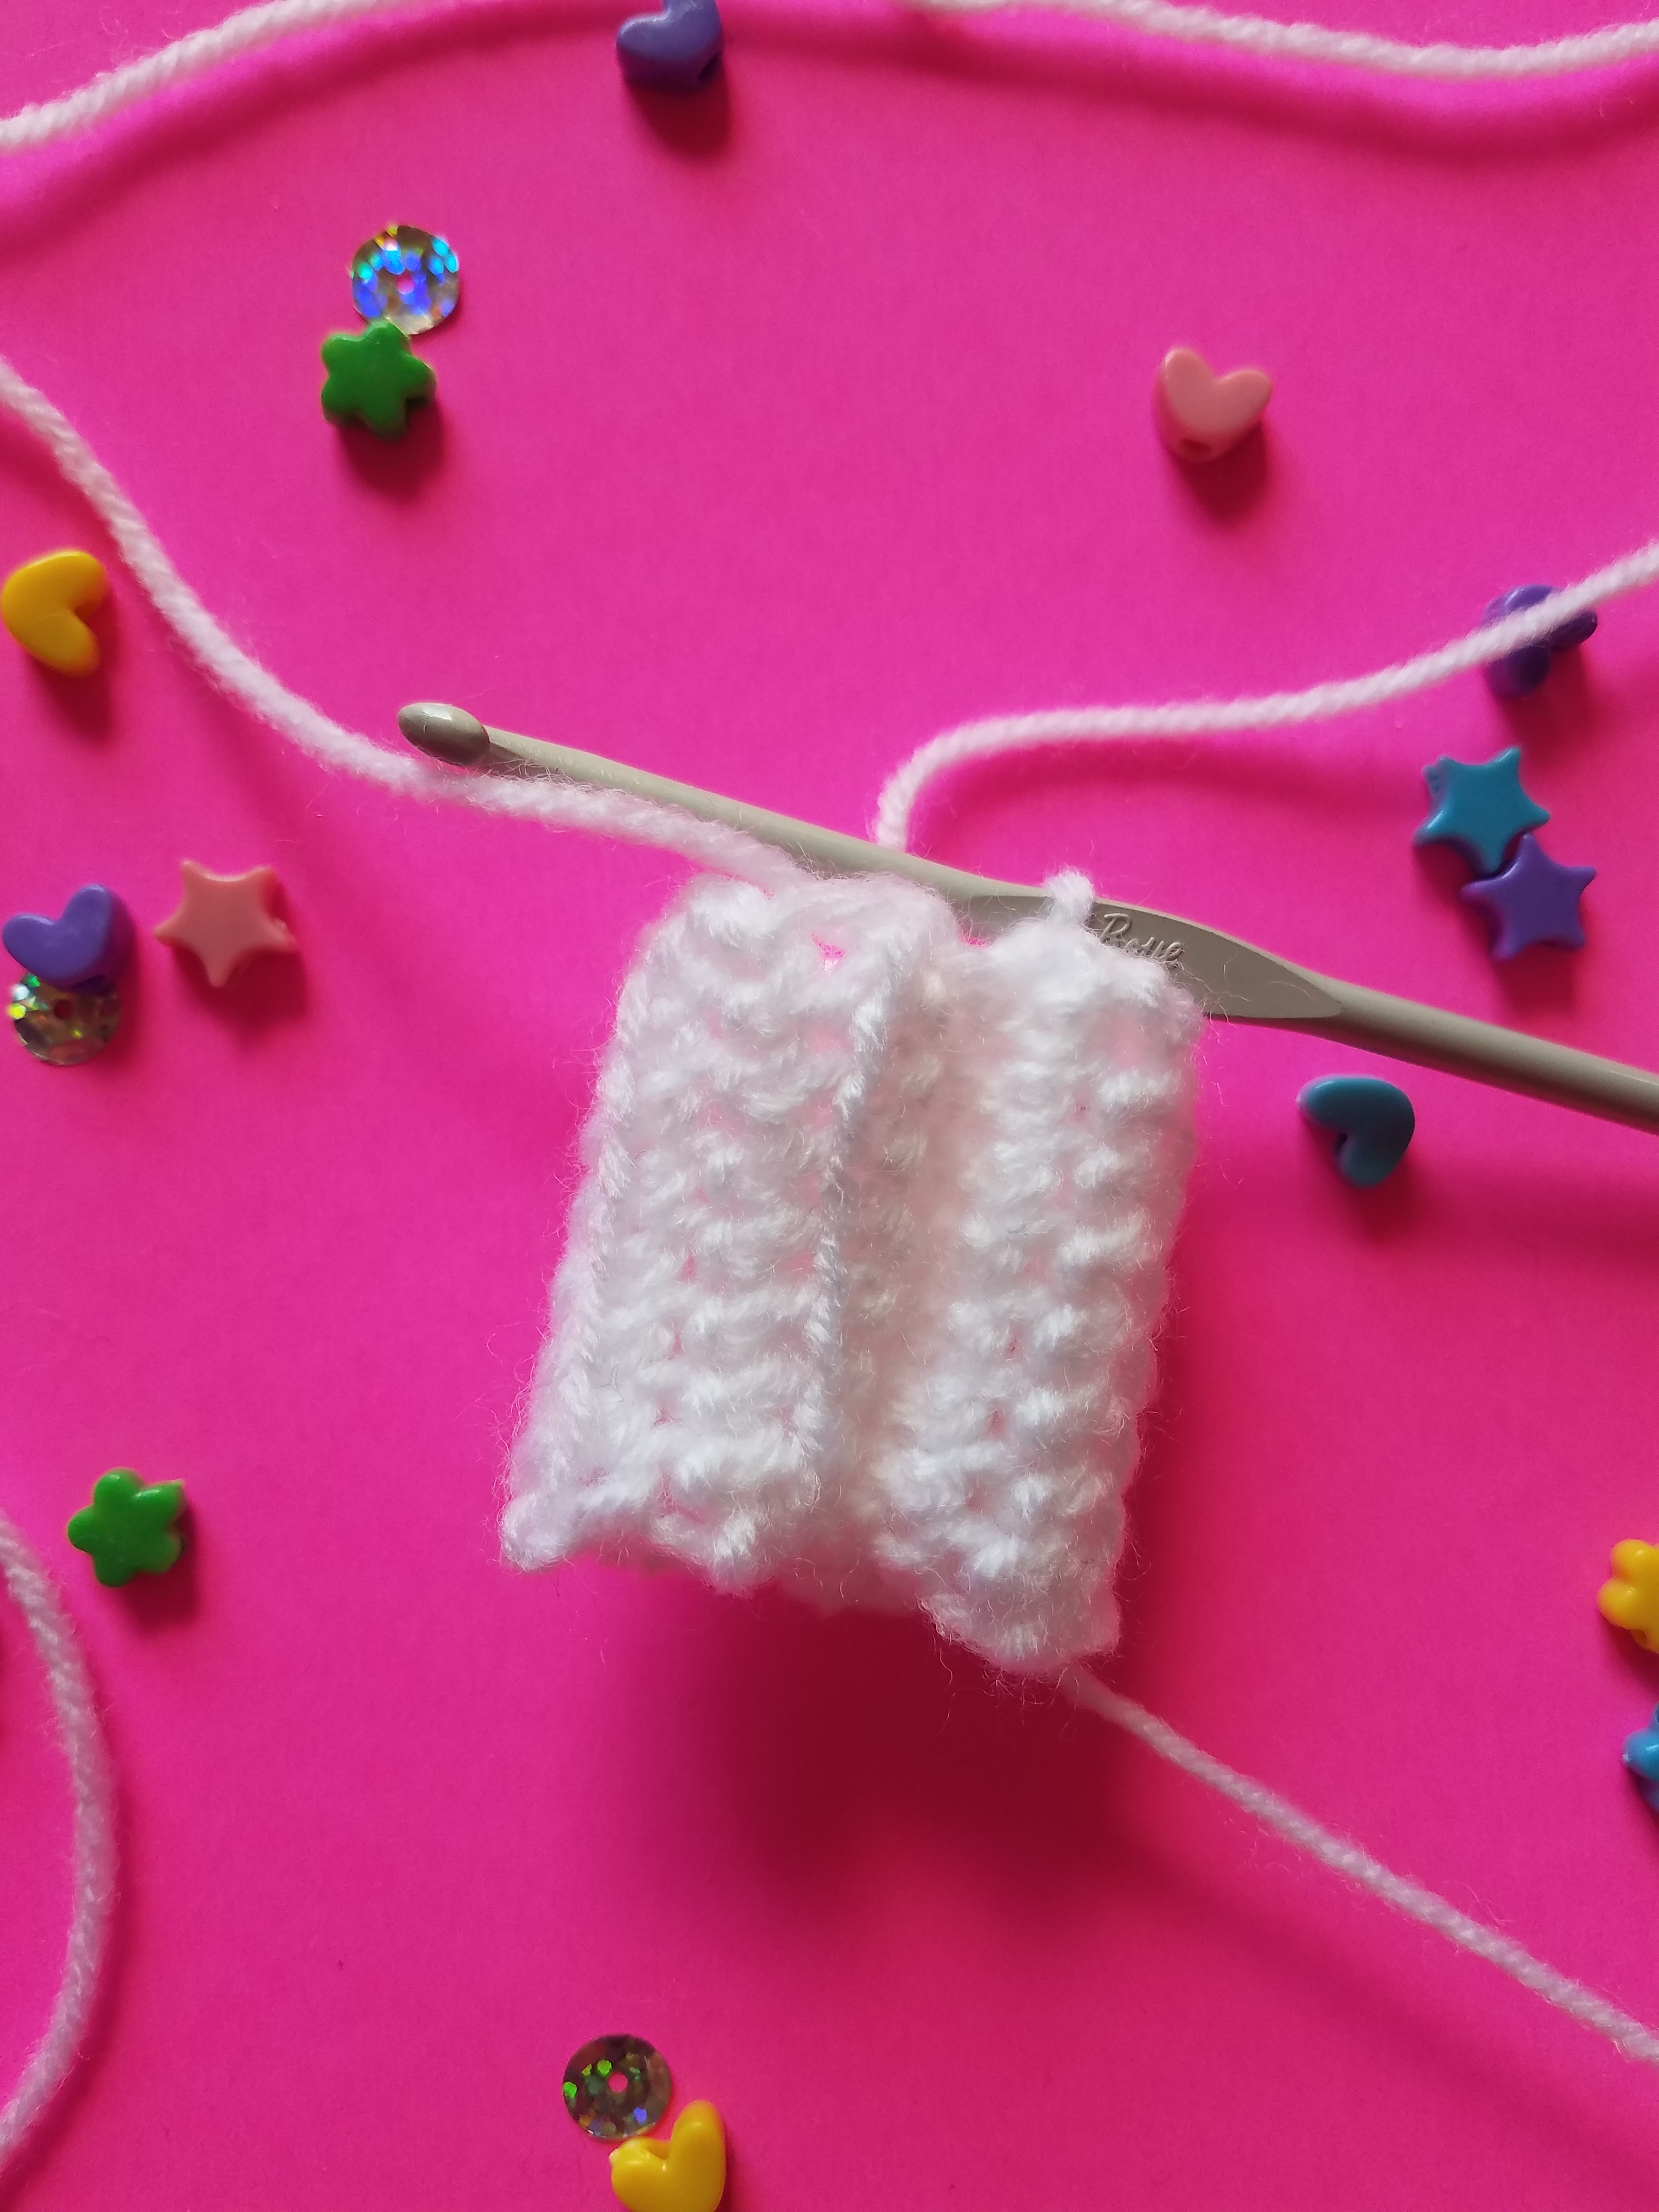
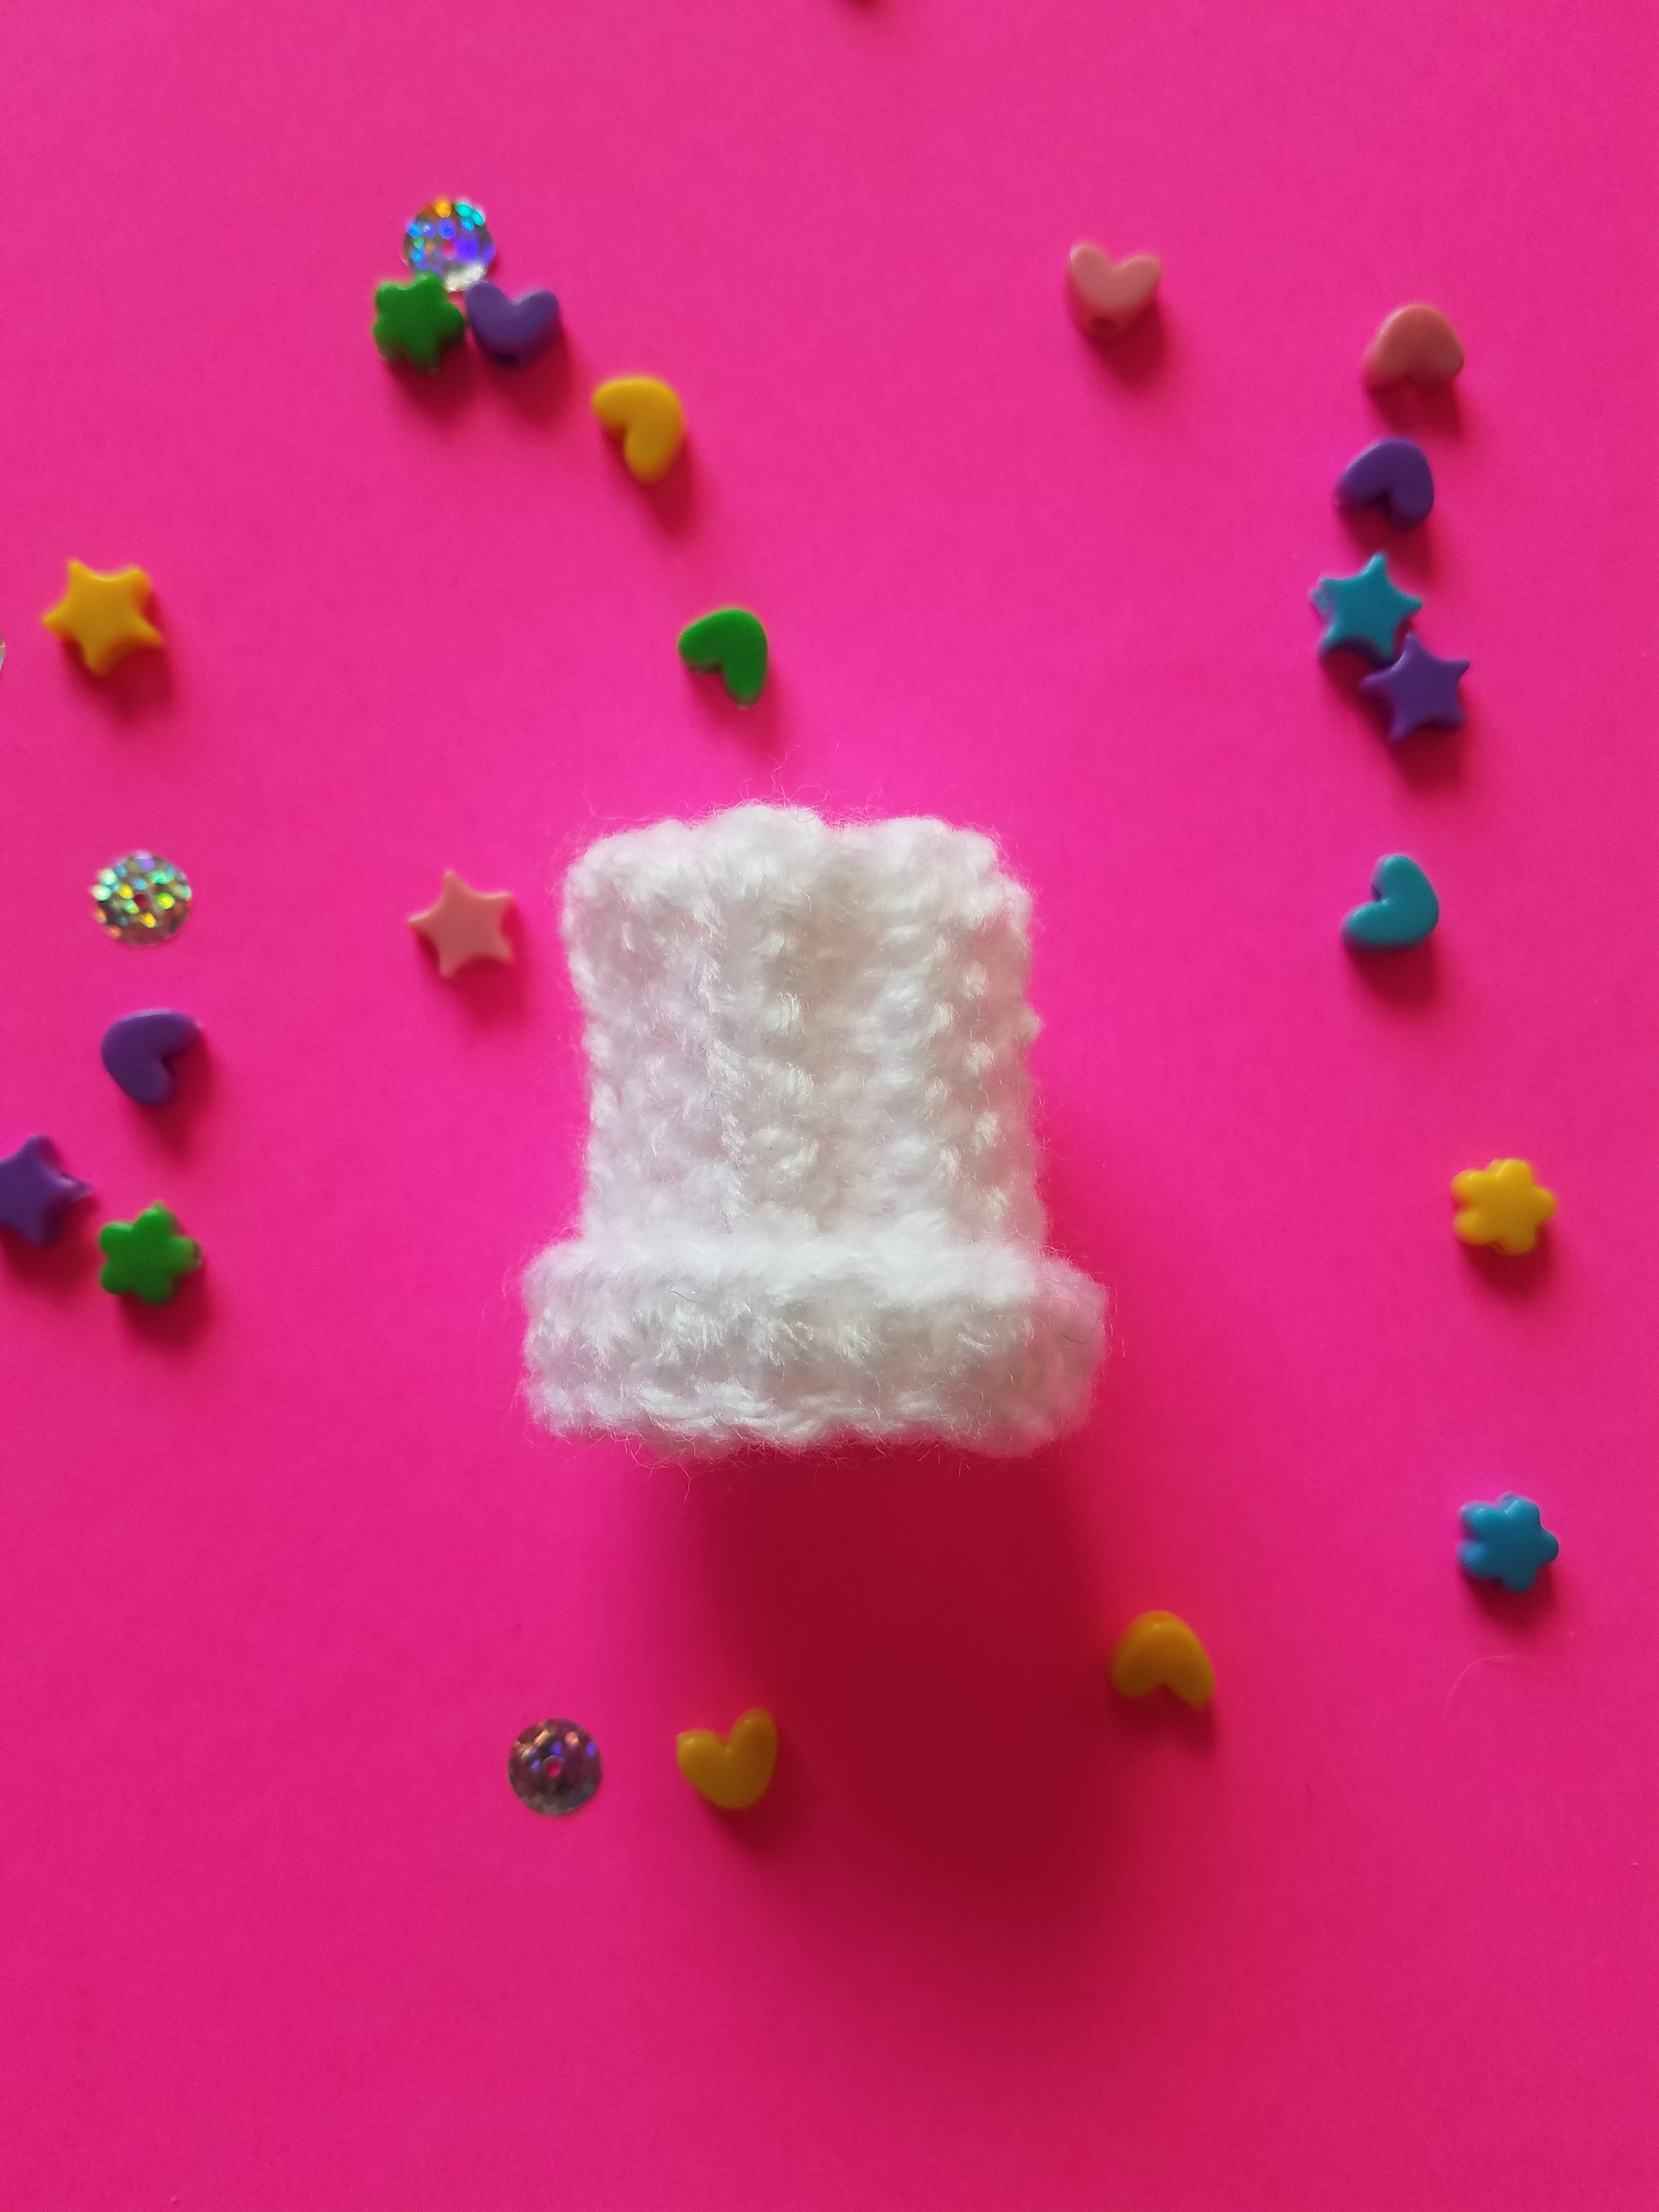
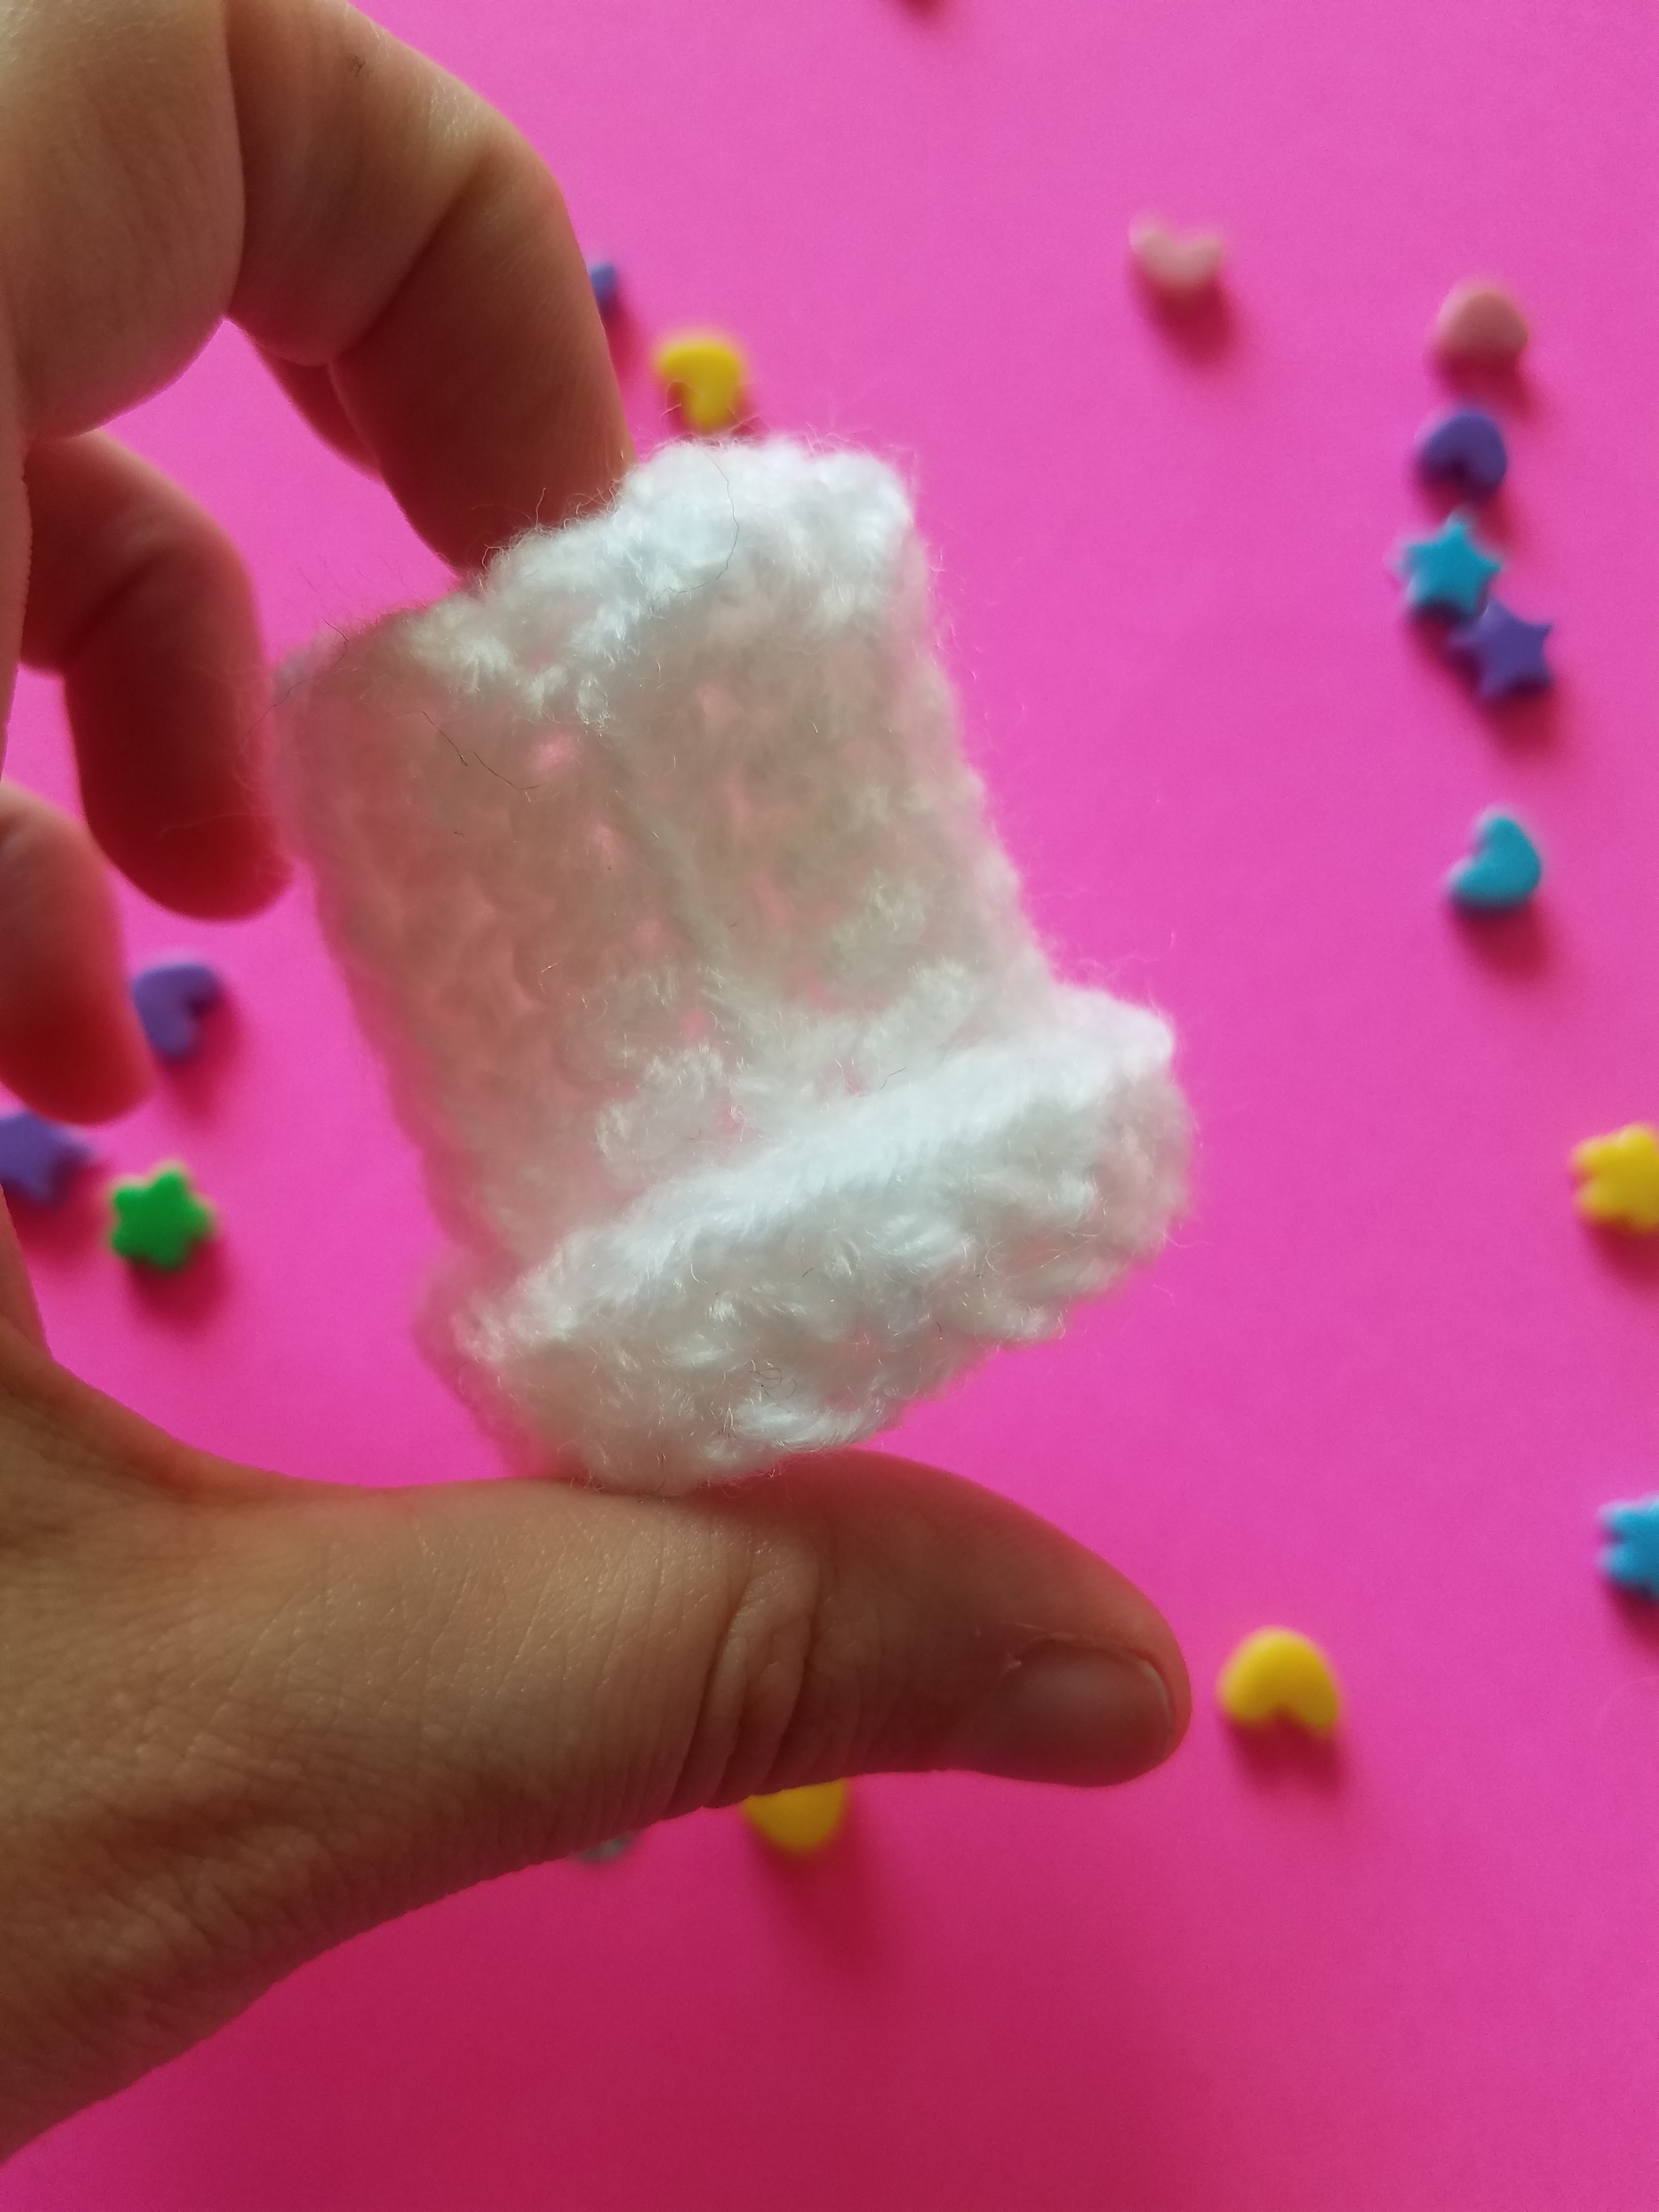
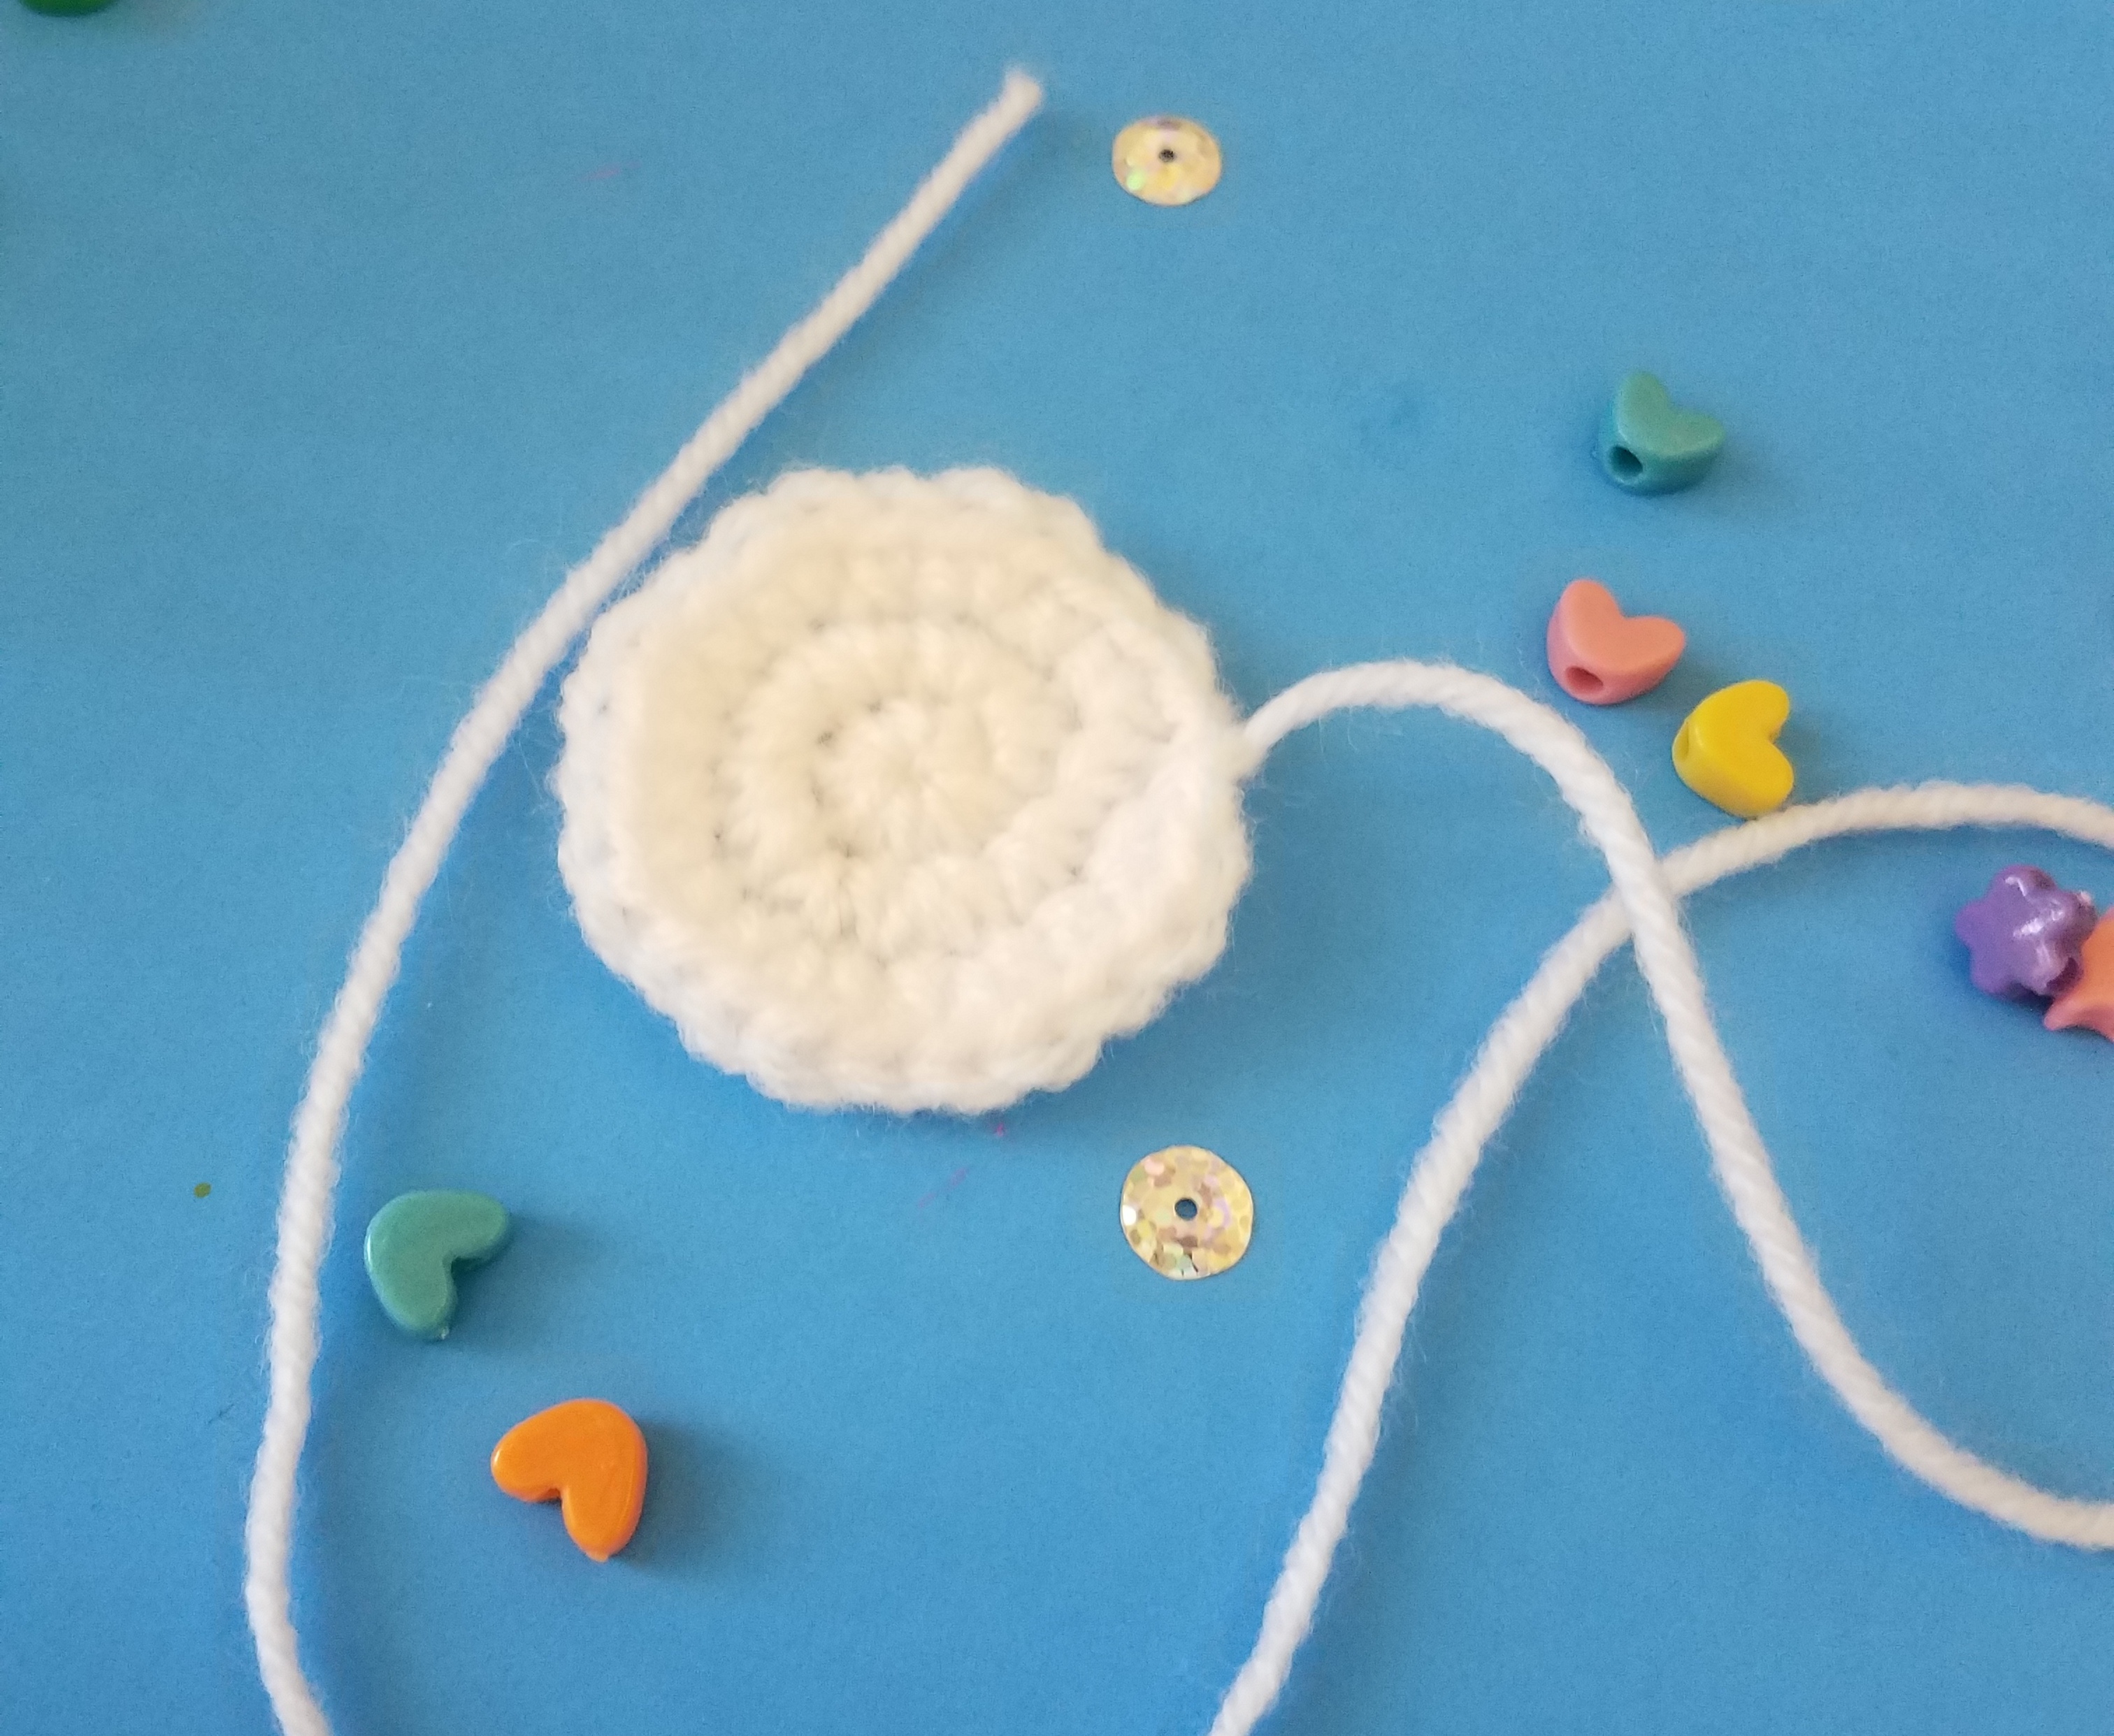
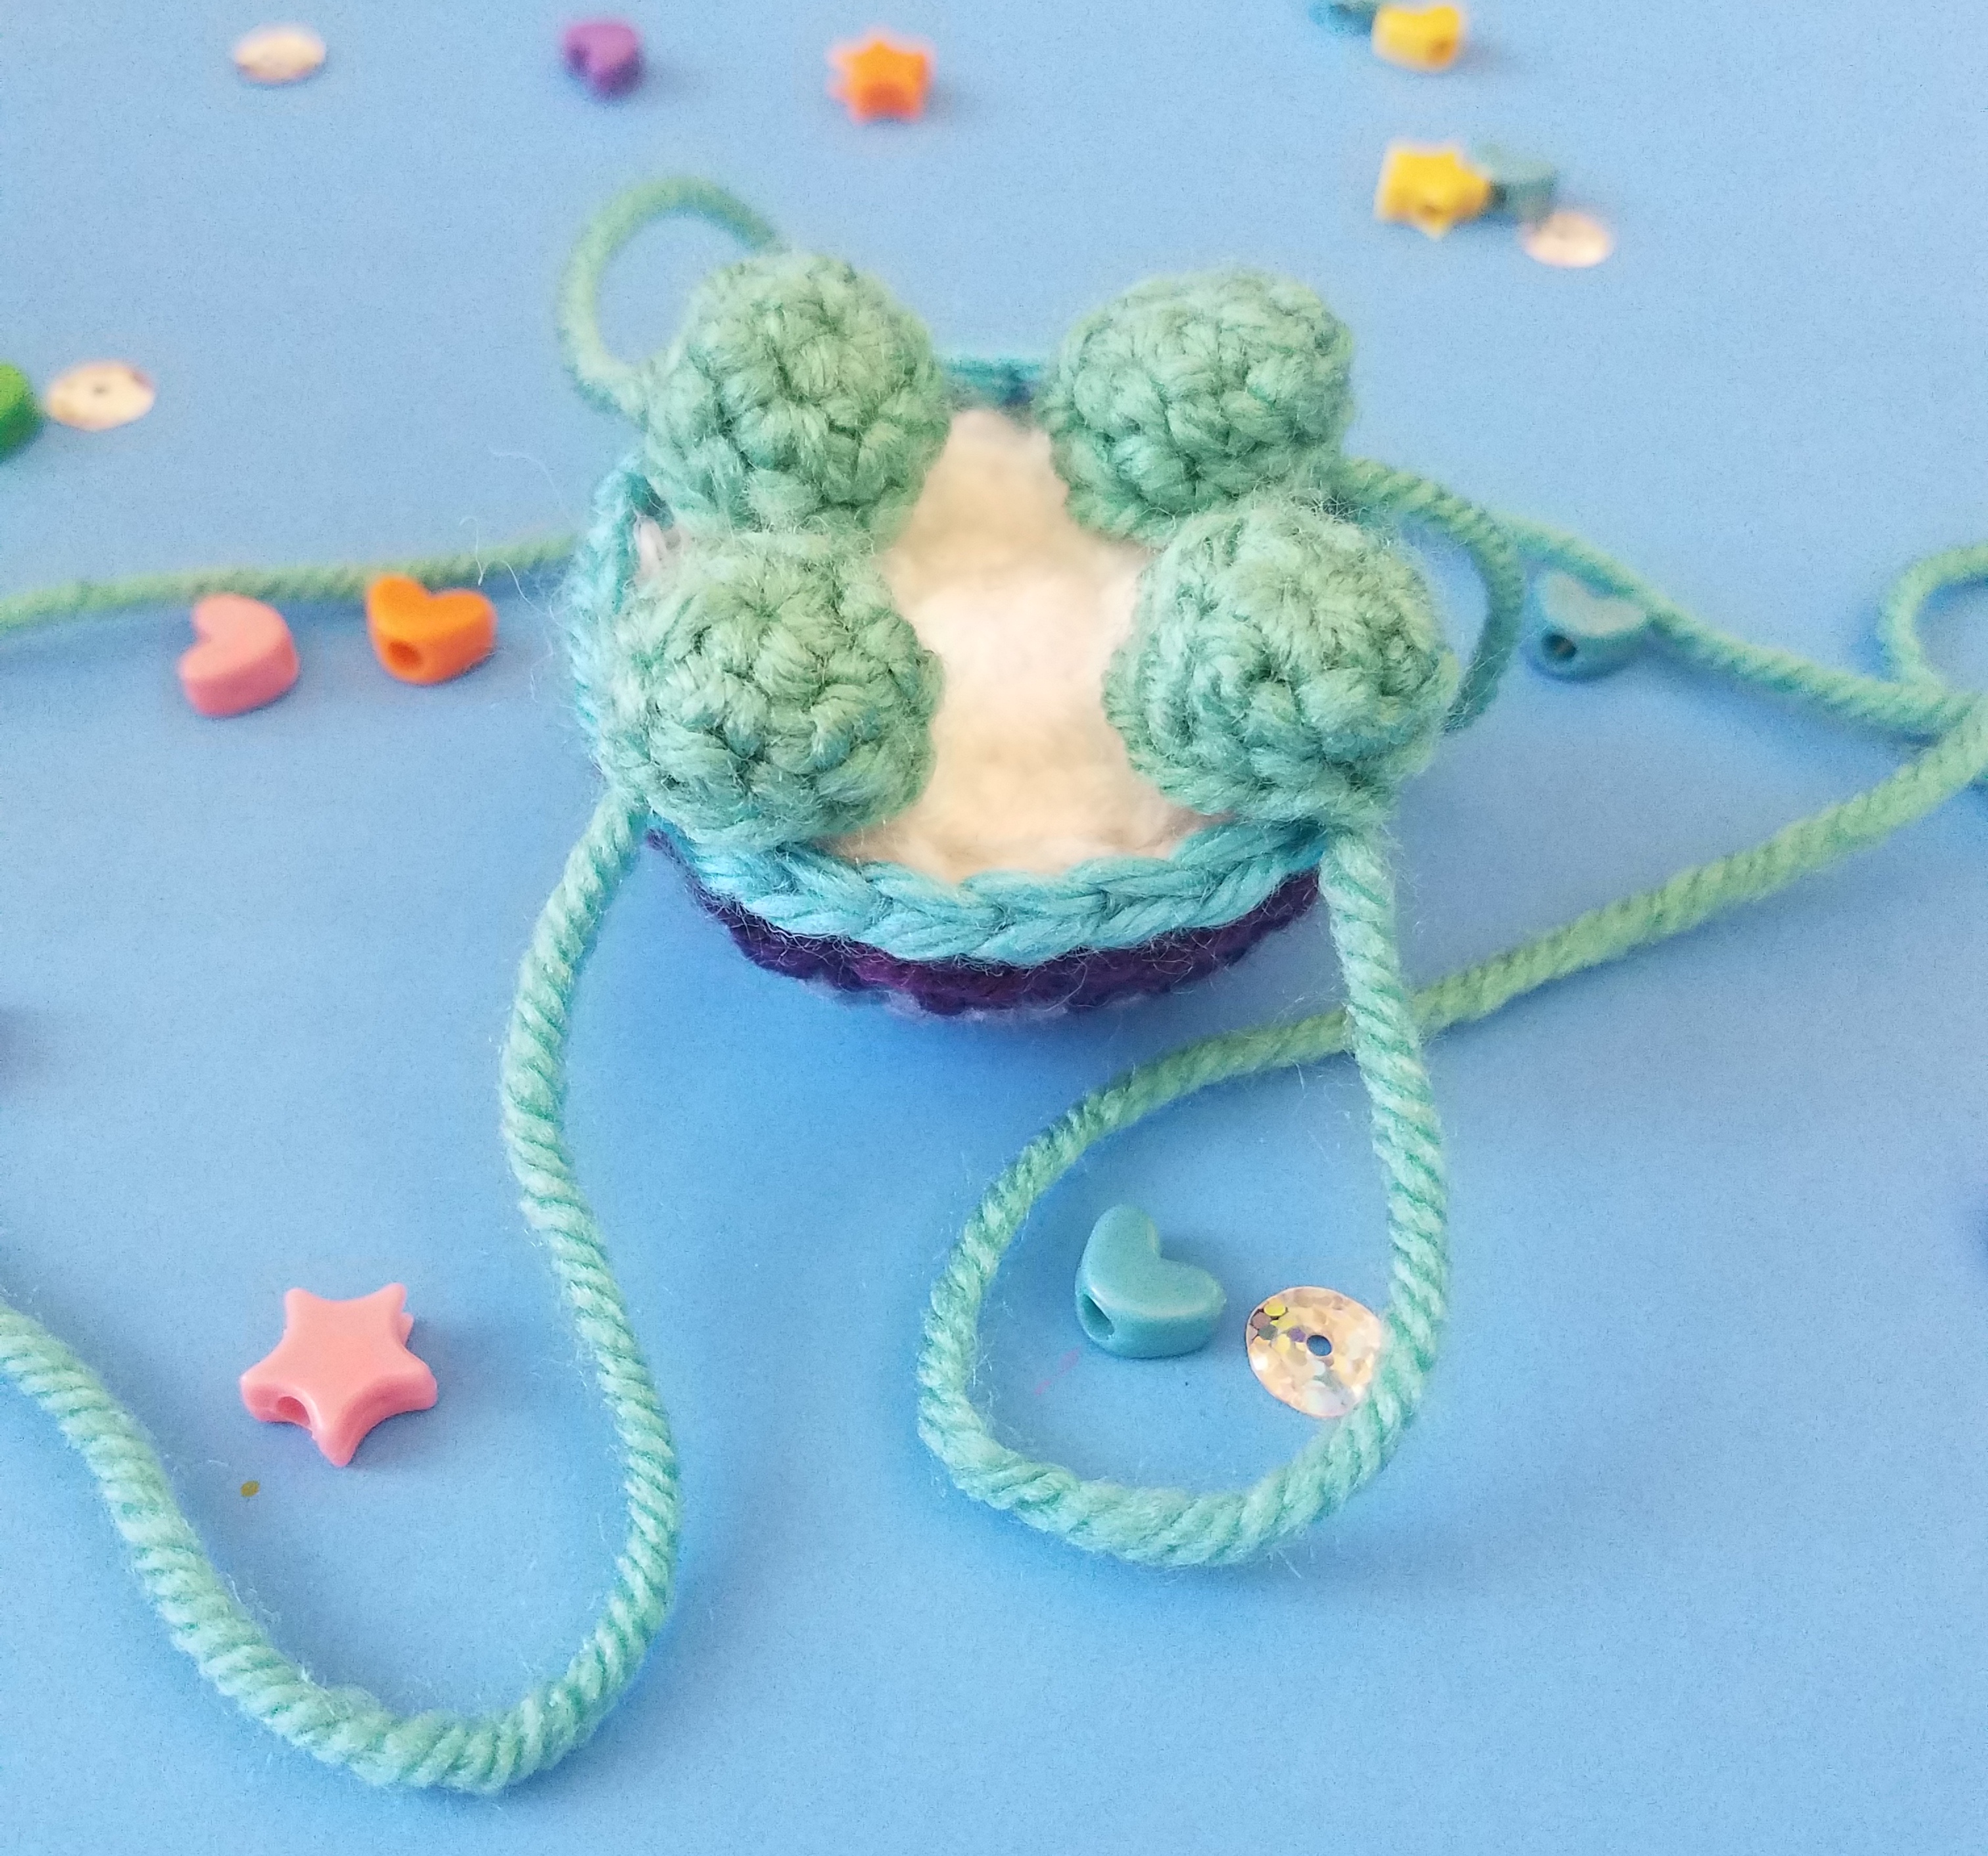
Head
Using white yarn…
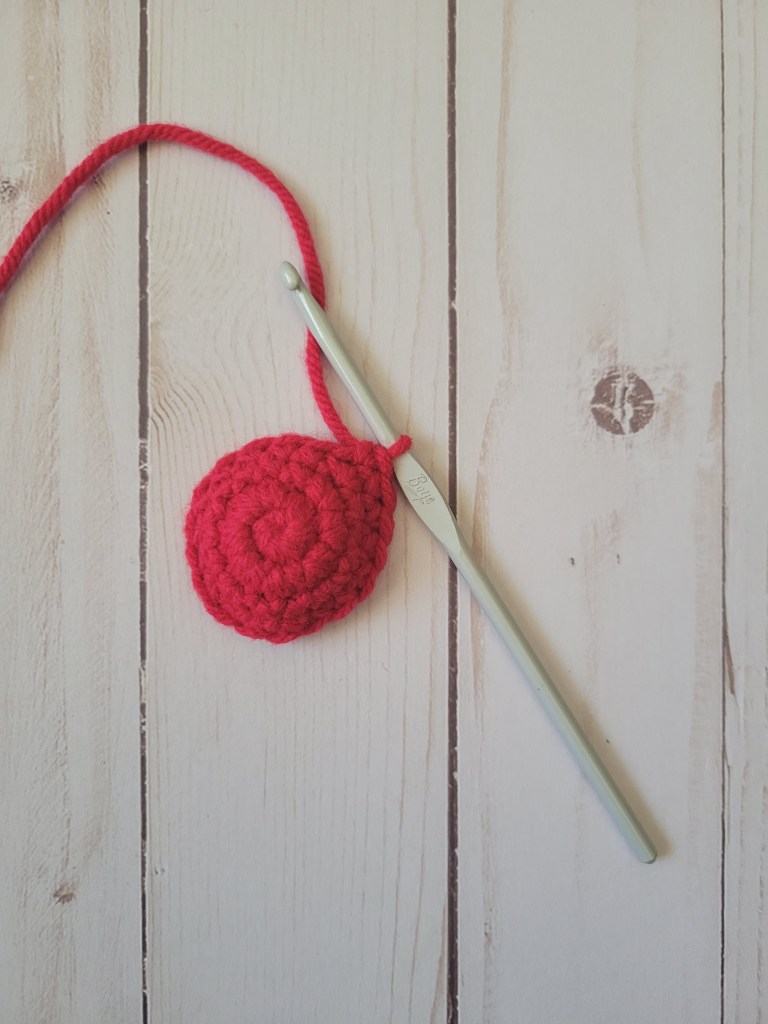
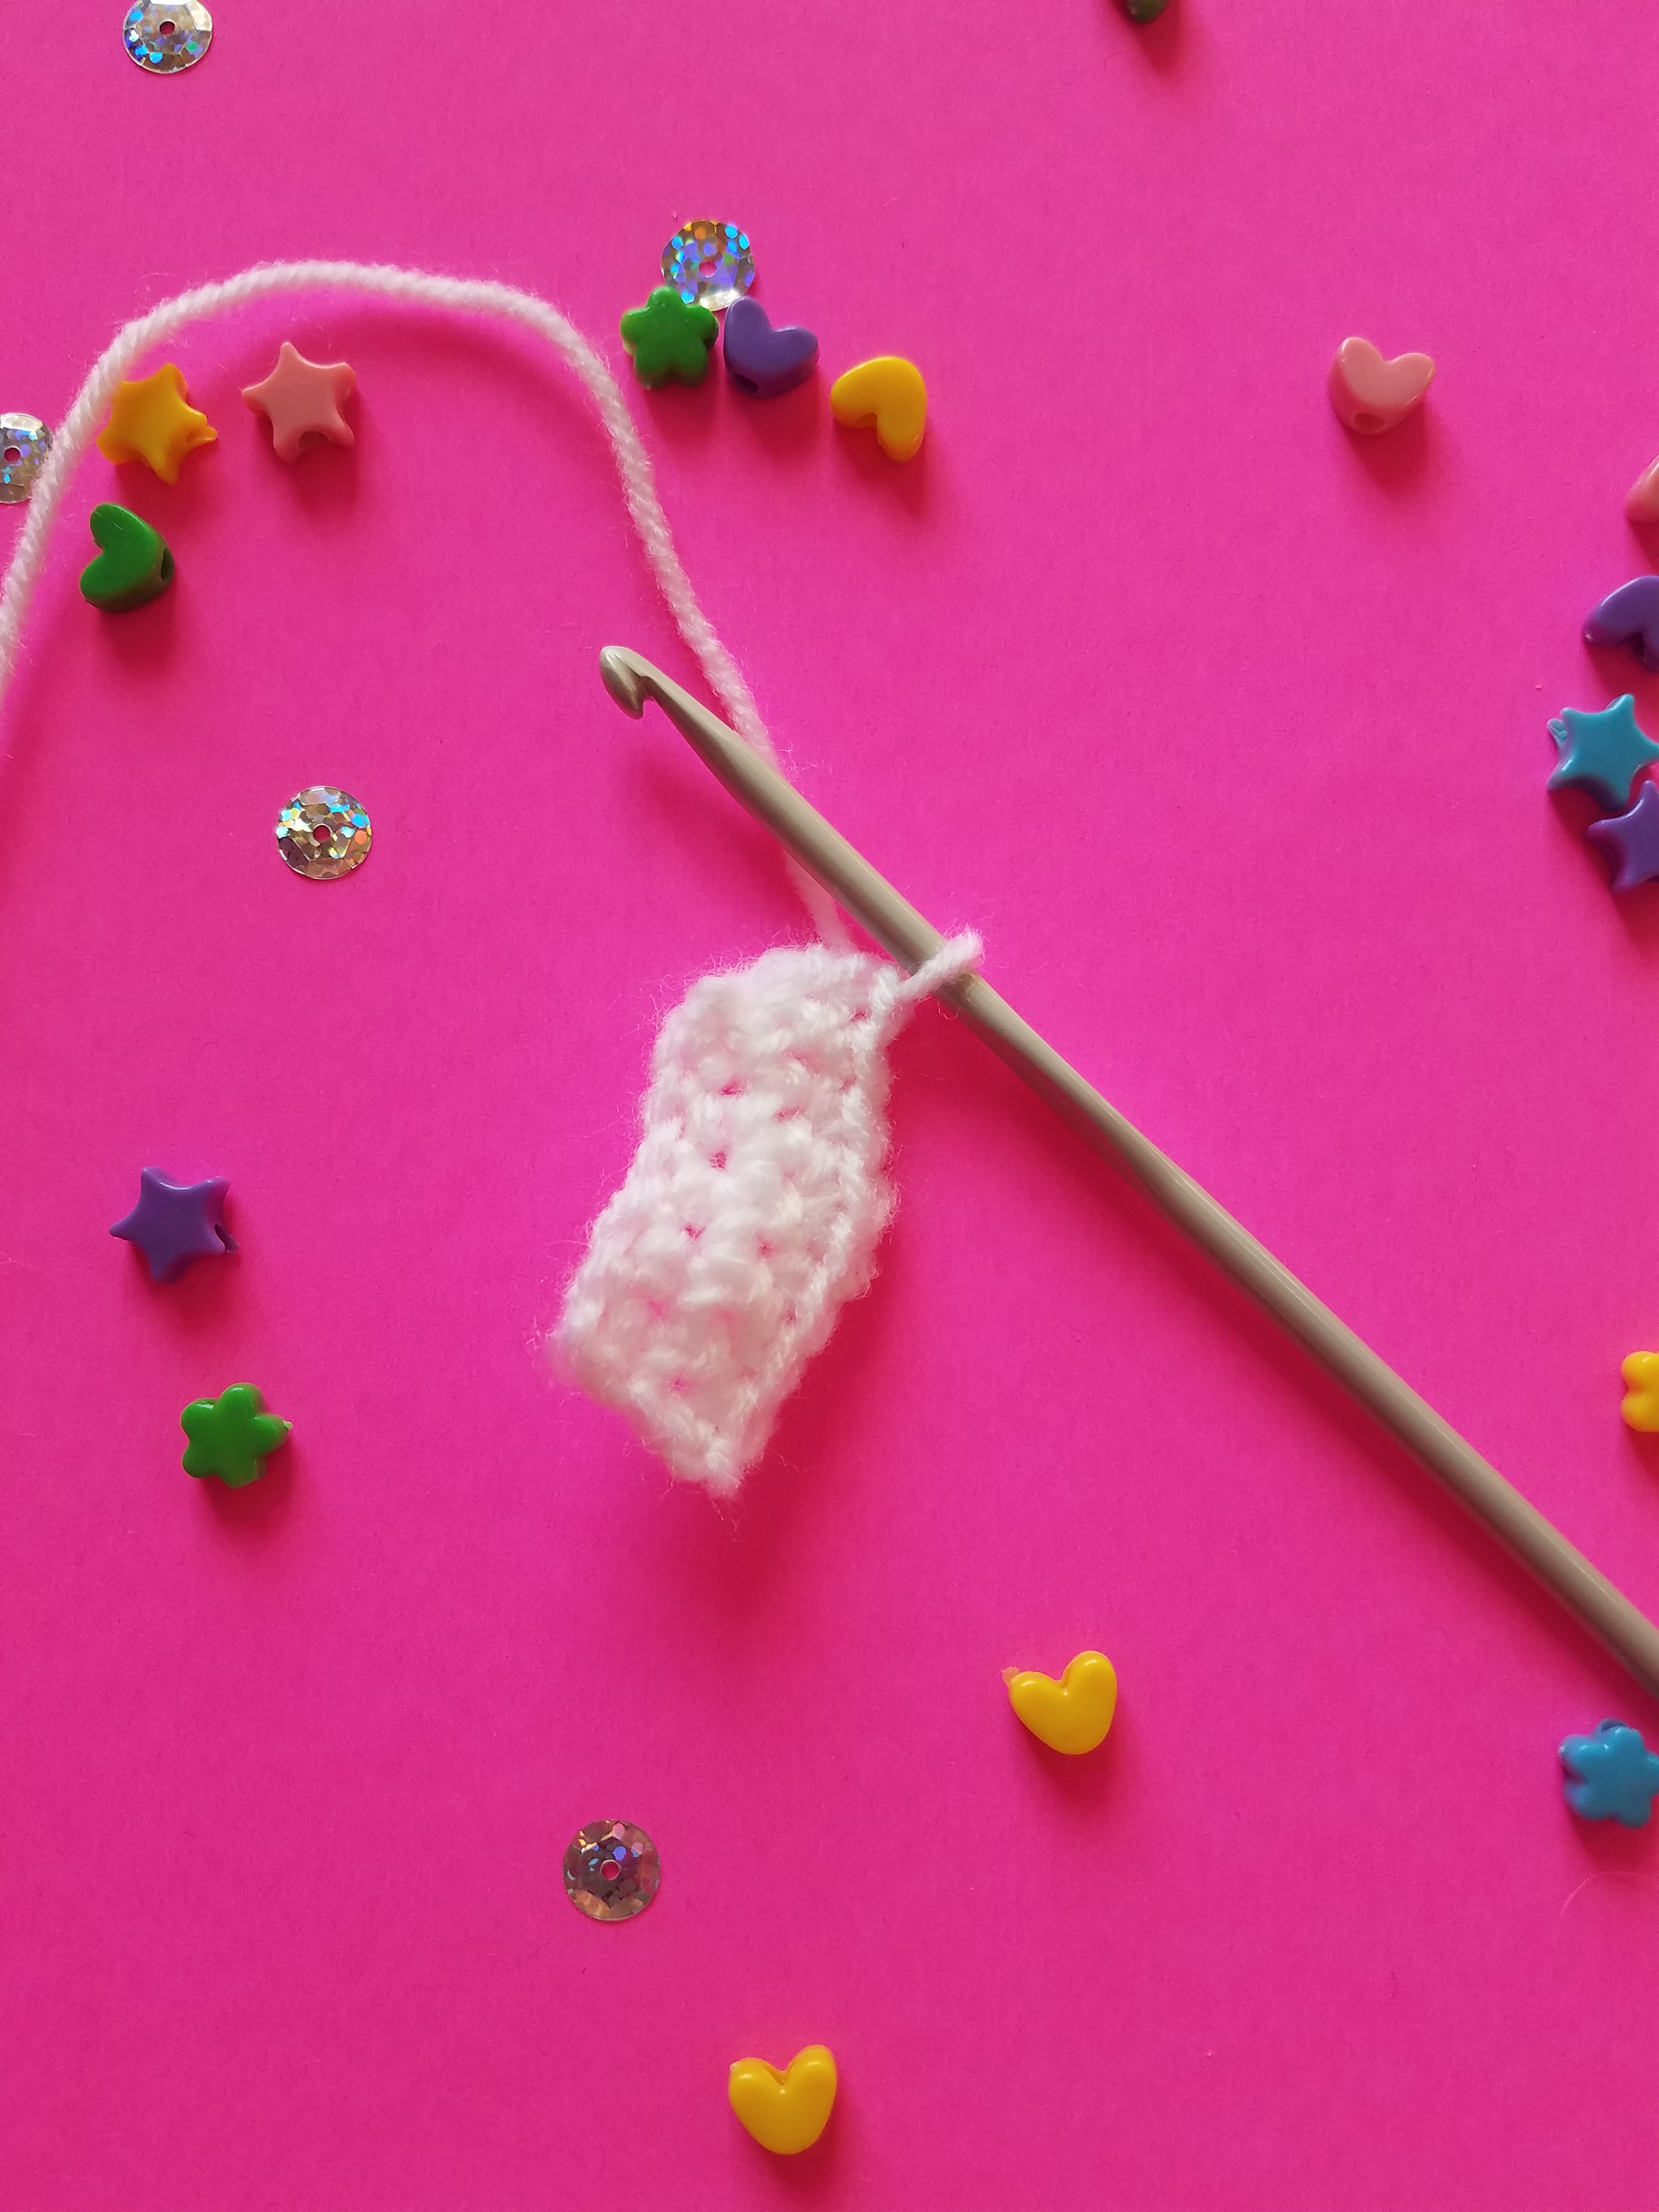
- SC 6 in MC (6)
- INC * (12)
- SC 1, INC * (18)
- SC 2, INC * (24)
- SC 3, INC * (30)
- SC 4, INC * (36)
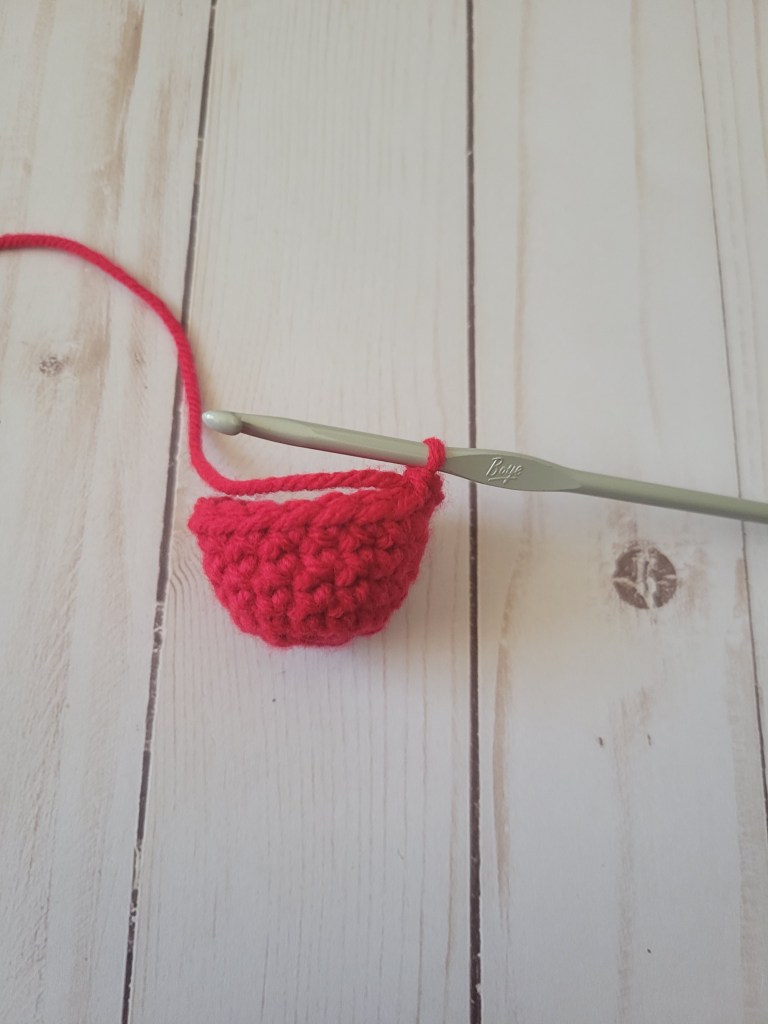
- SC * (36)
- SC * (36)
- SC * (36)
- SC * (36)
- SC * (36)
- SC * (36)
- SC * (36)
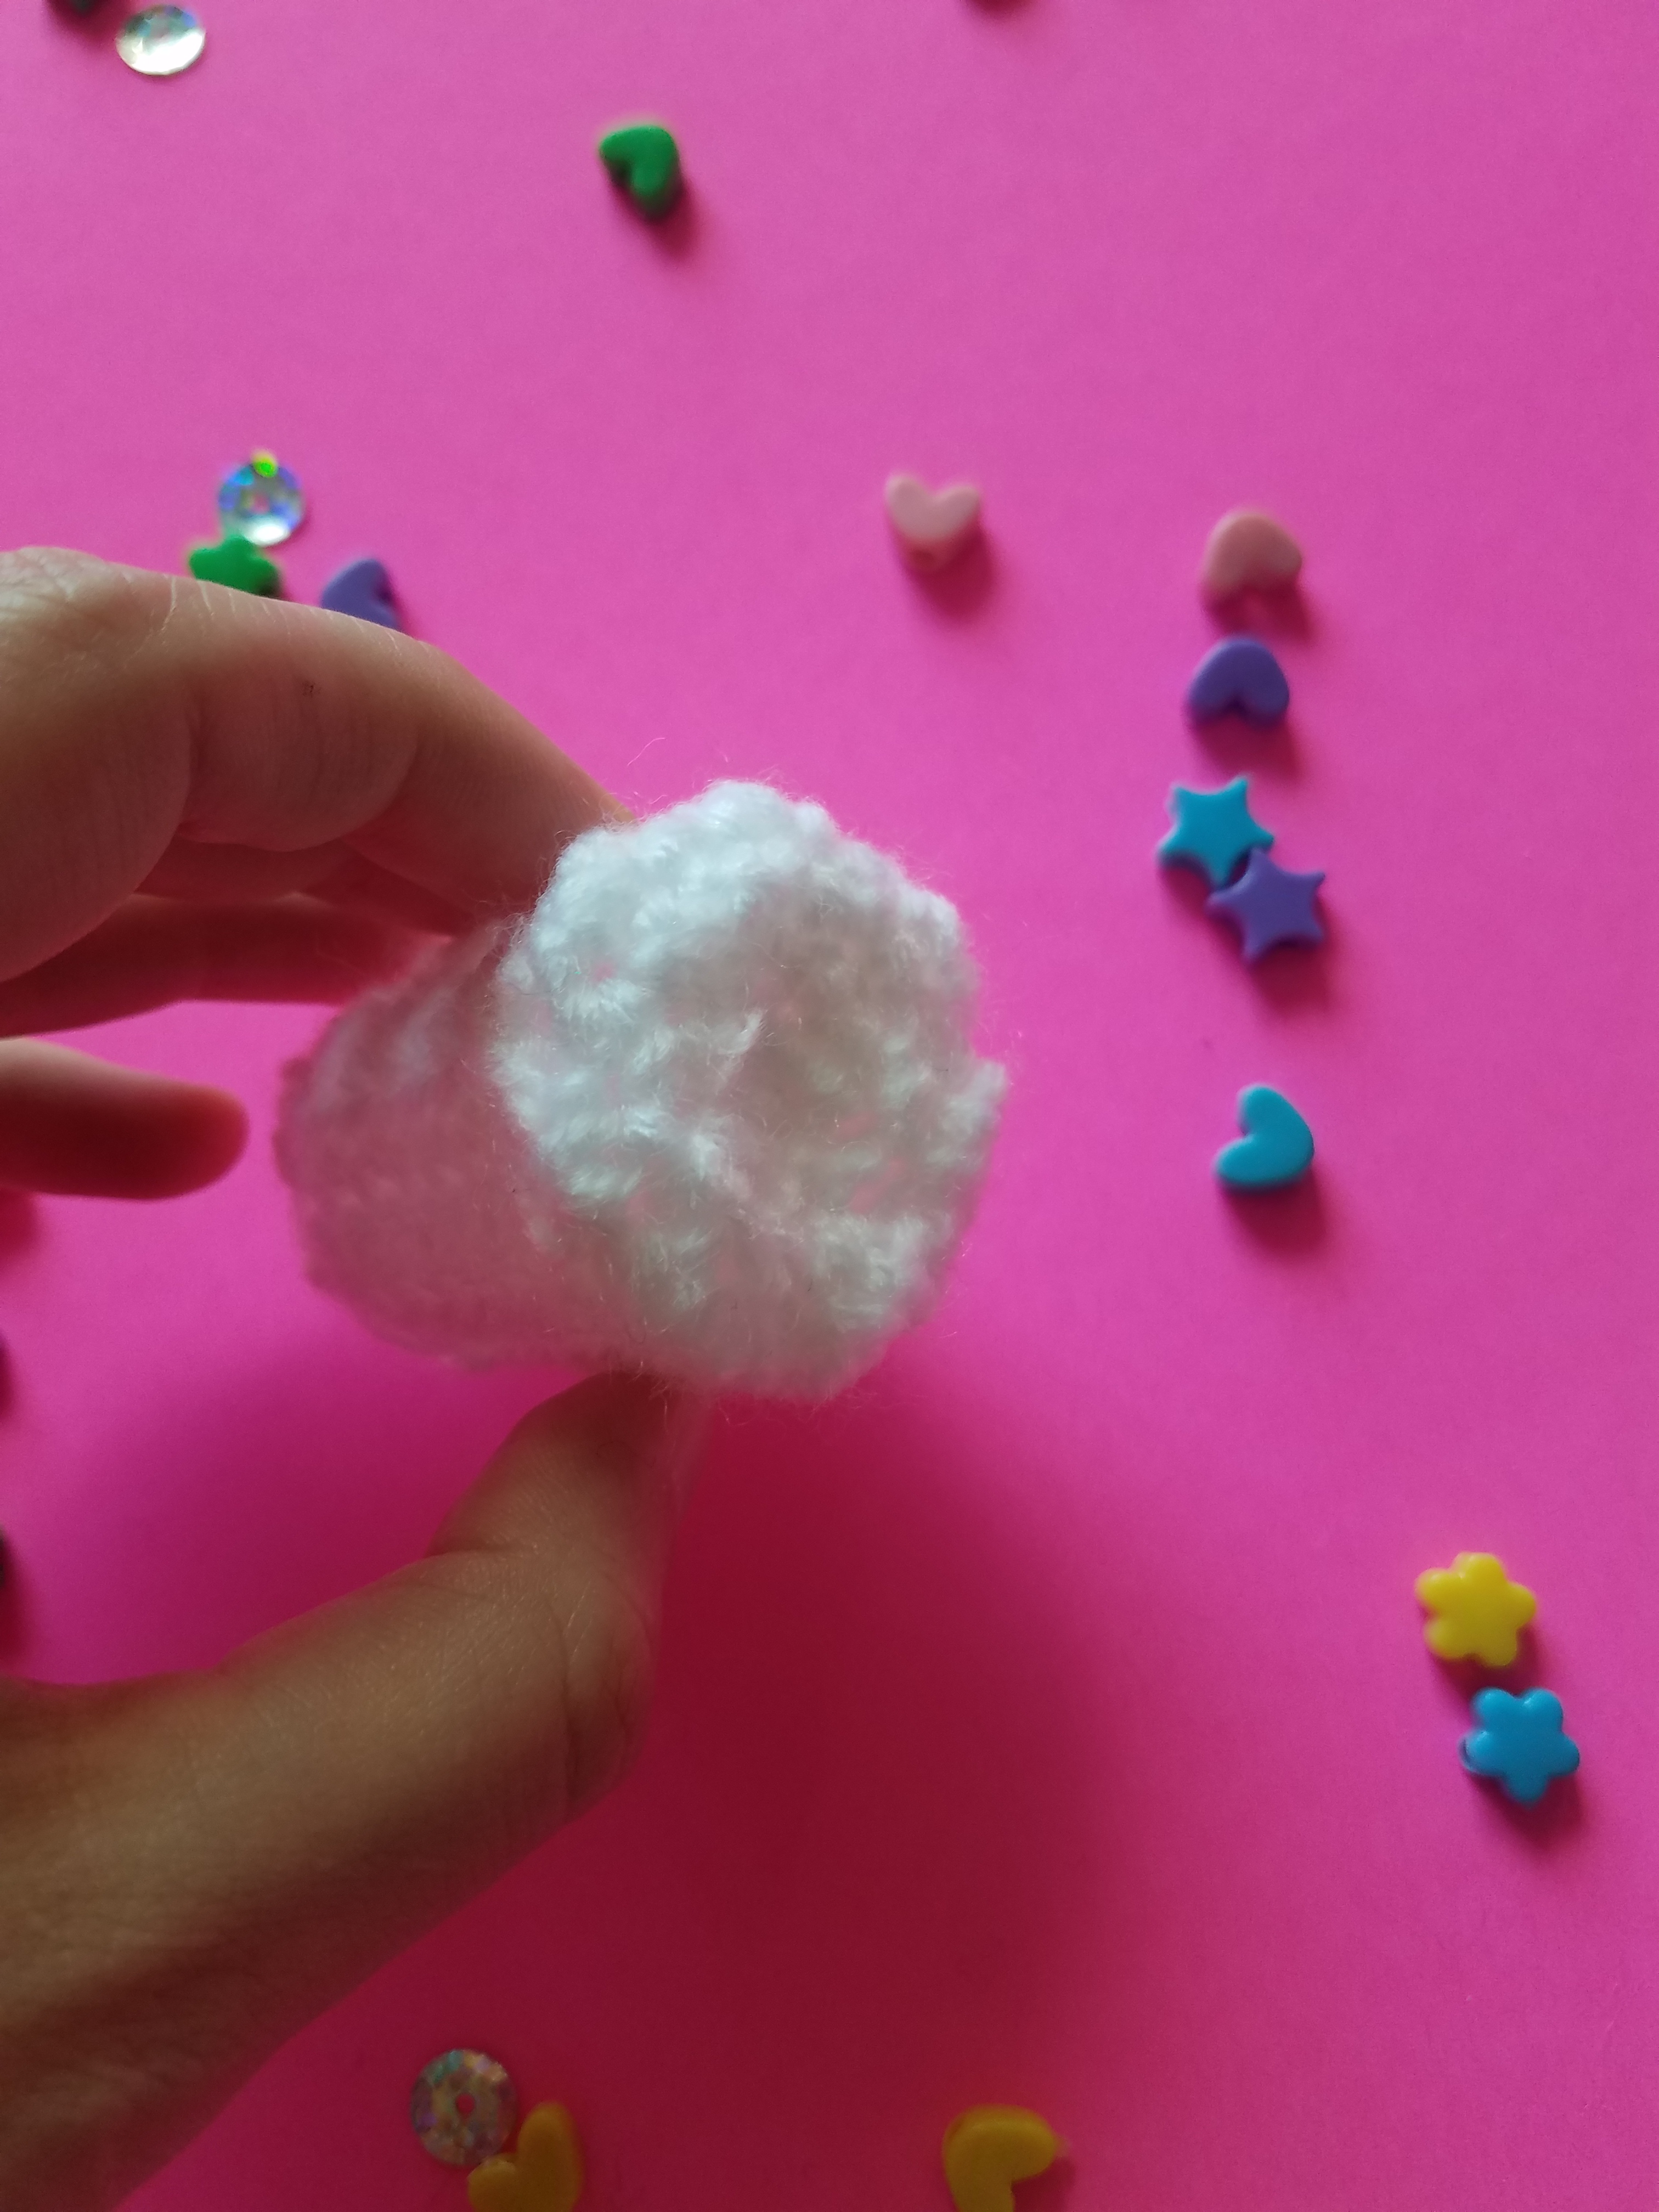
- SC 4, DEC * (30)
- SC 3, DEC * (24)
- SC 2, DEC * (18)
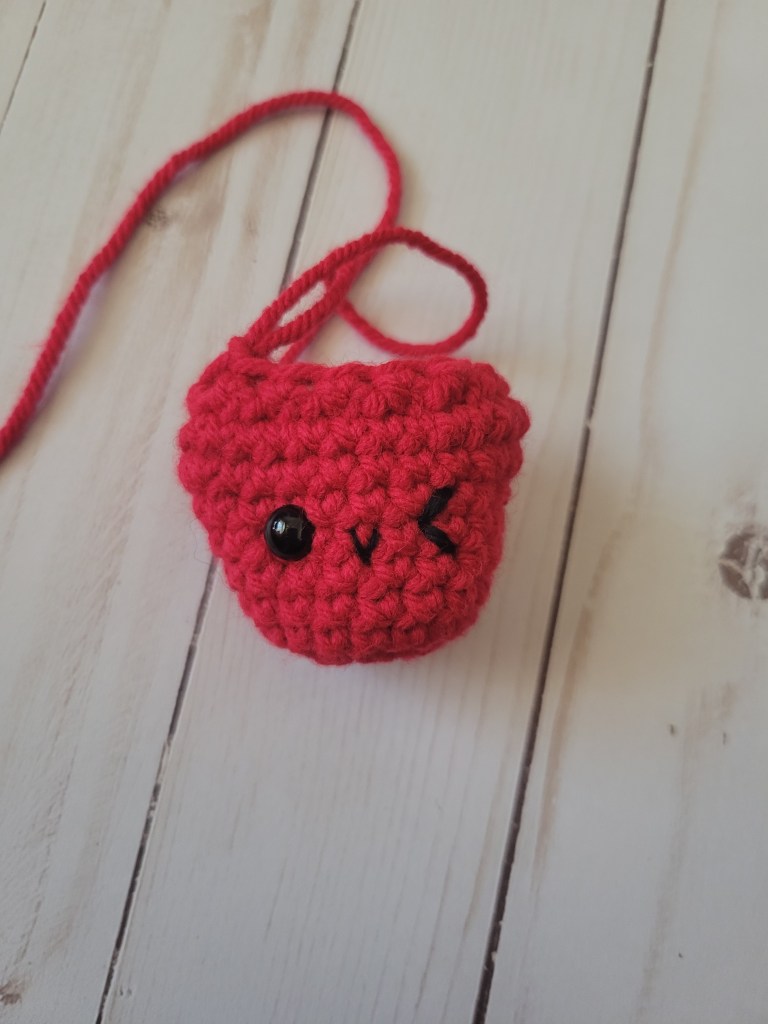
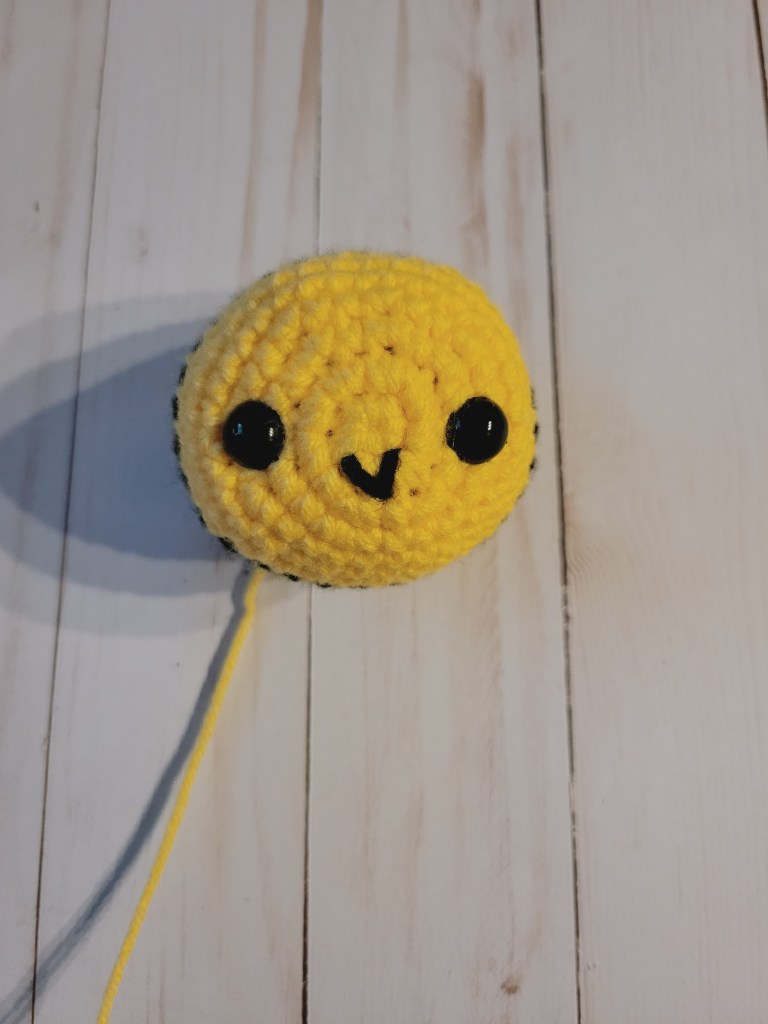
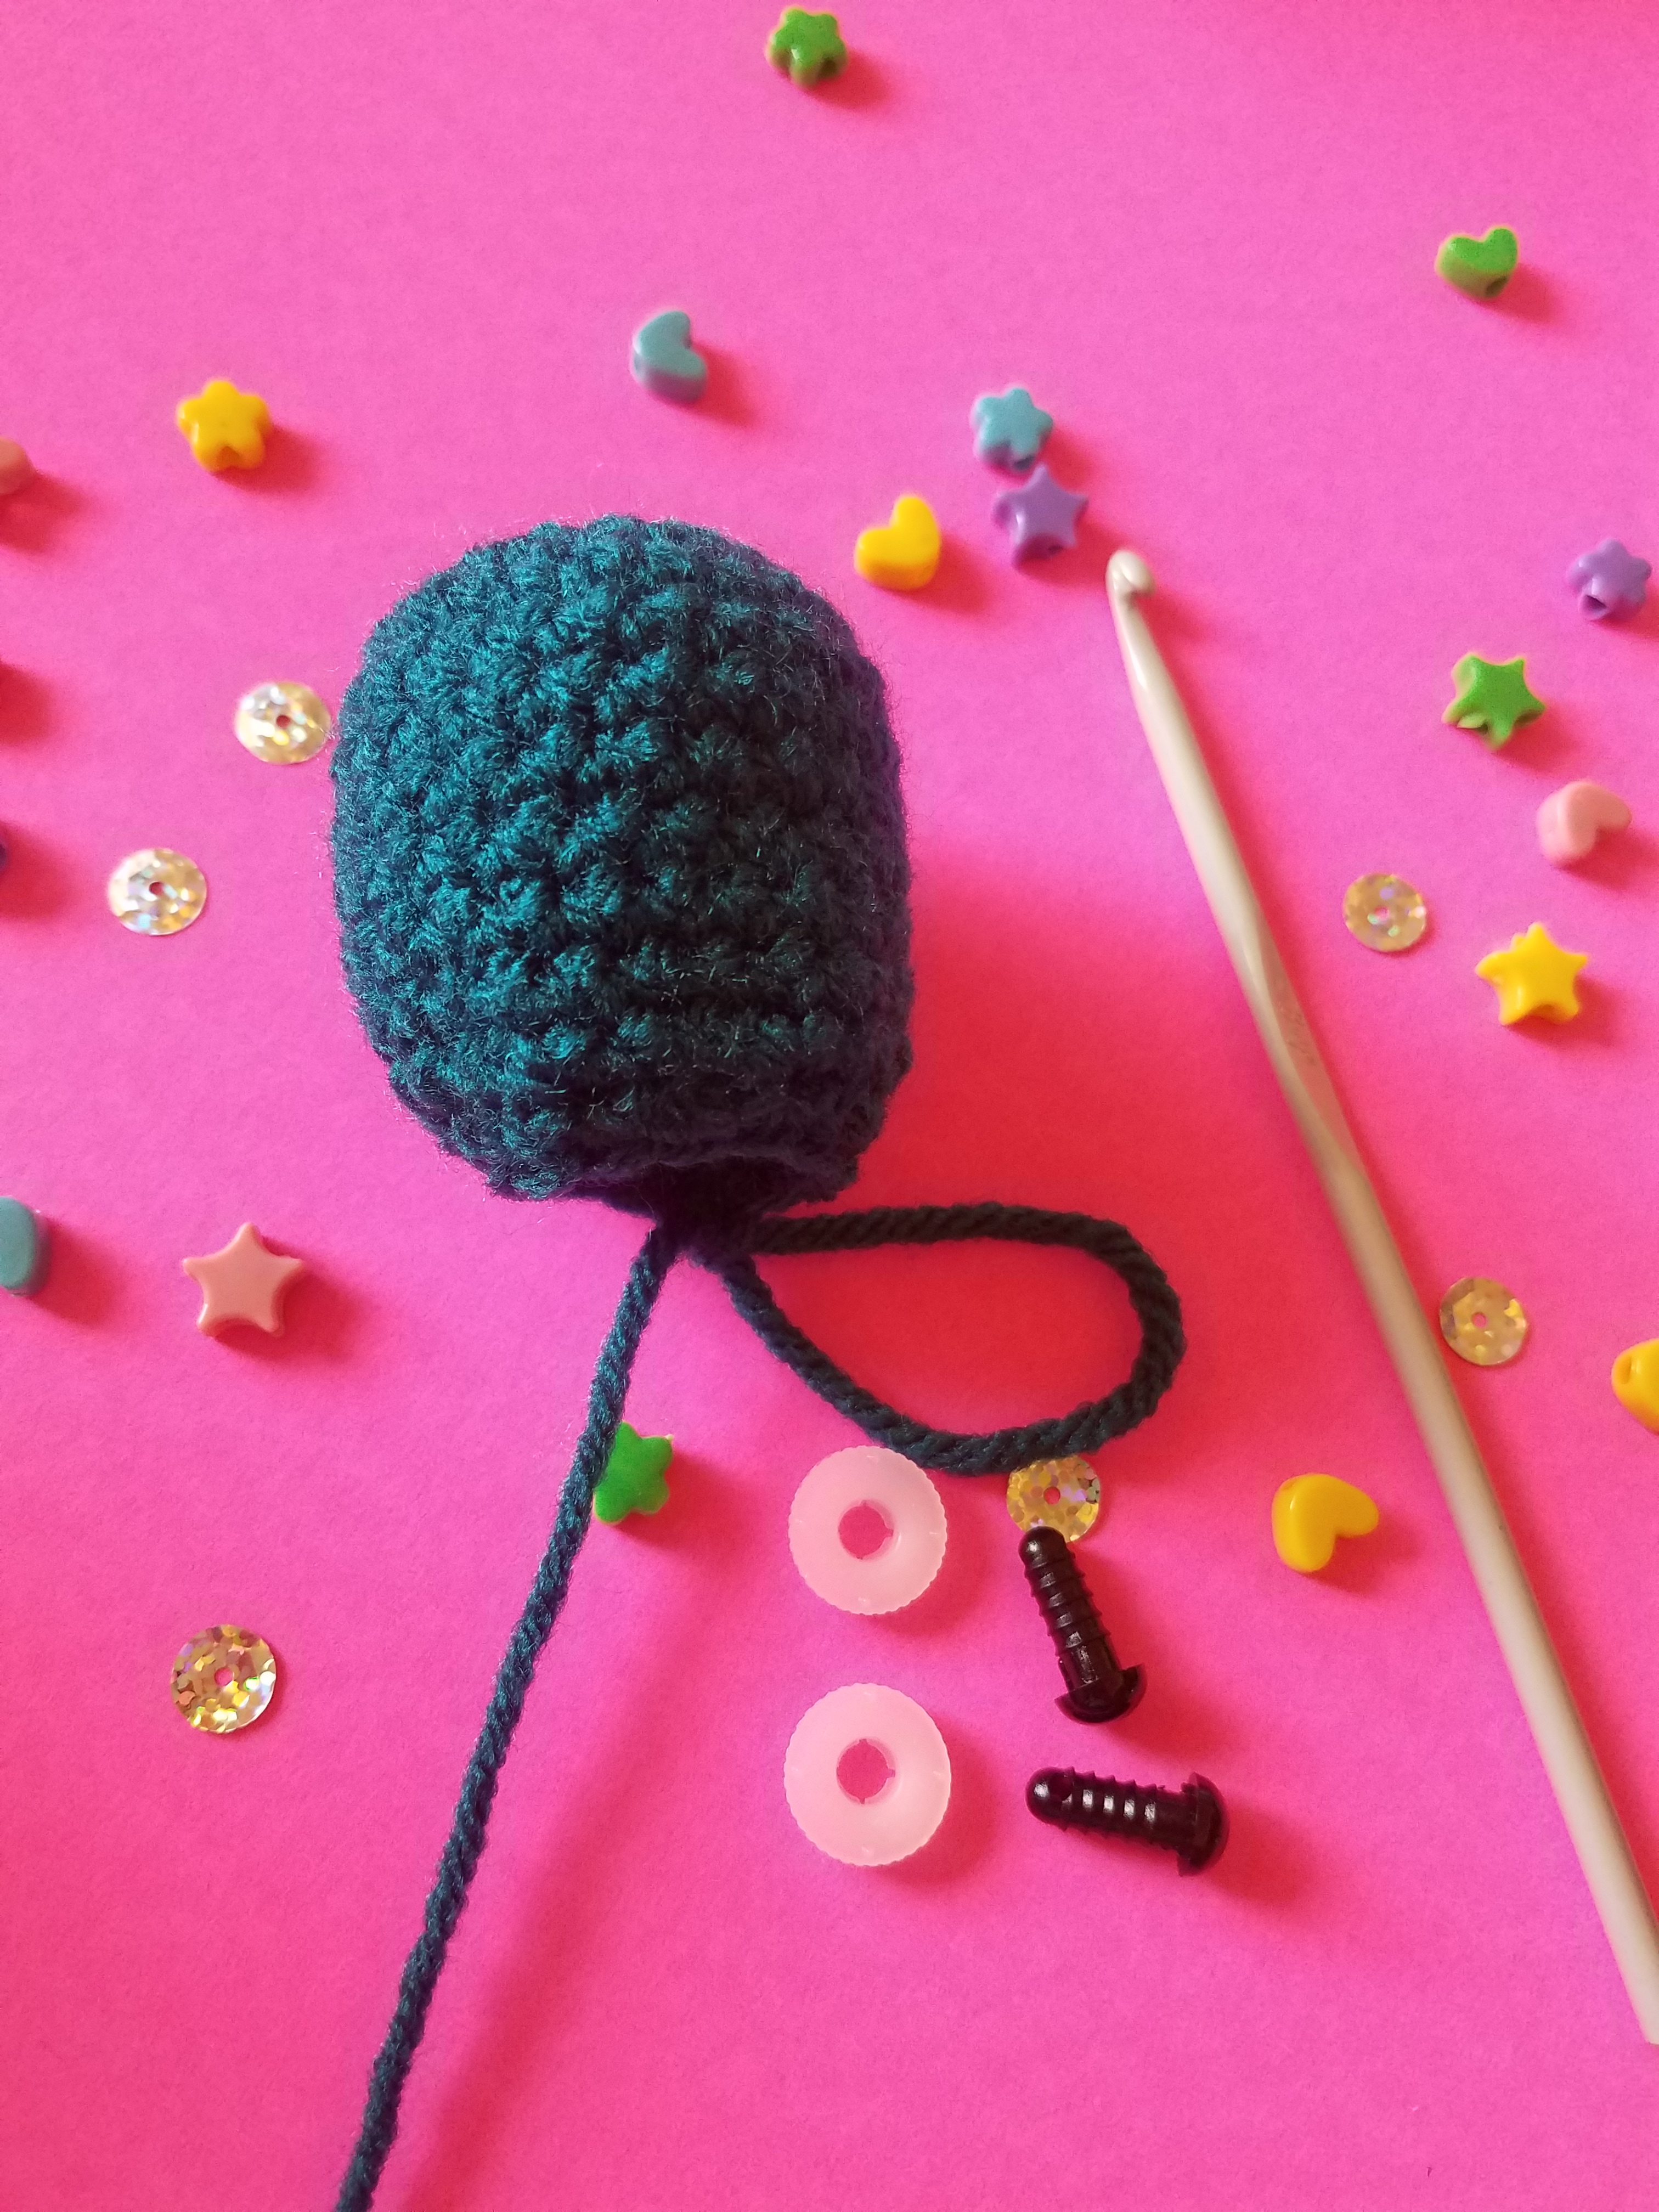
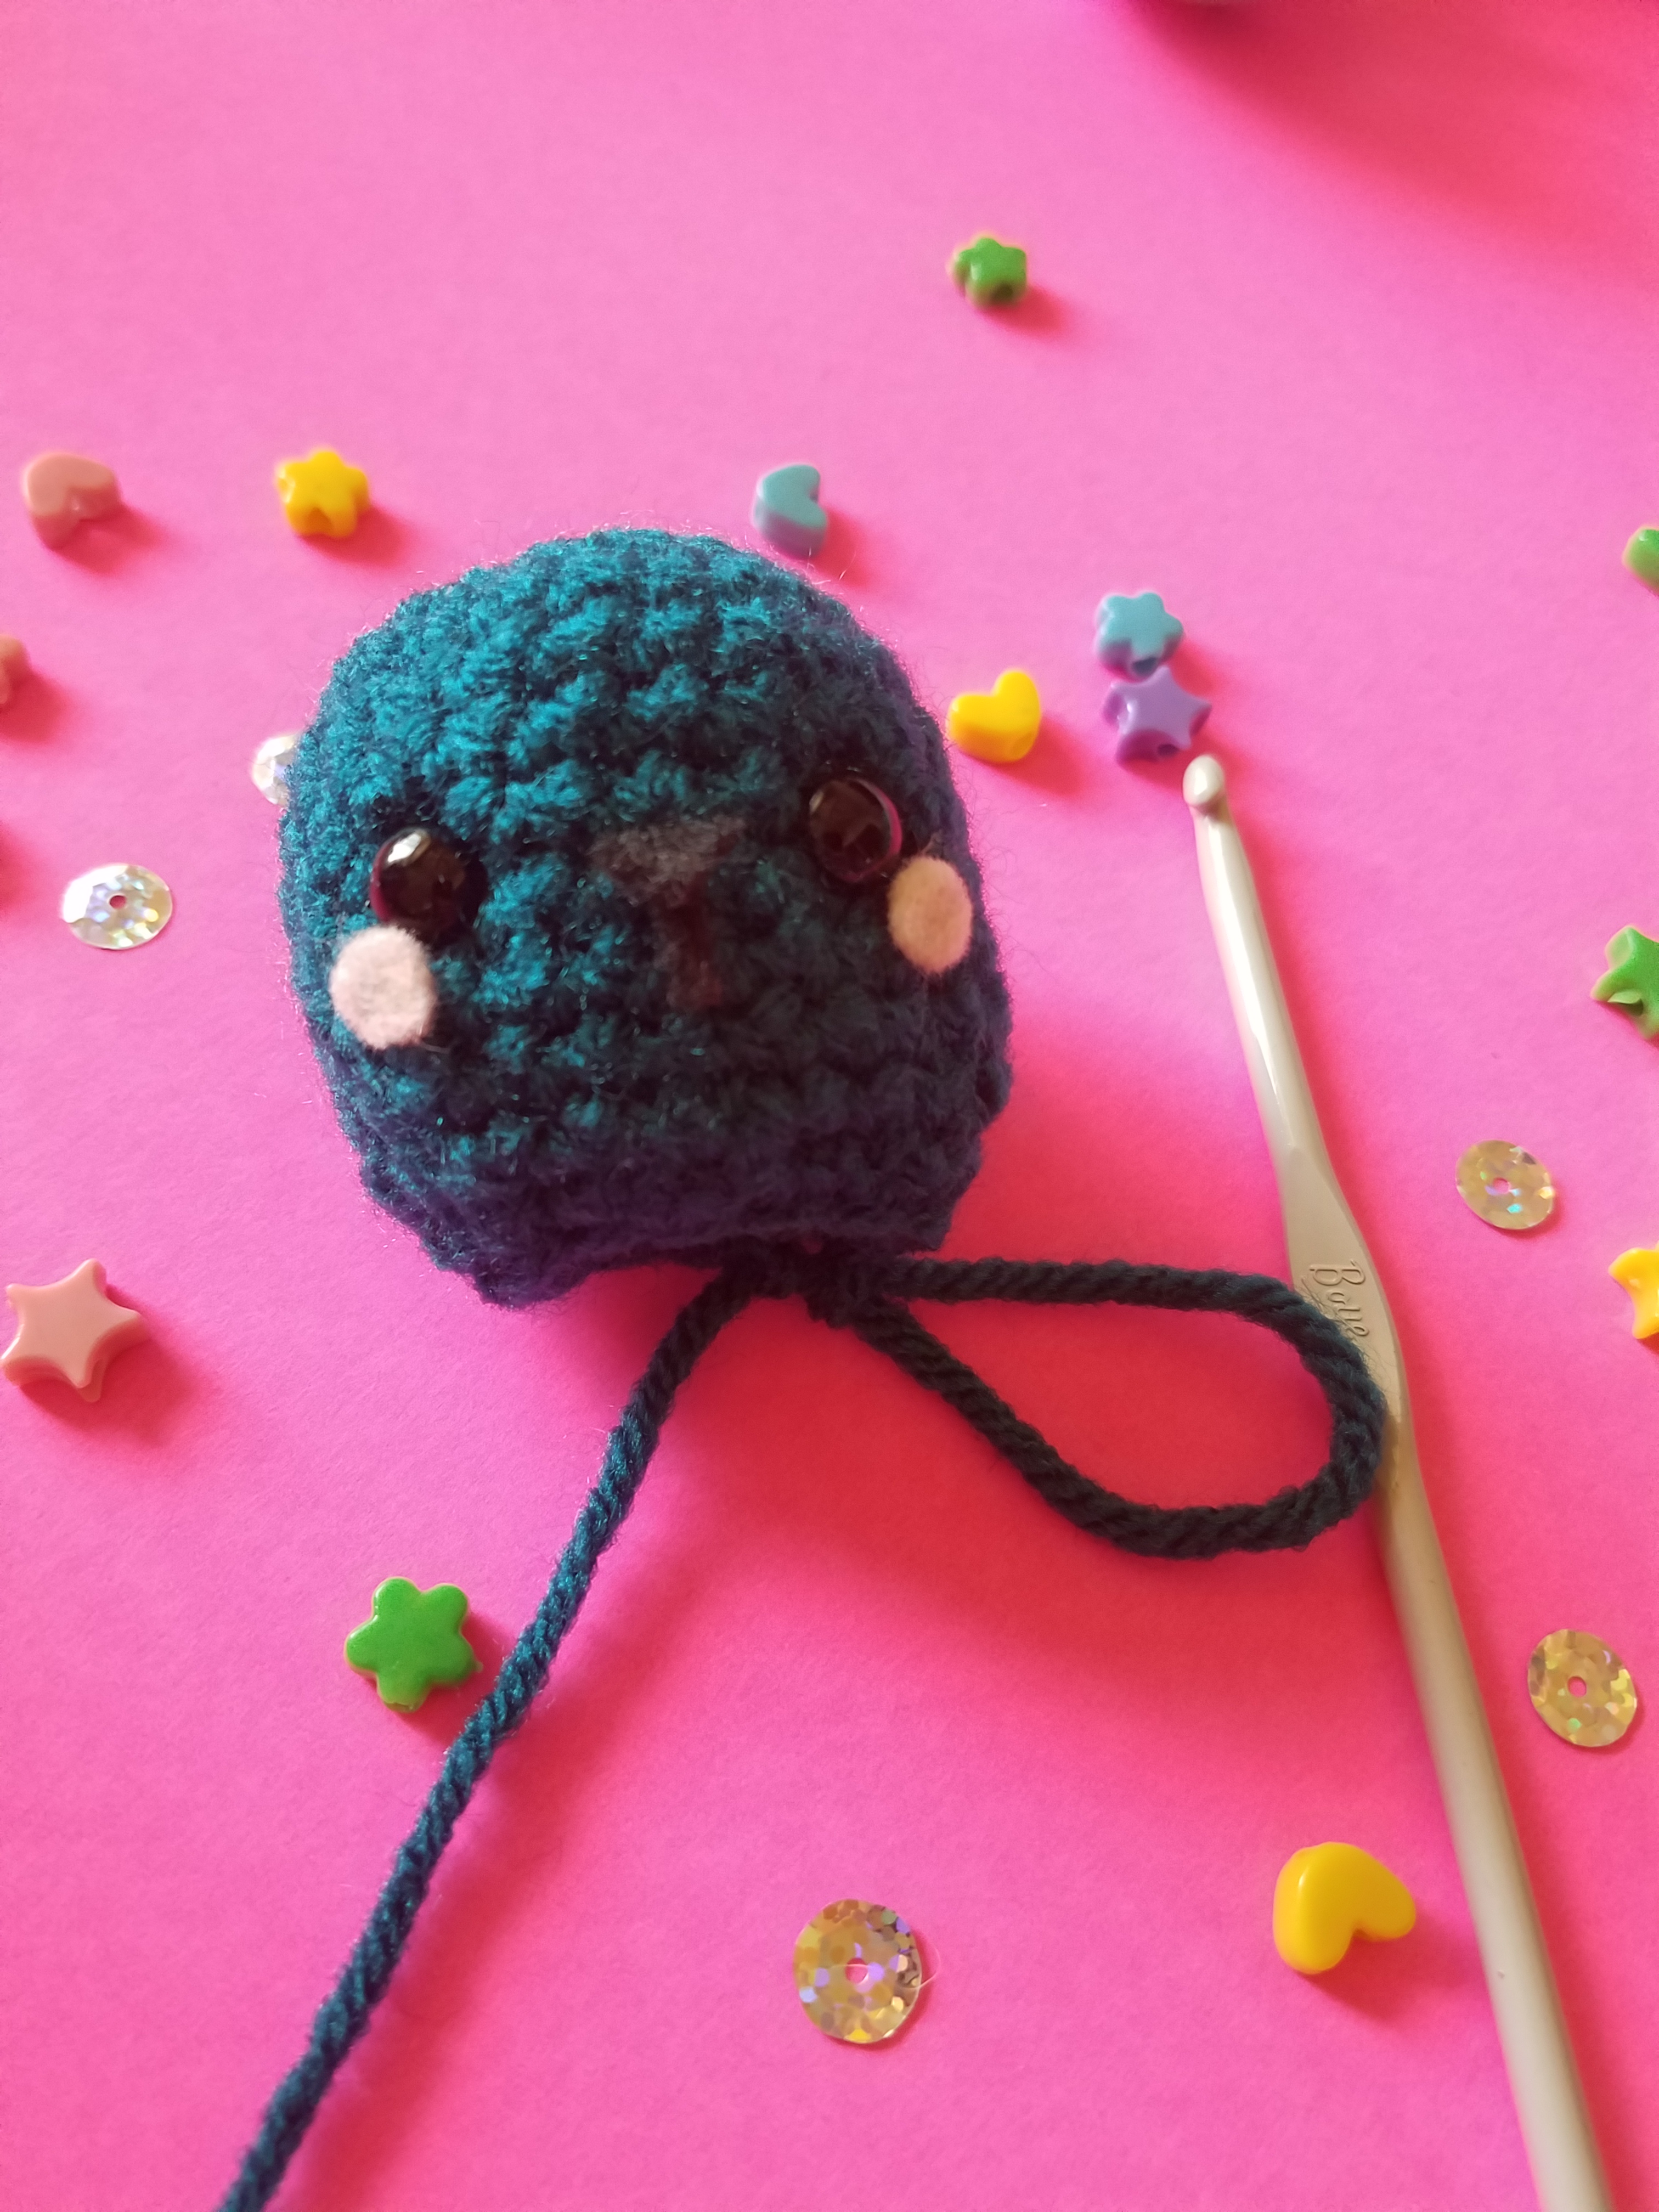
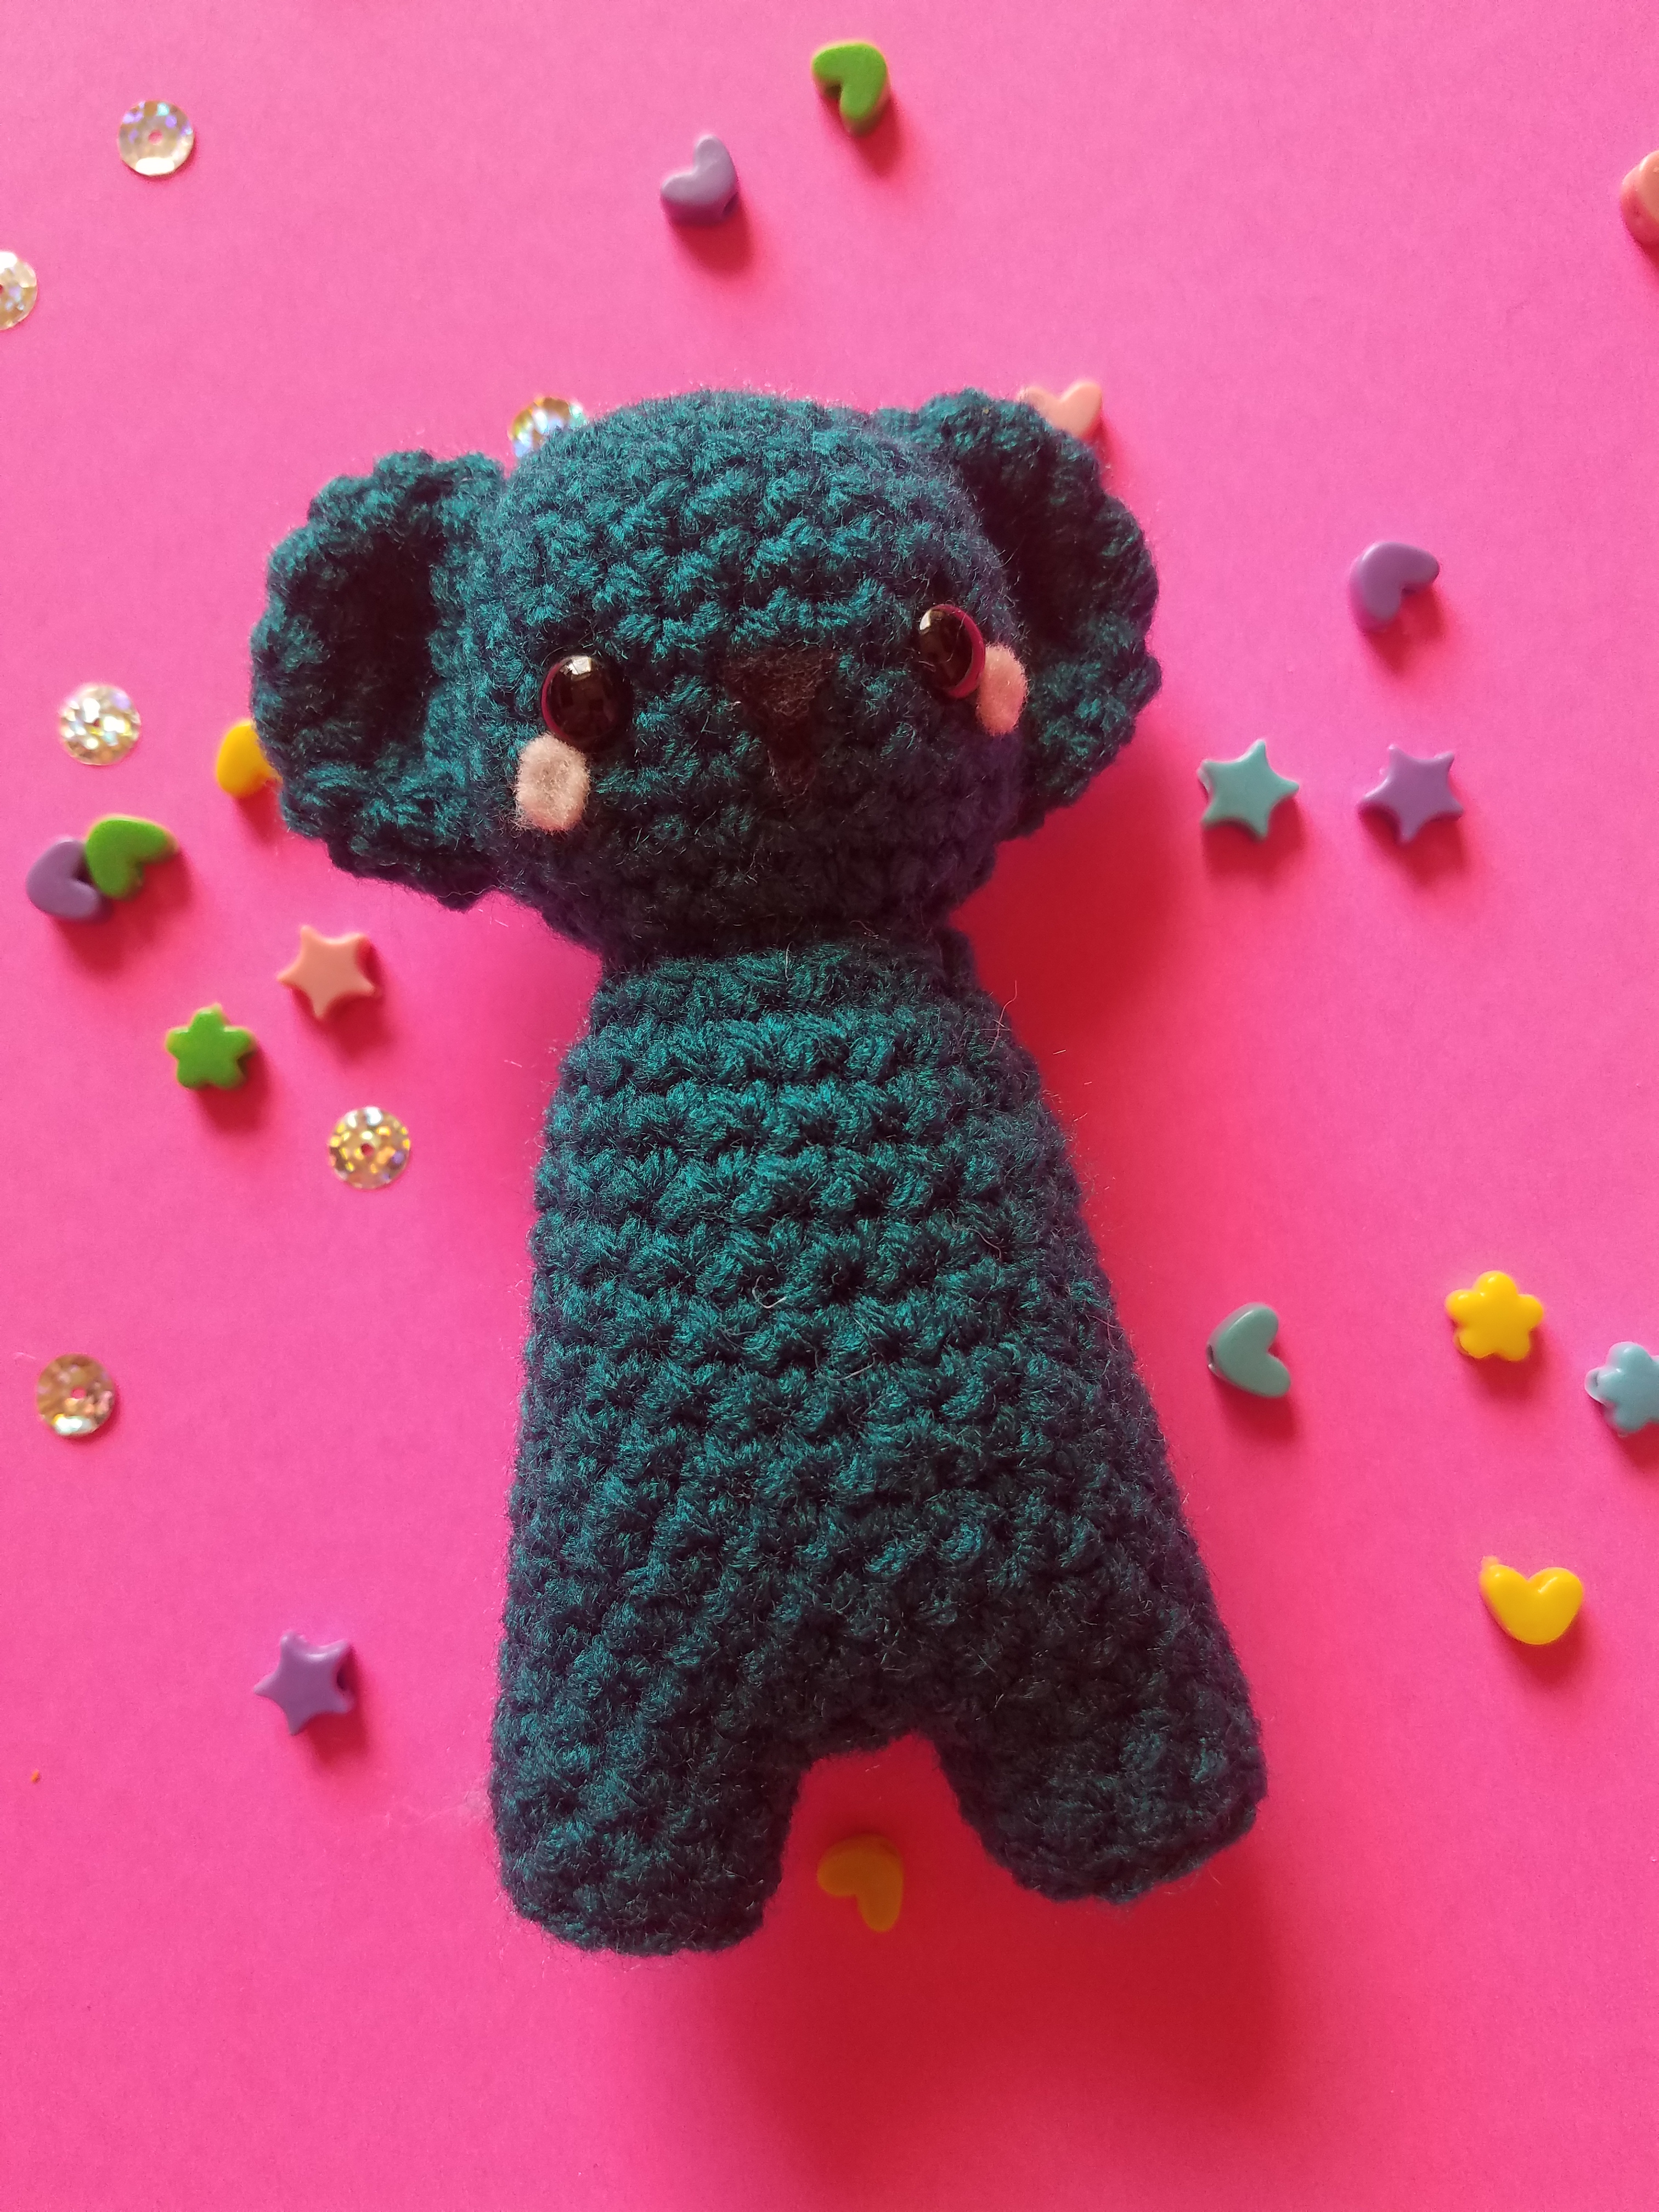
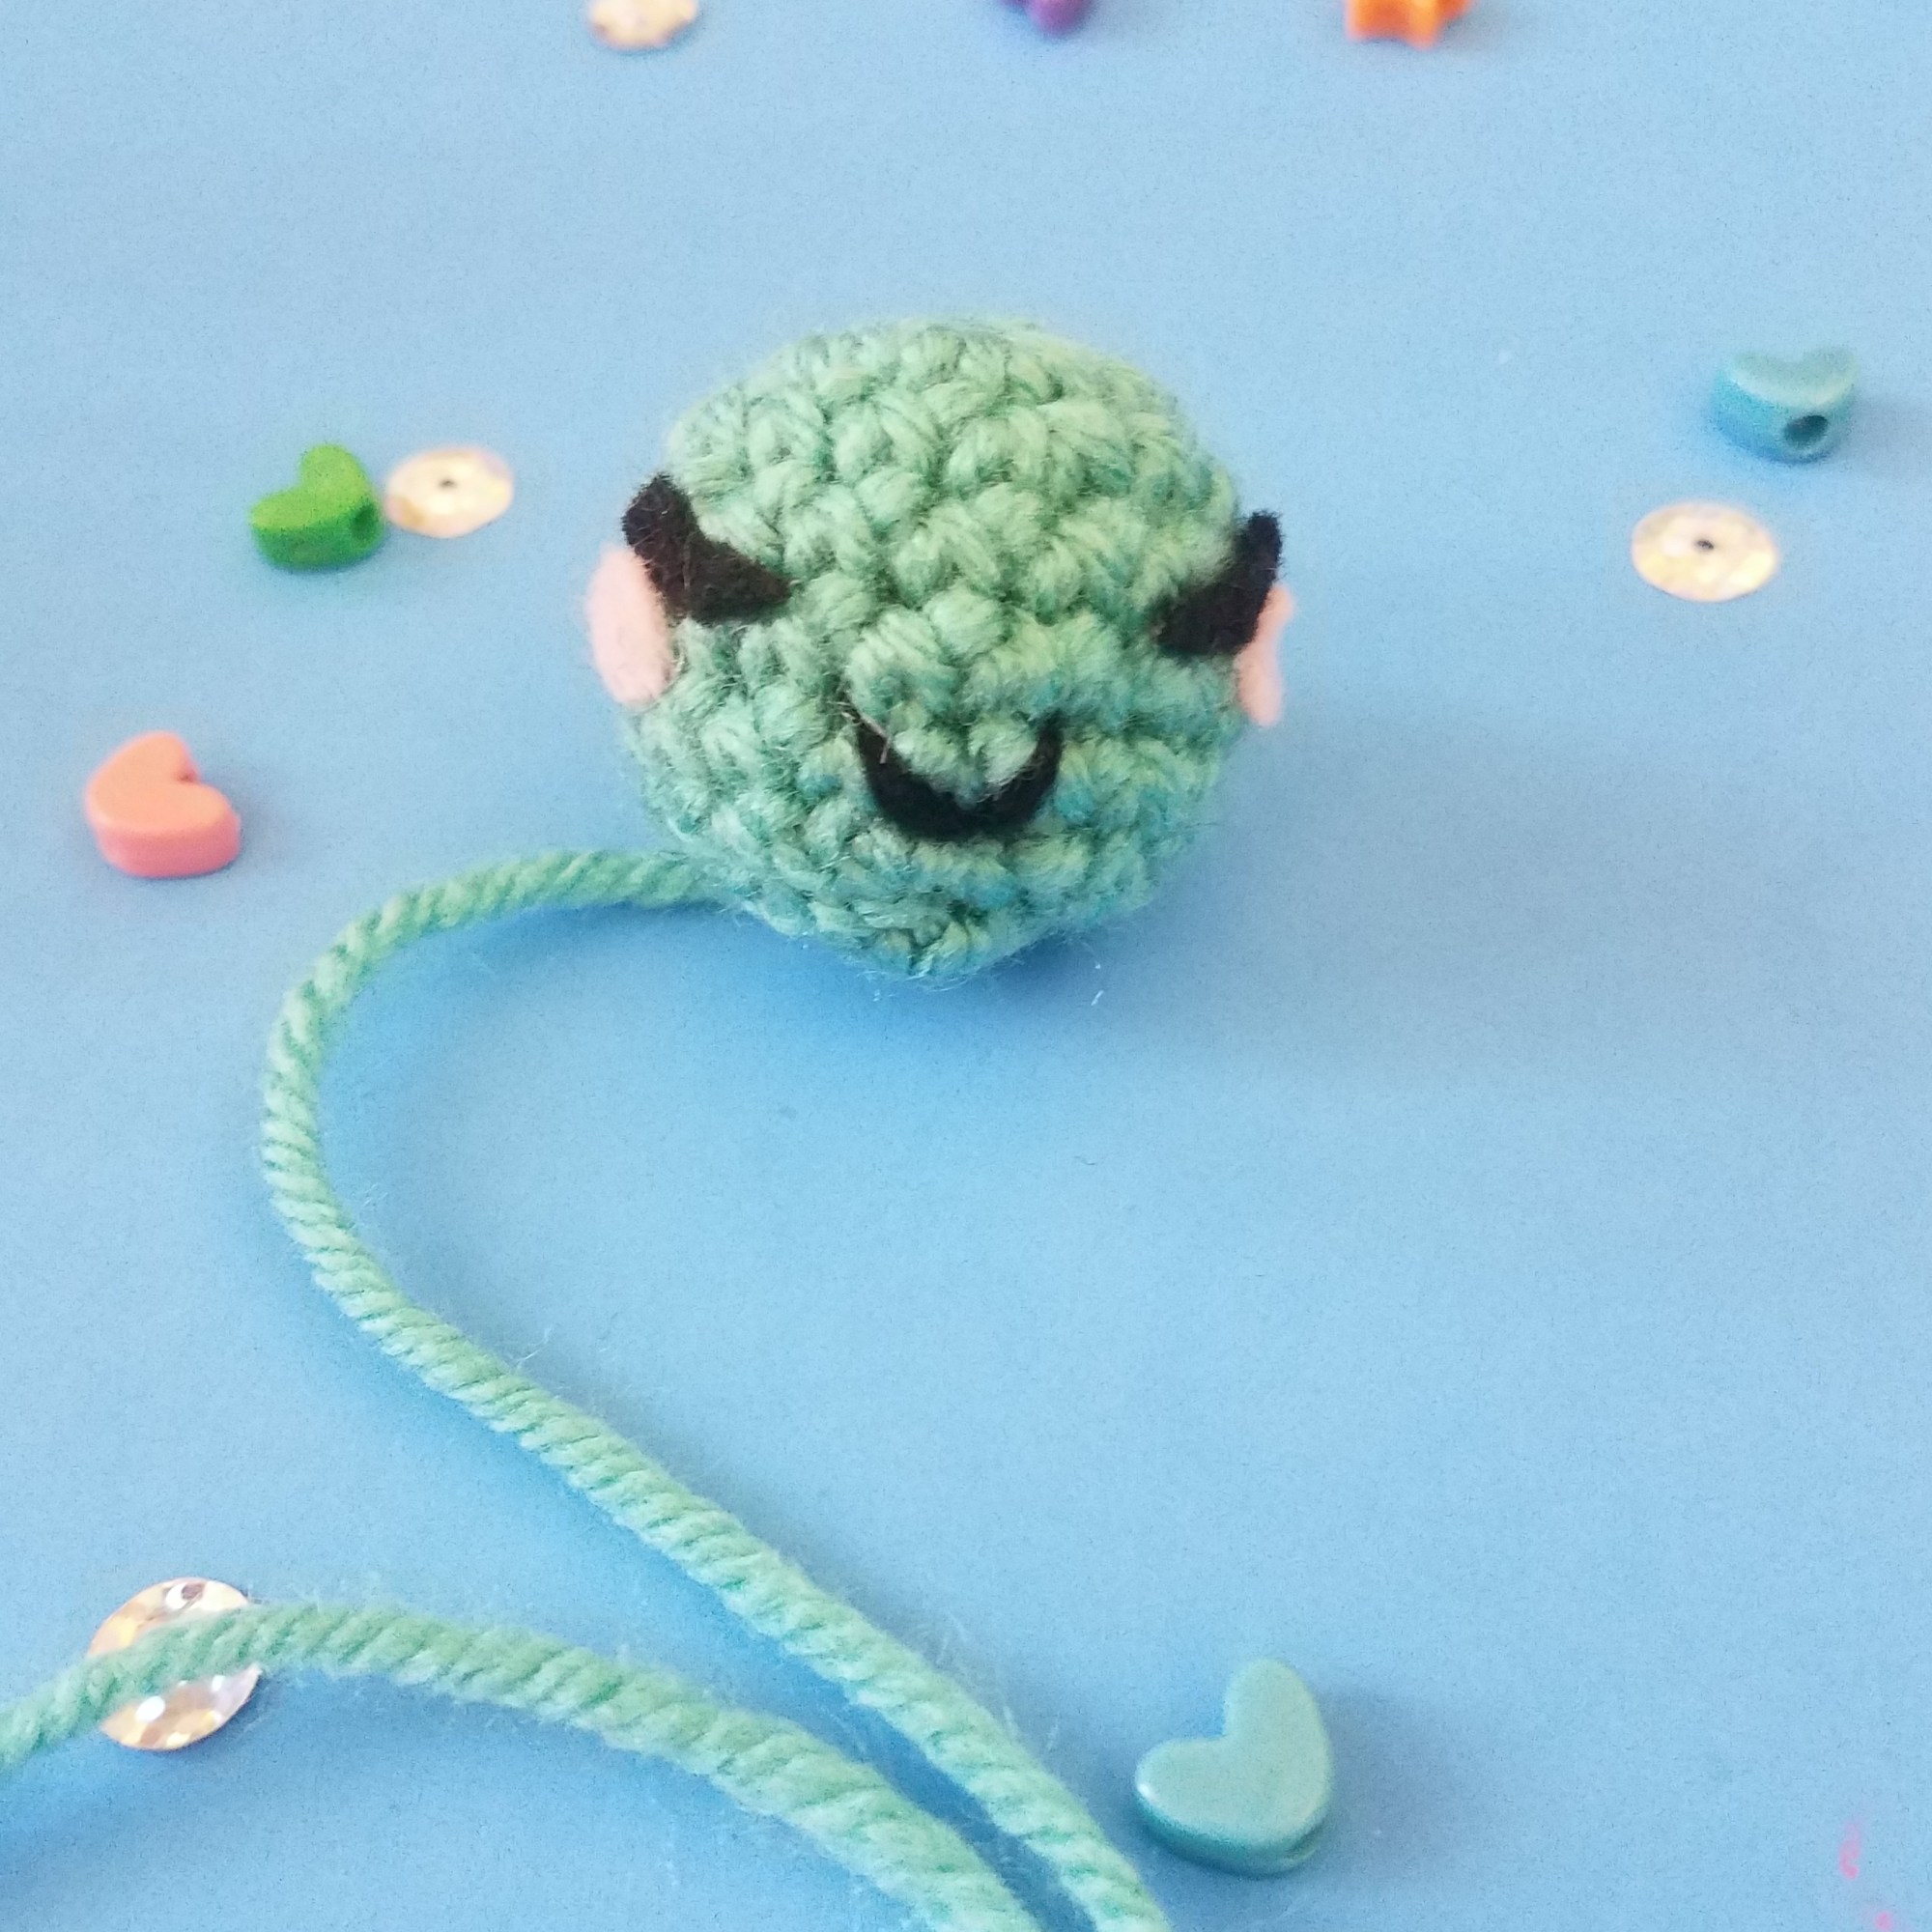
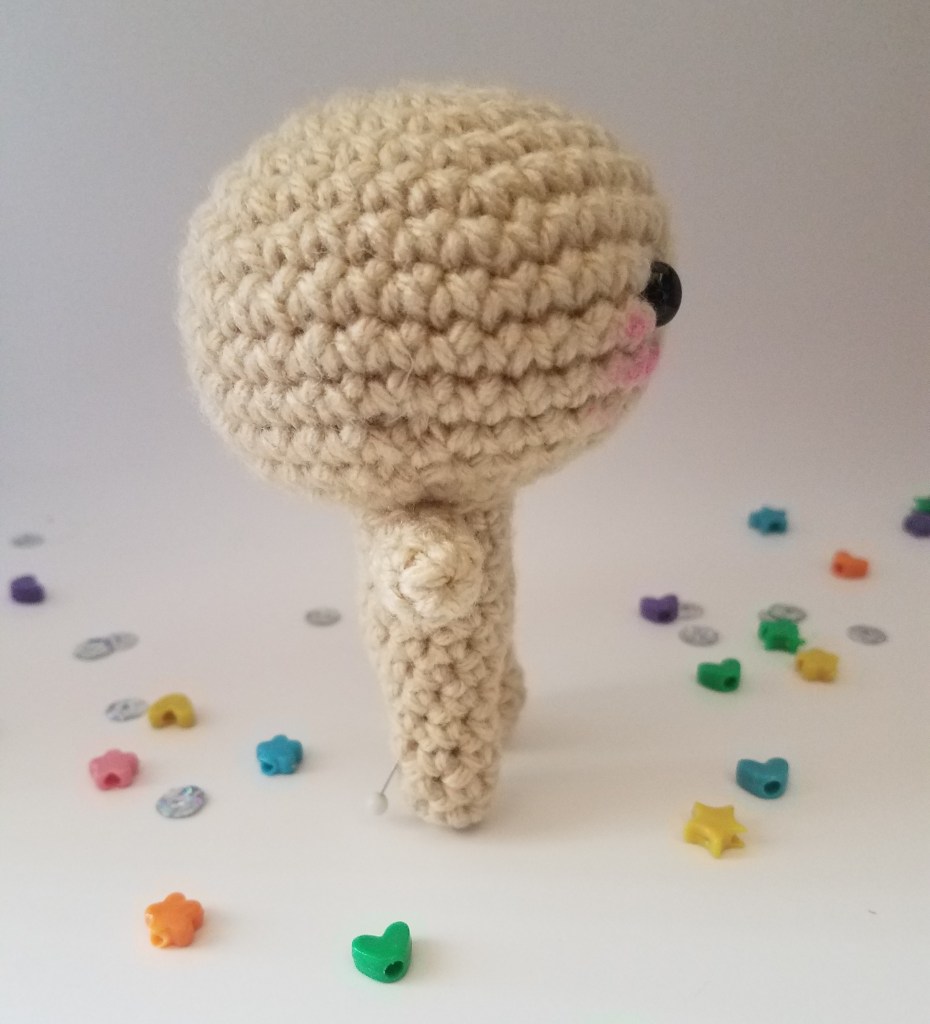
Cut out two ovals in black felt, then make a small cut to insert the 8mm safety eyes.
Insert the black felt with the safety eyes between rounds 9 and 10, about 6 stitches apart.
Using black yarn/thread, sew on the mouth.
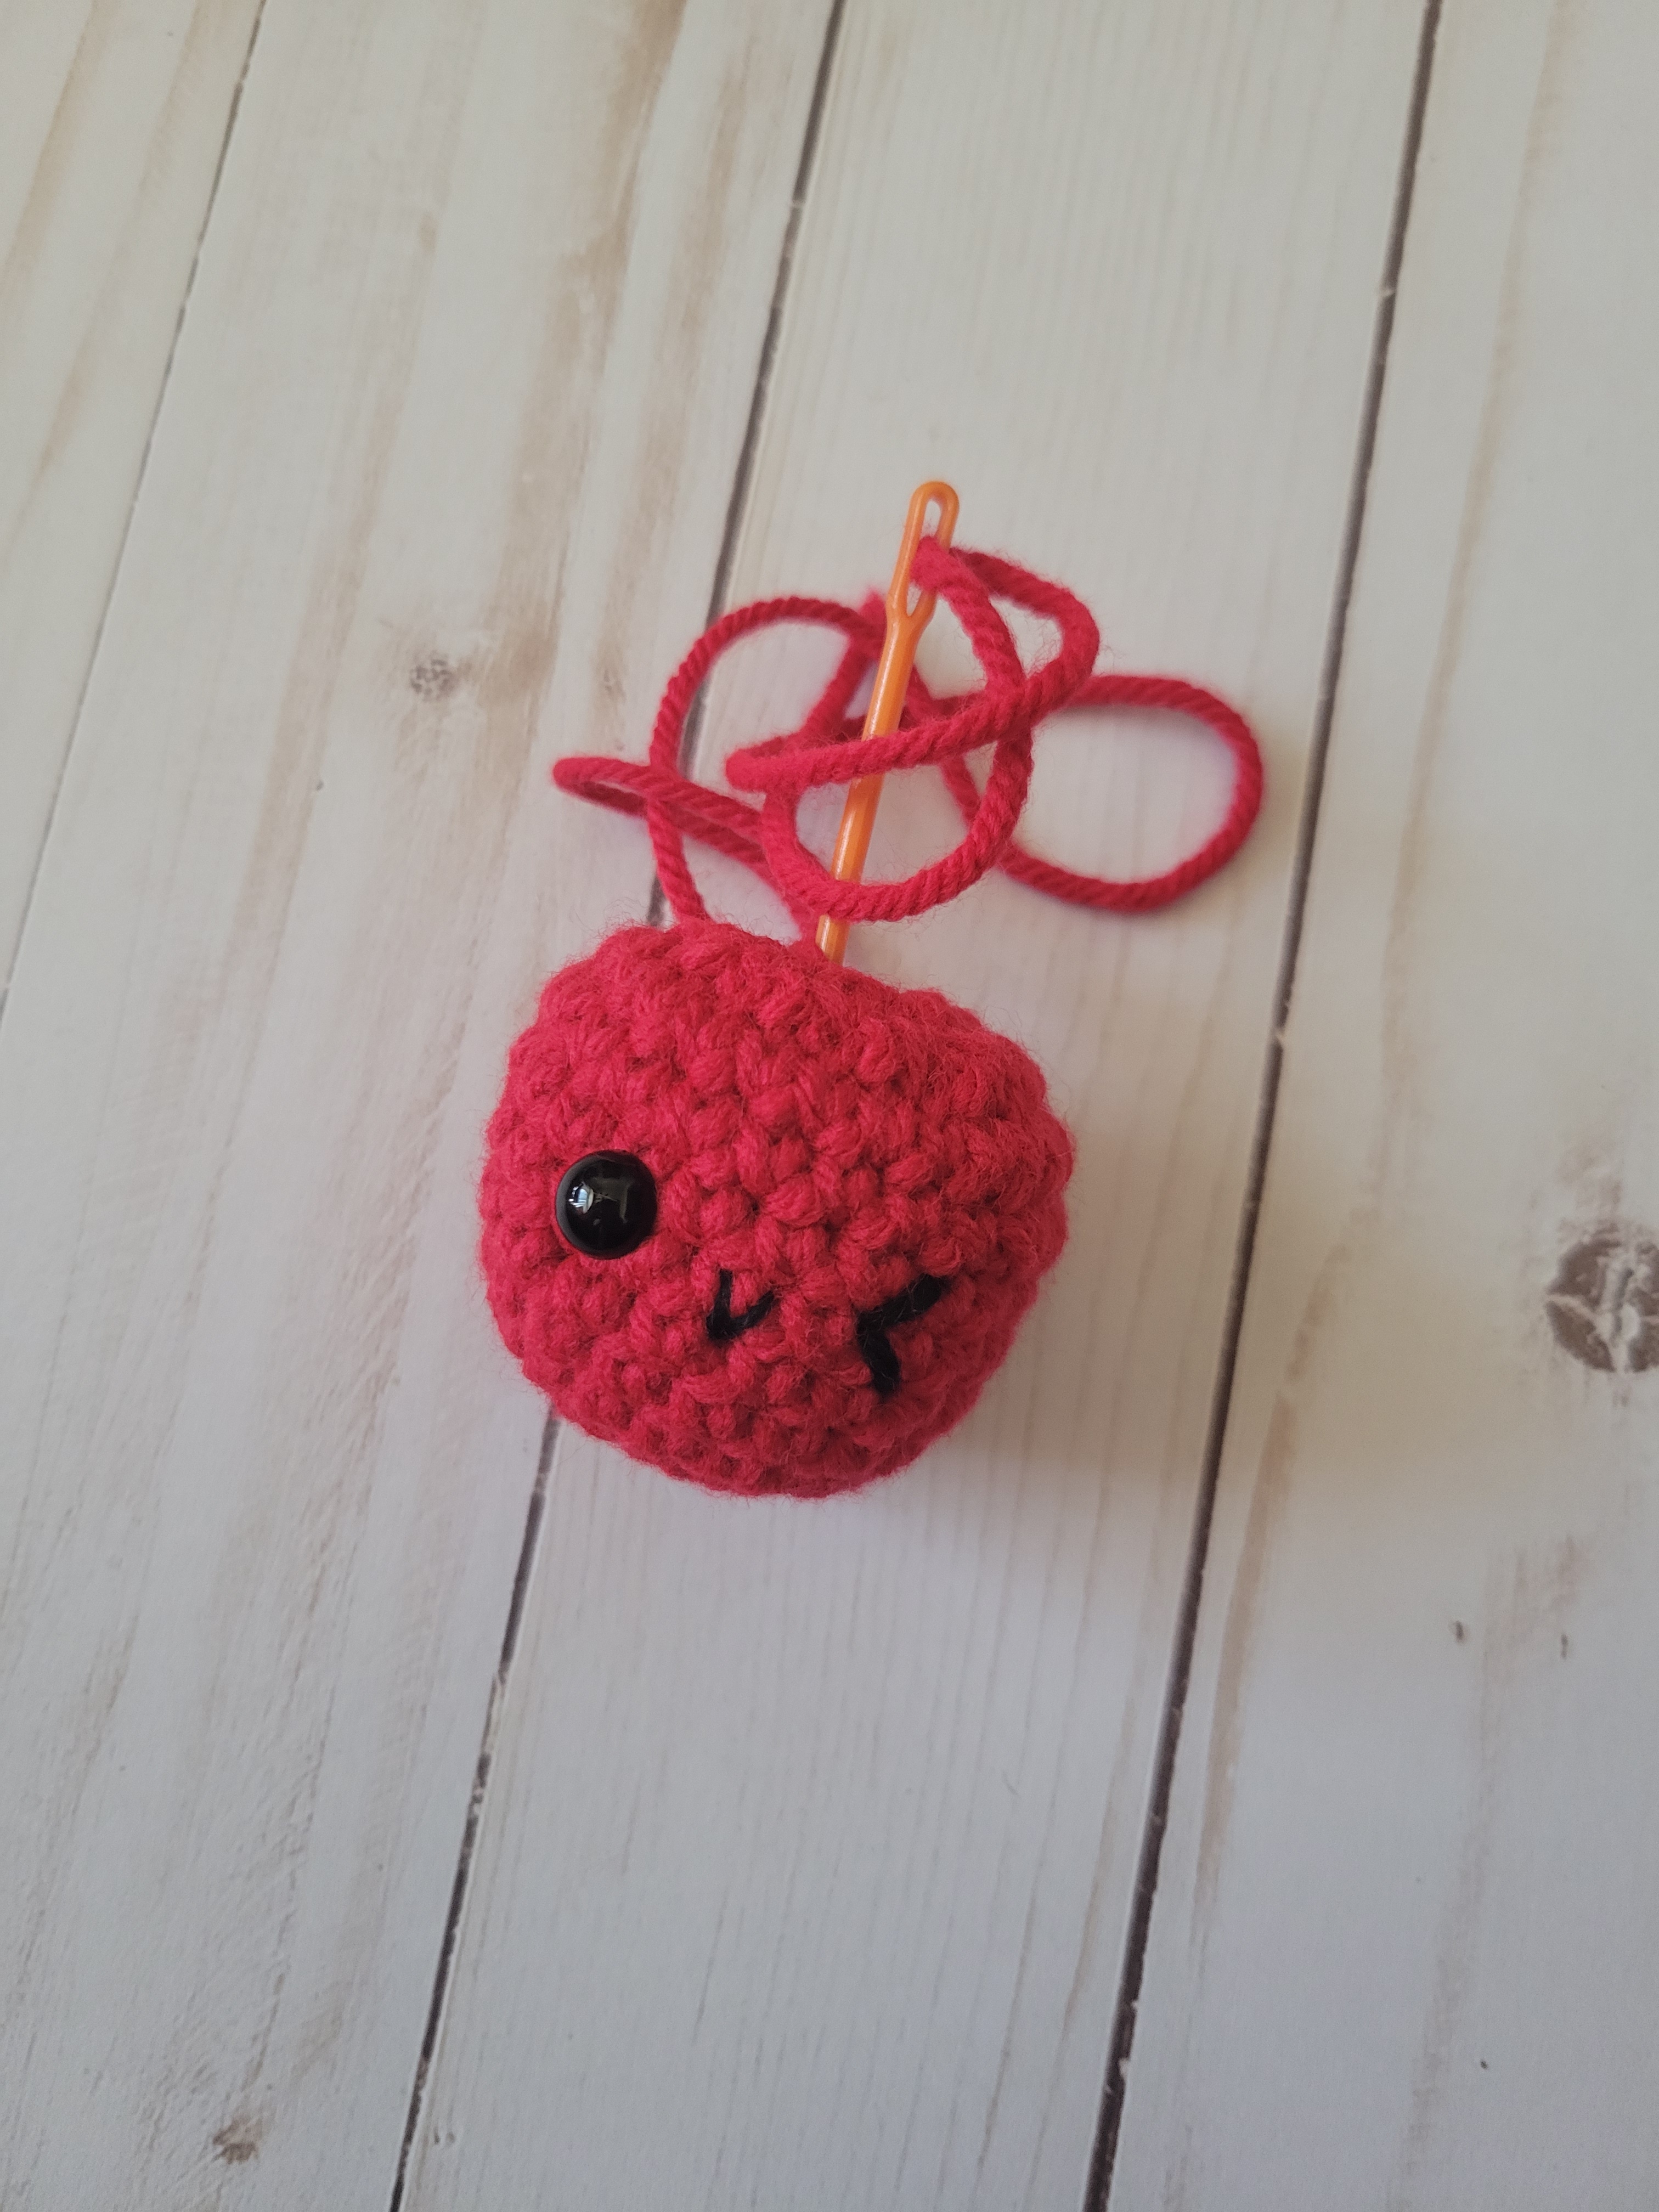
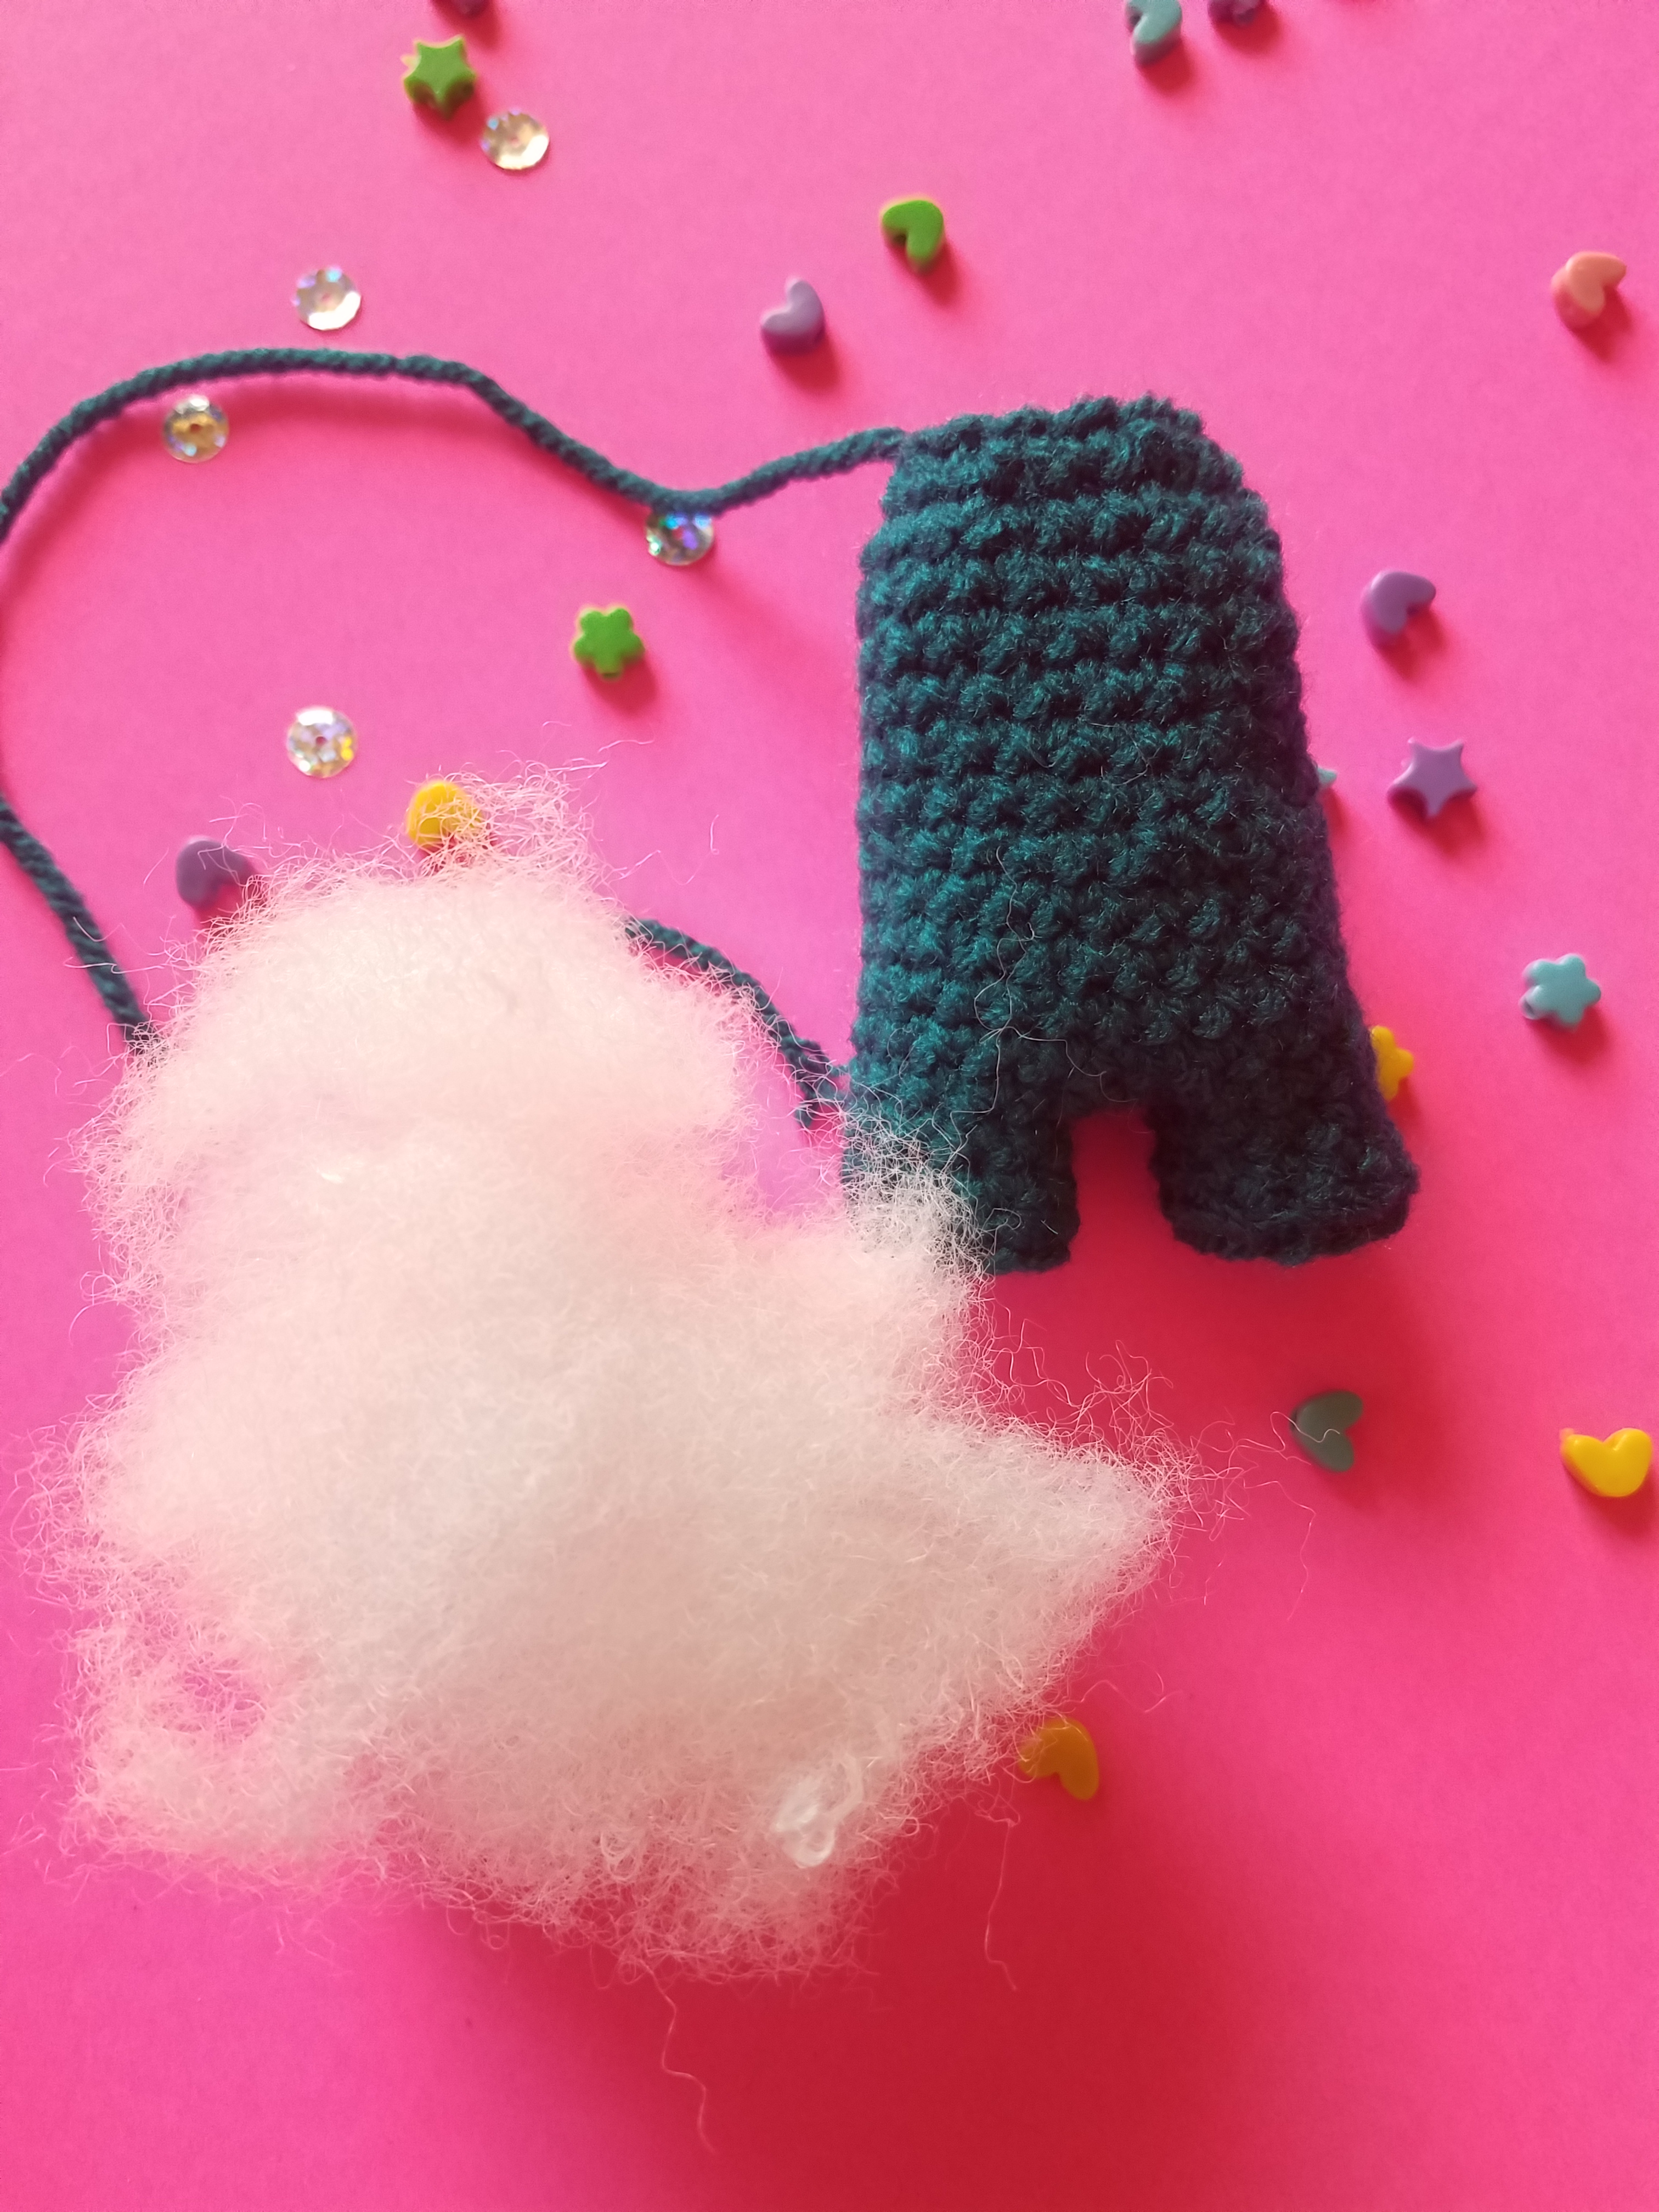
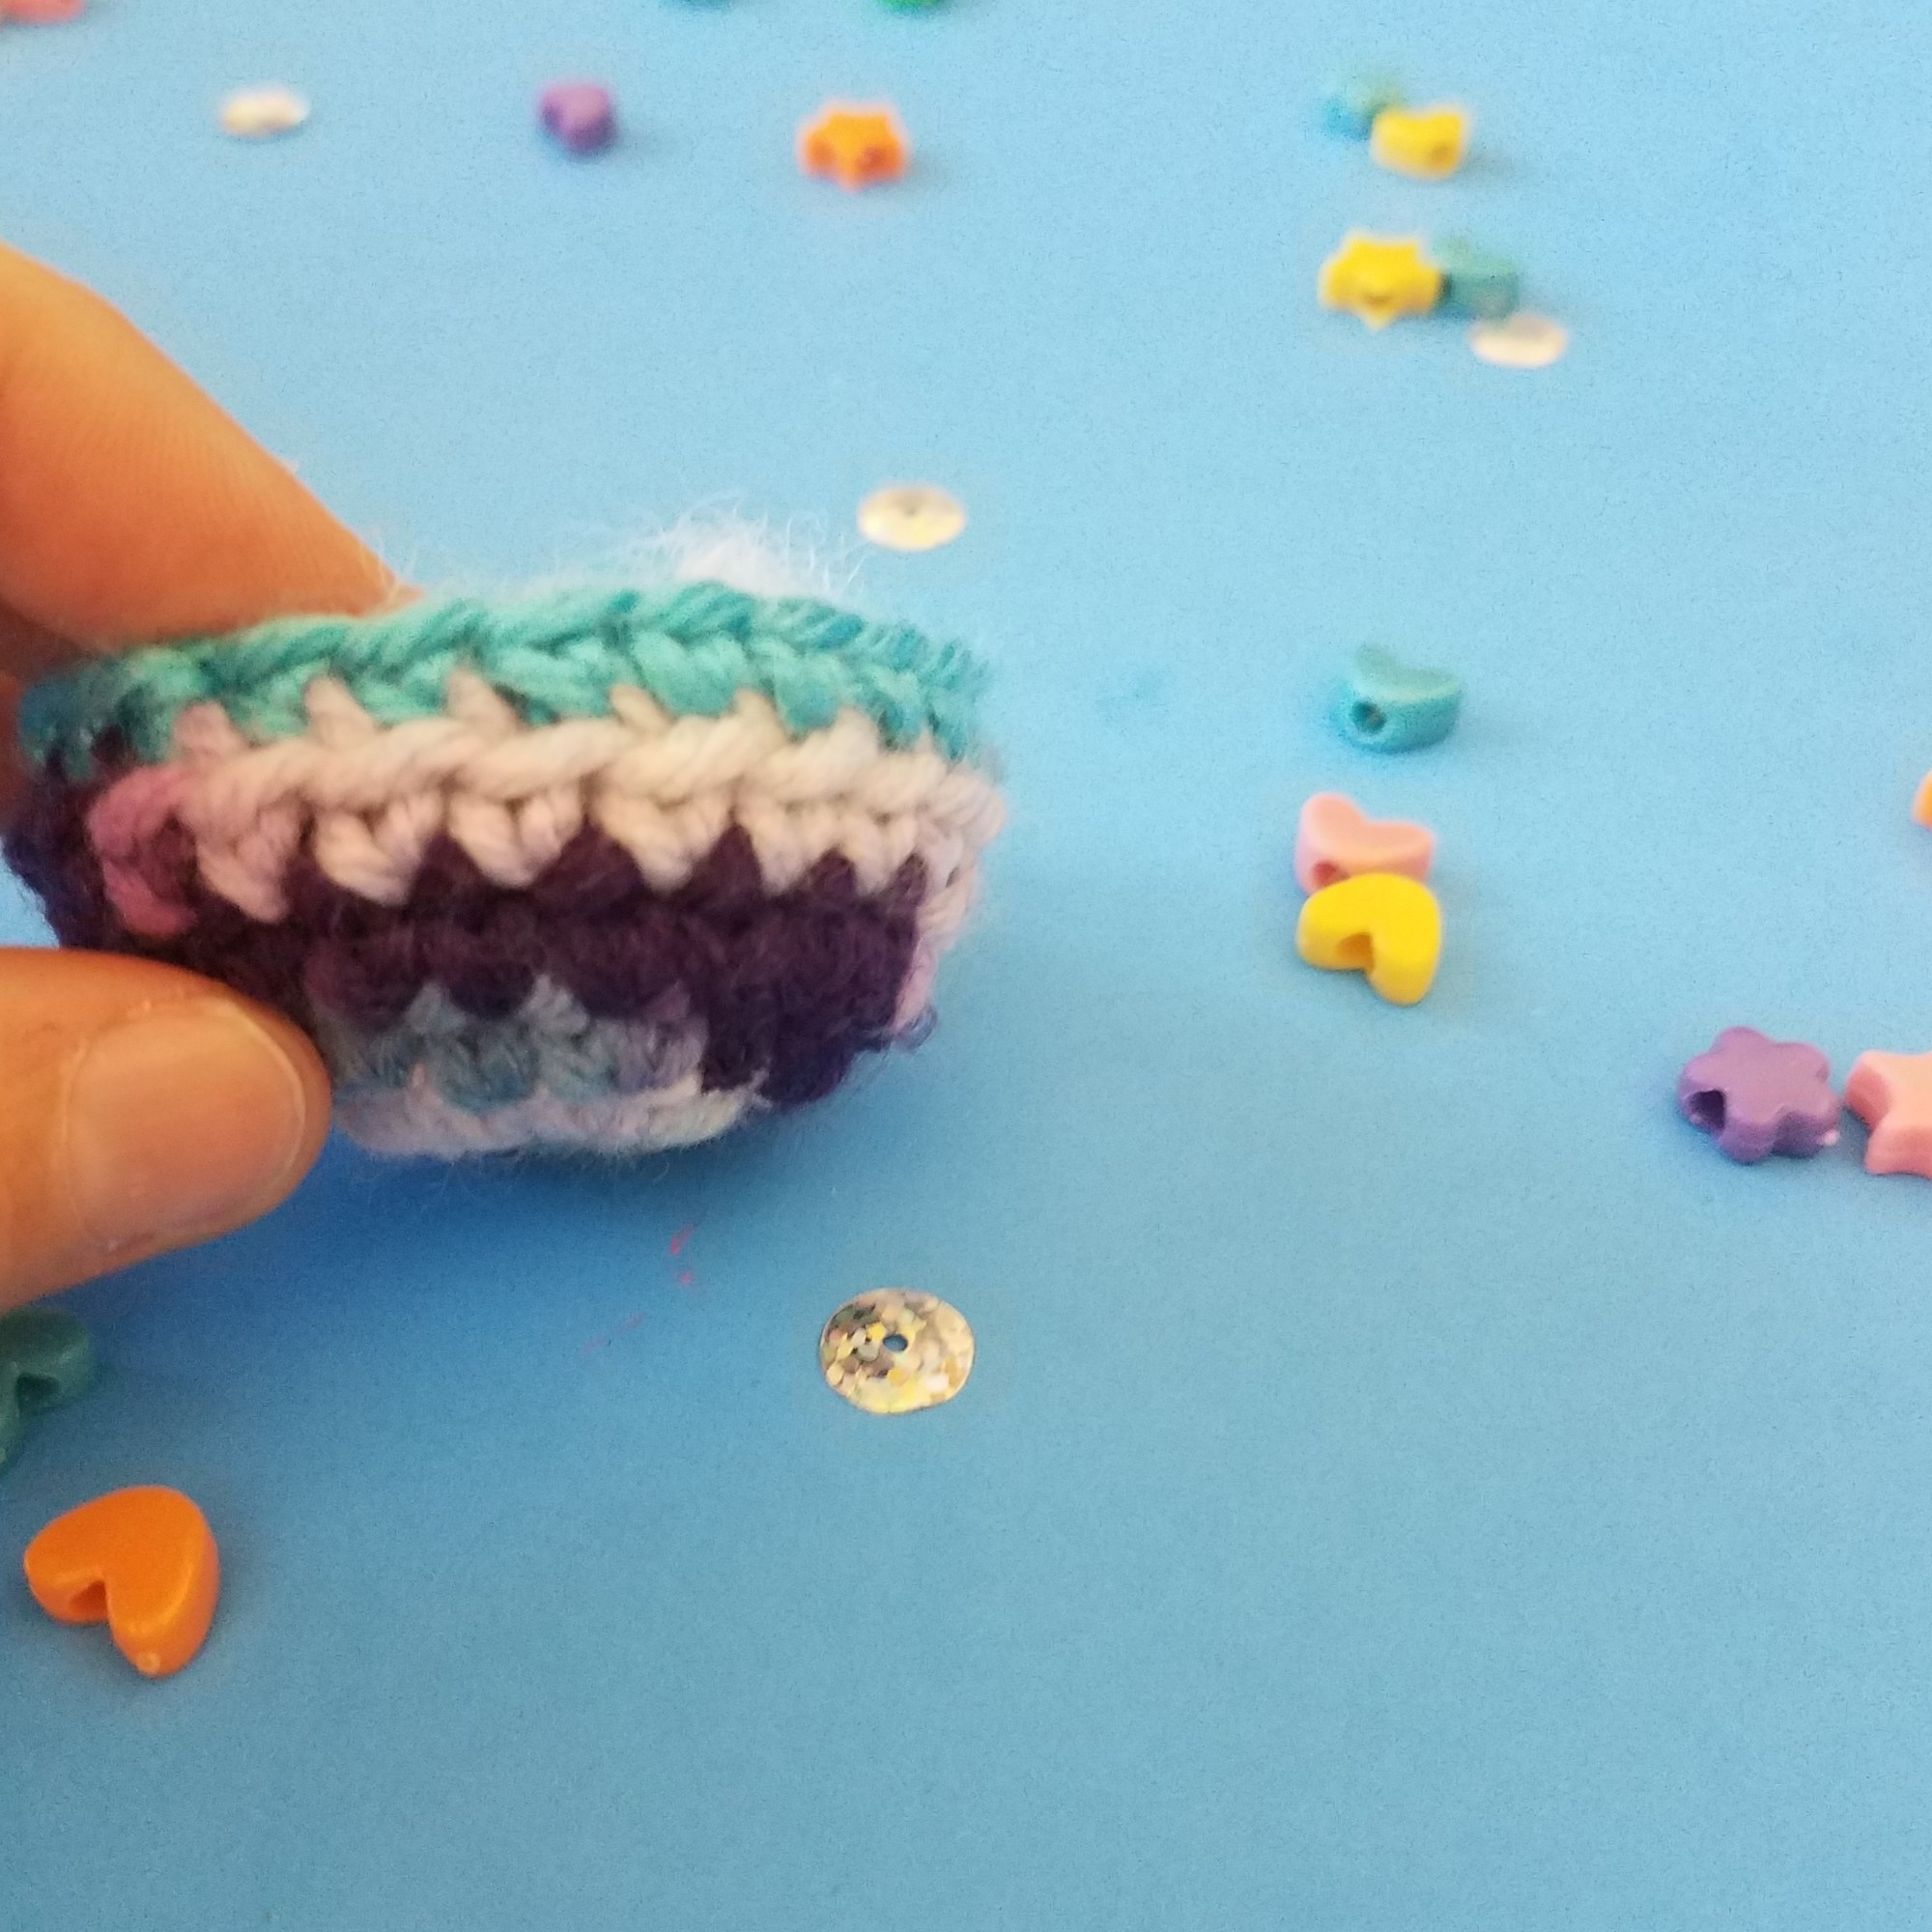
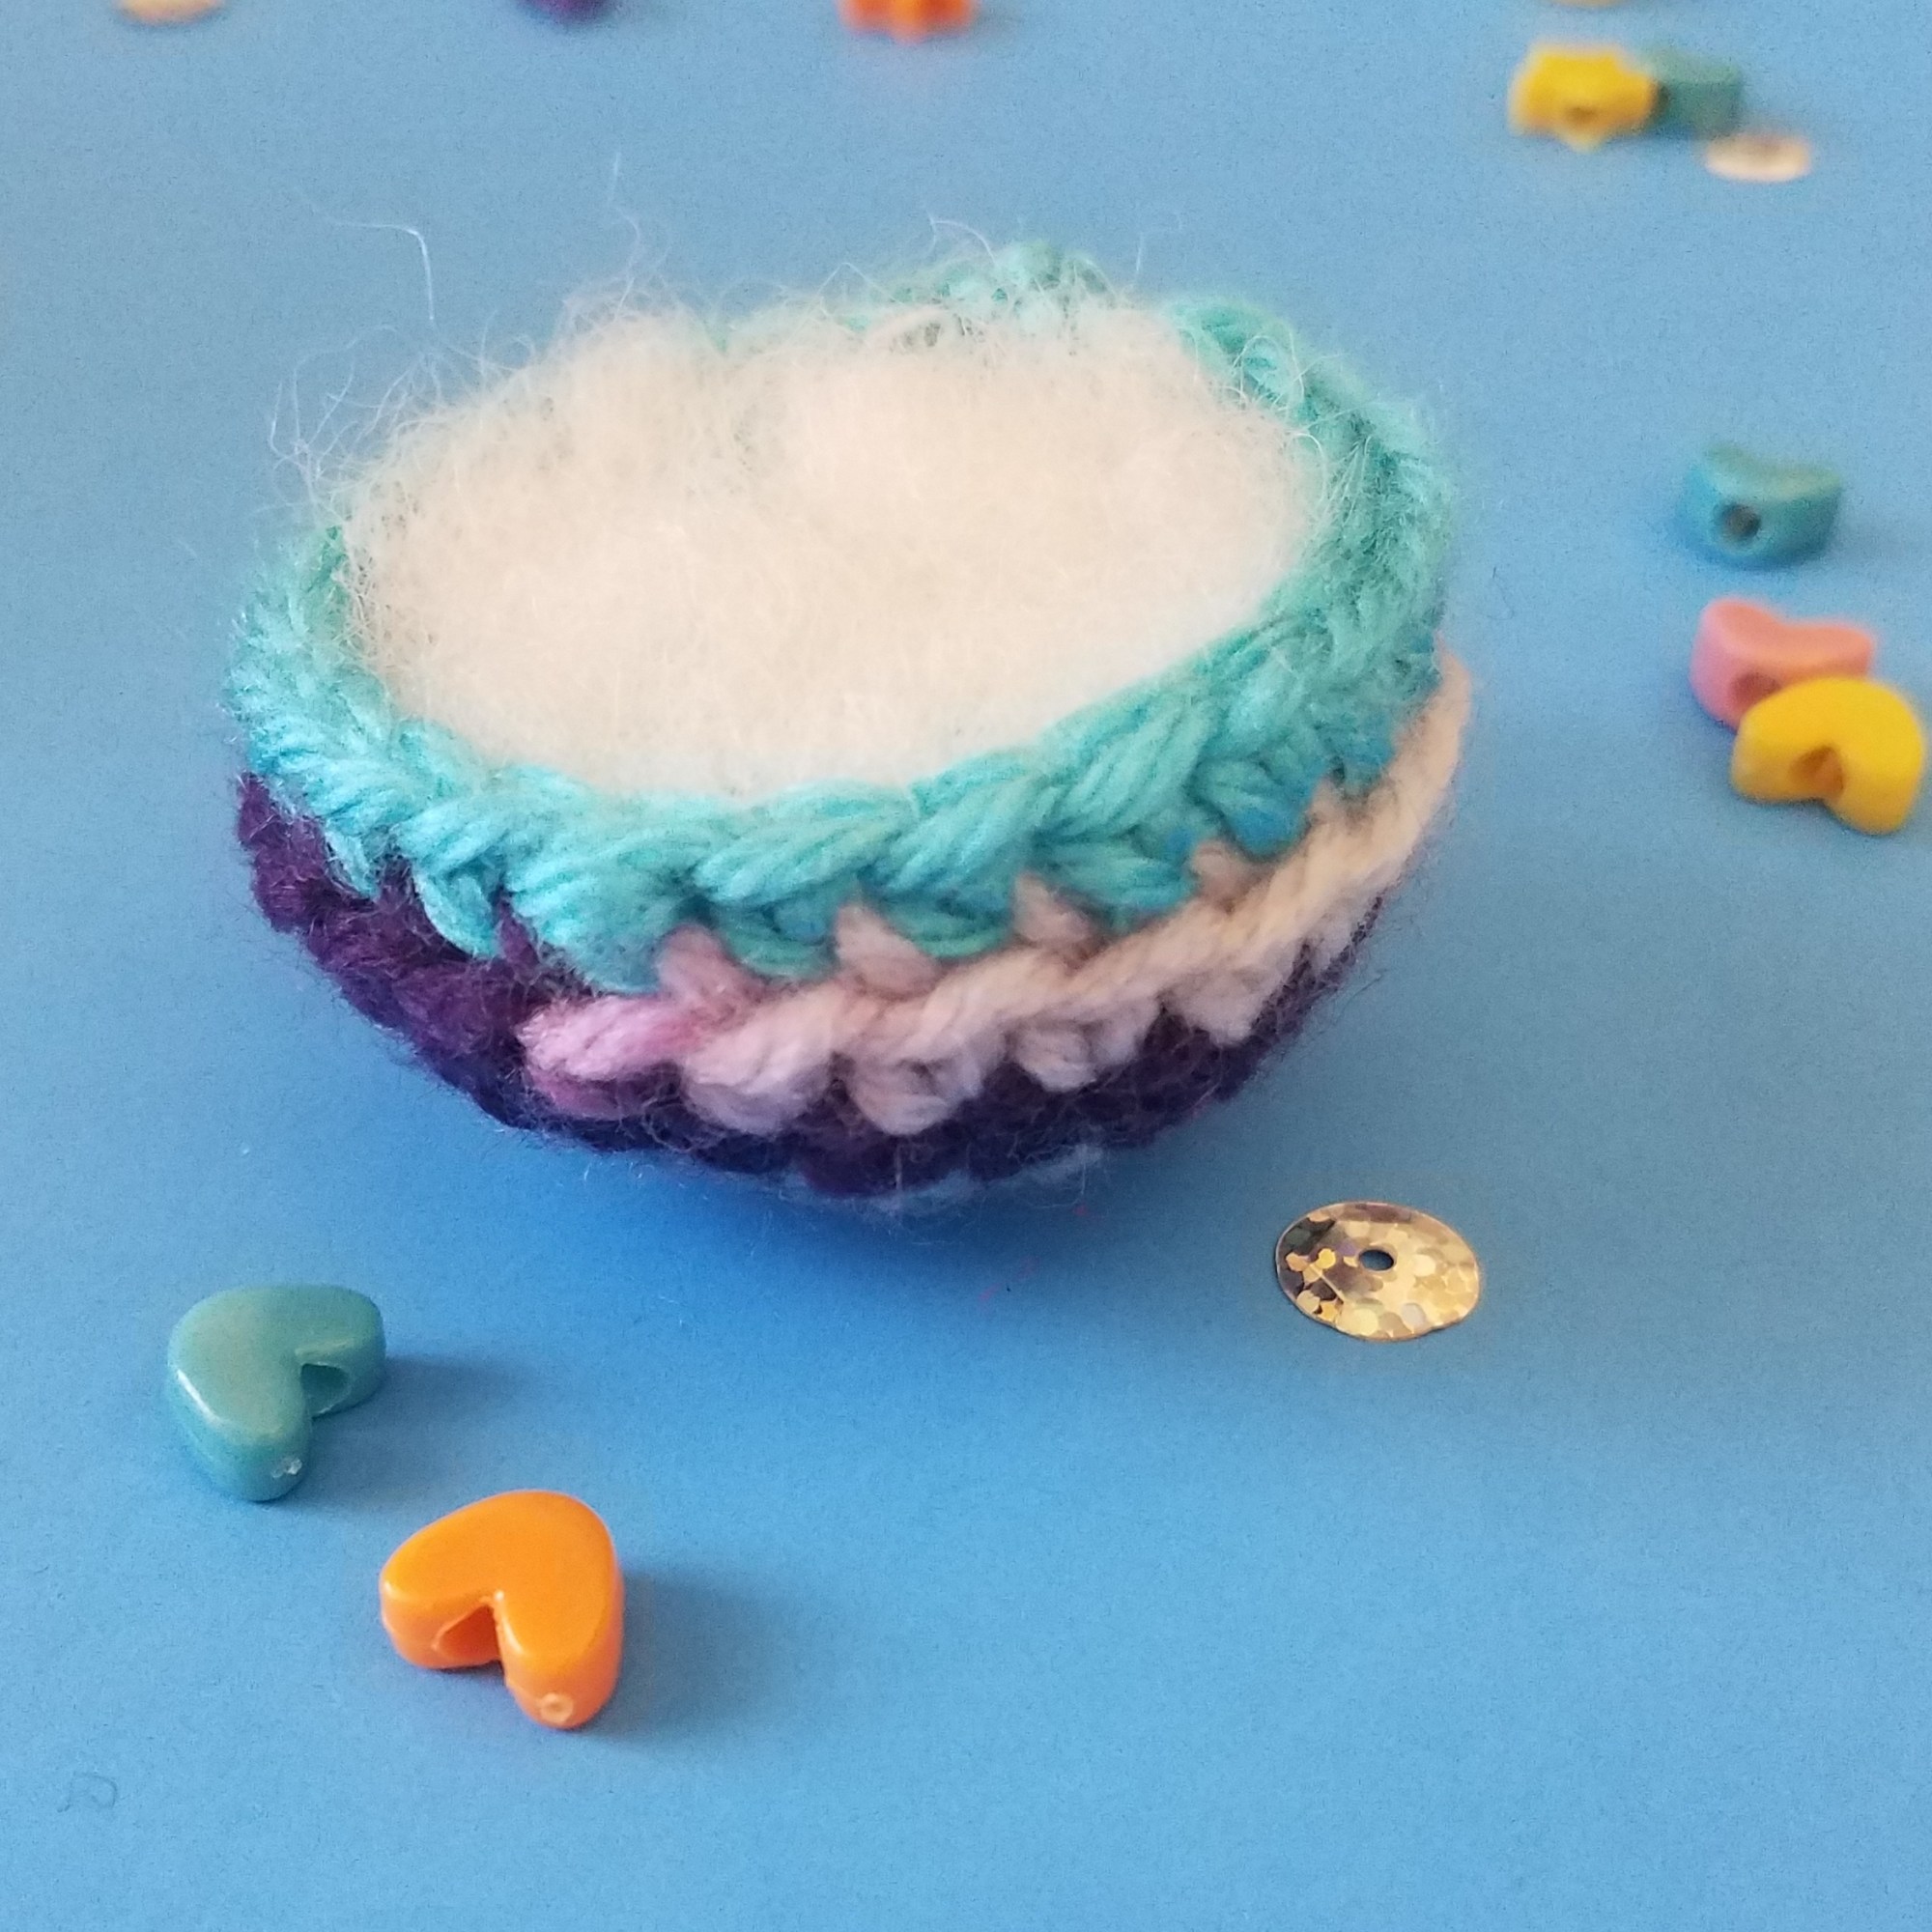
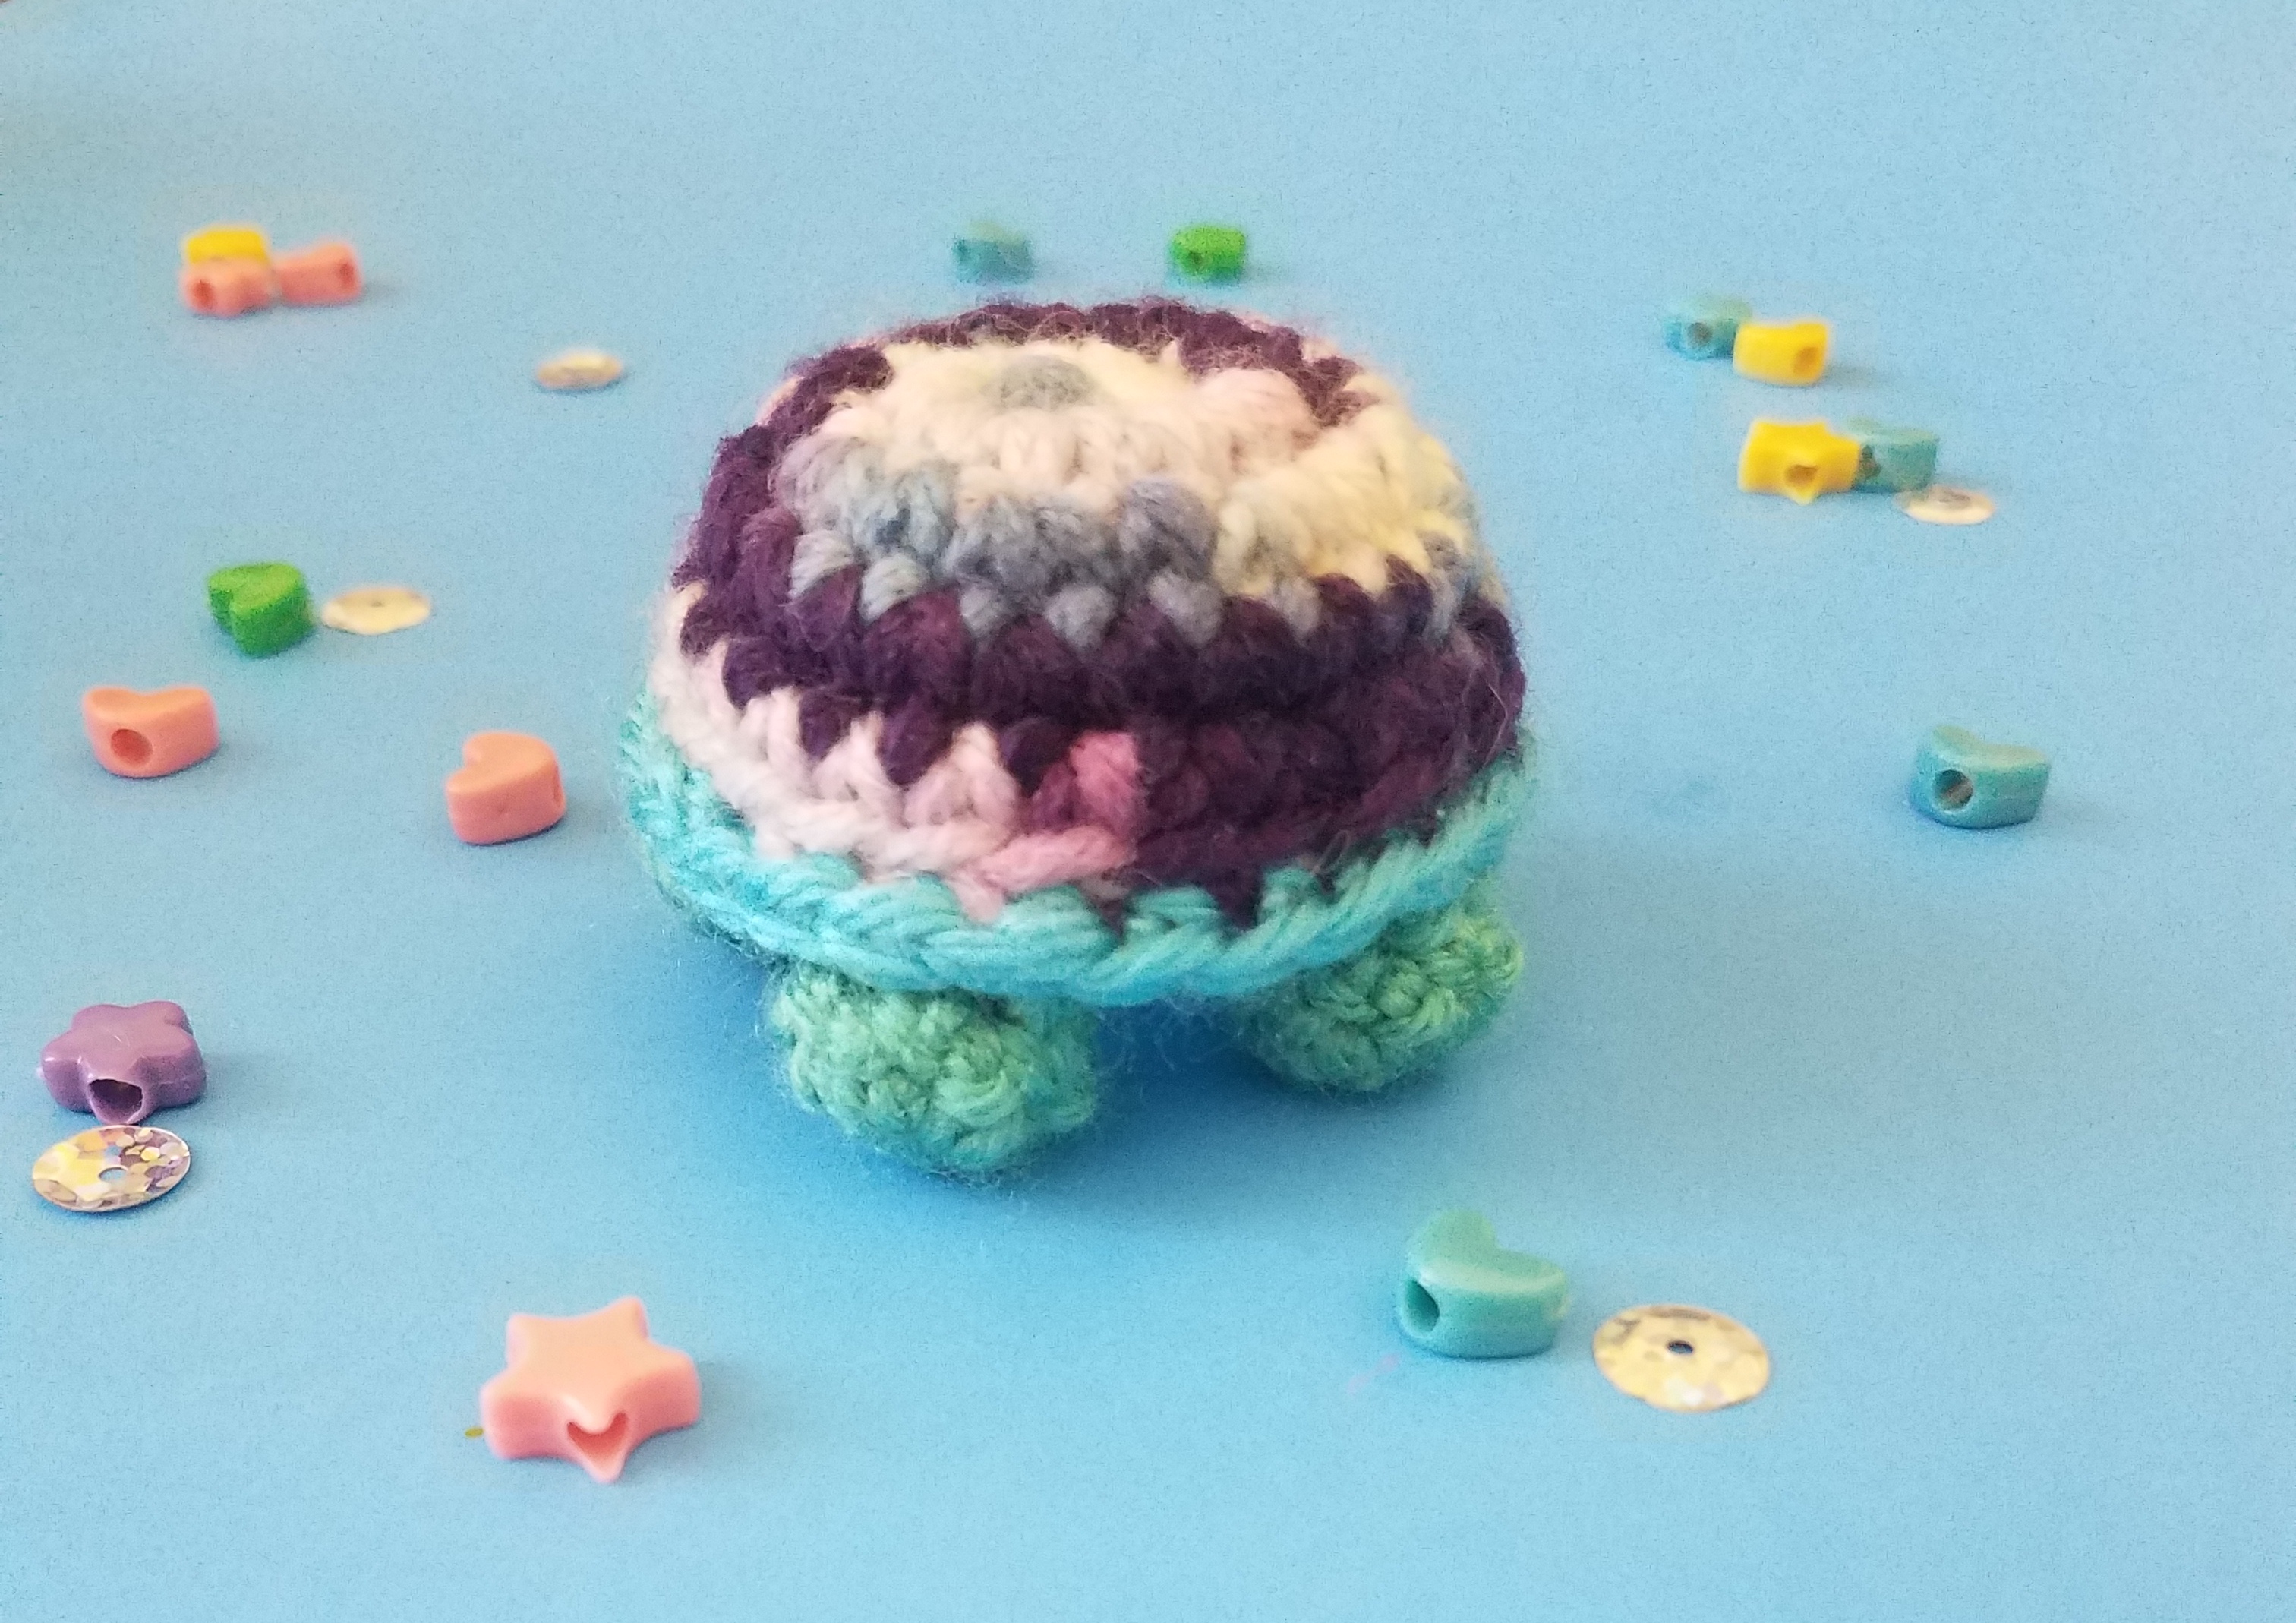
Begin stuffing, and continue to stuff from here to the end.
17. SC 1, DEC * (12)
18. DEC * (6)
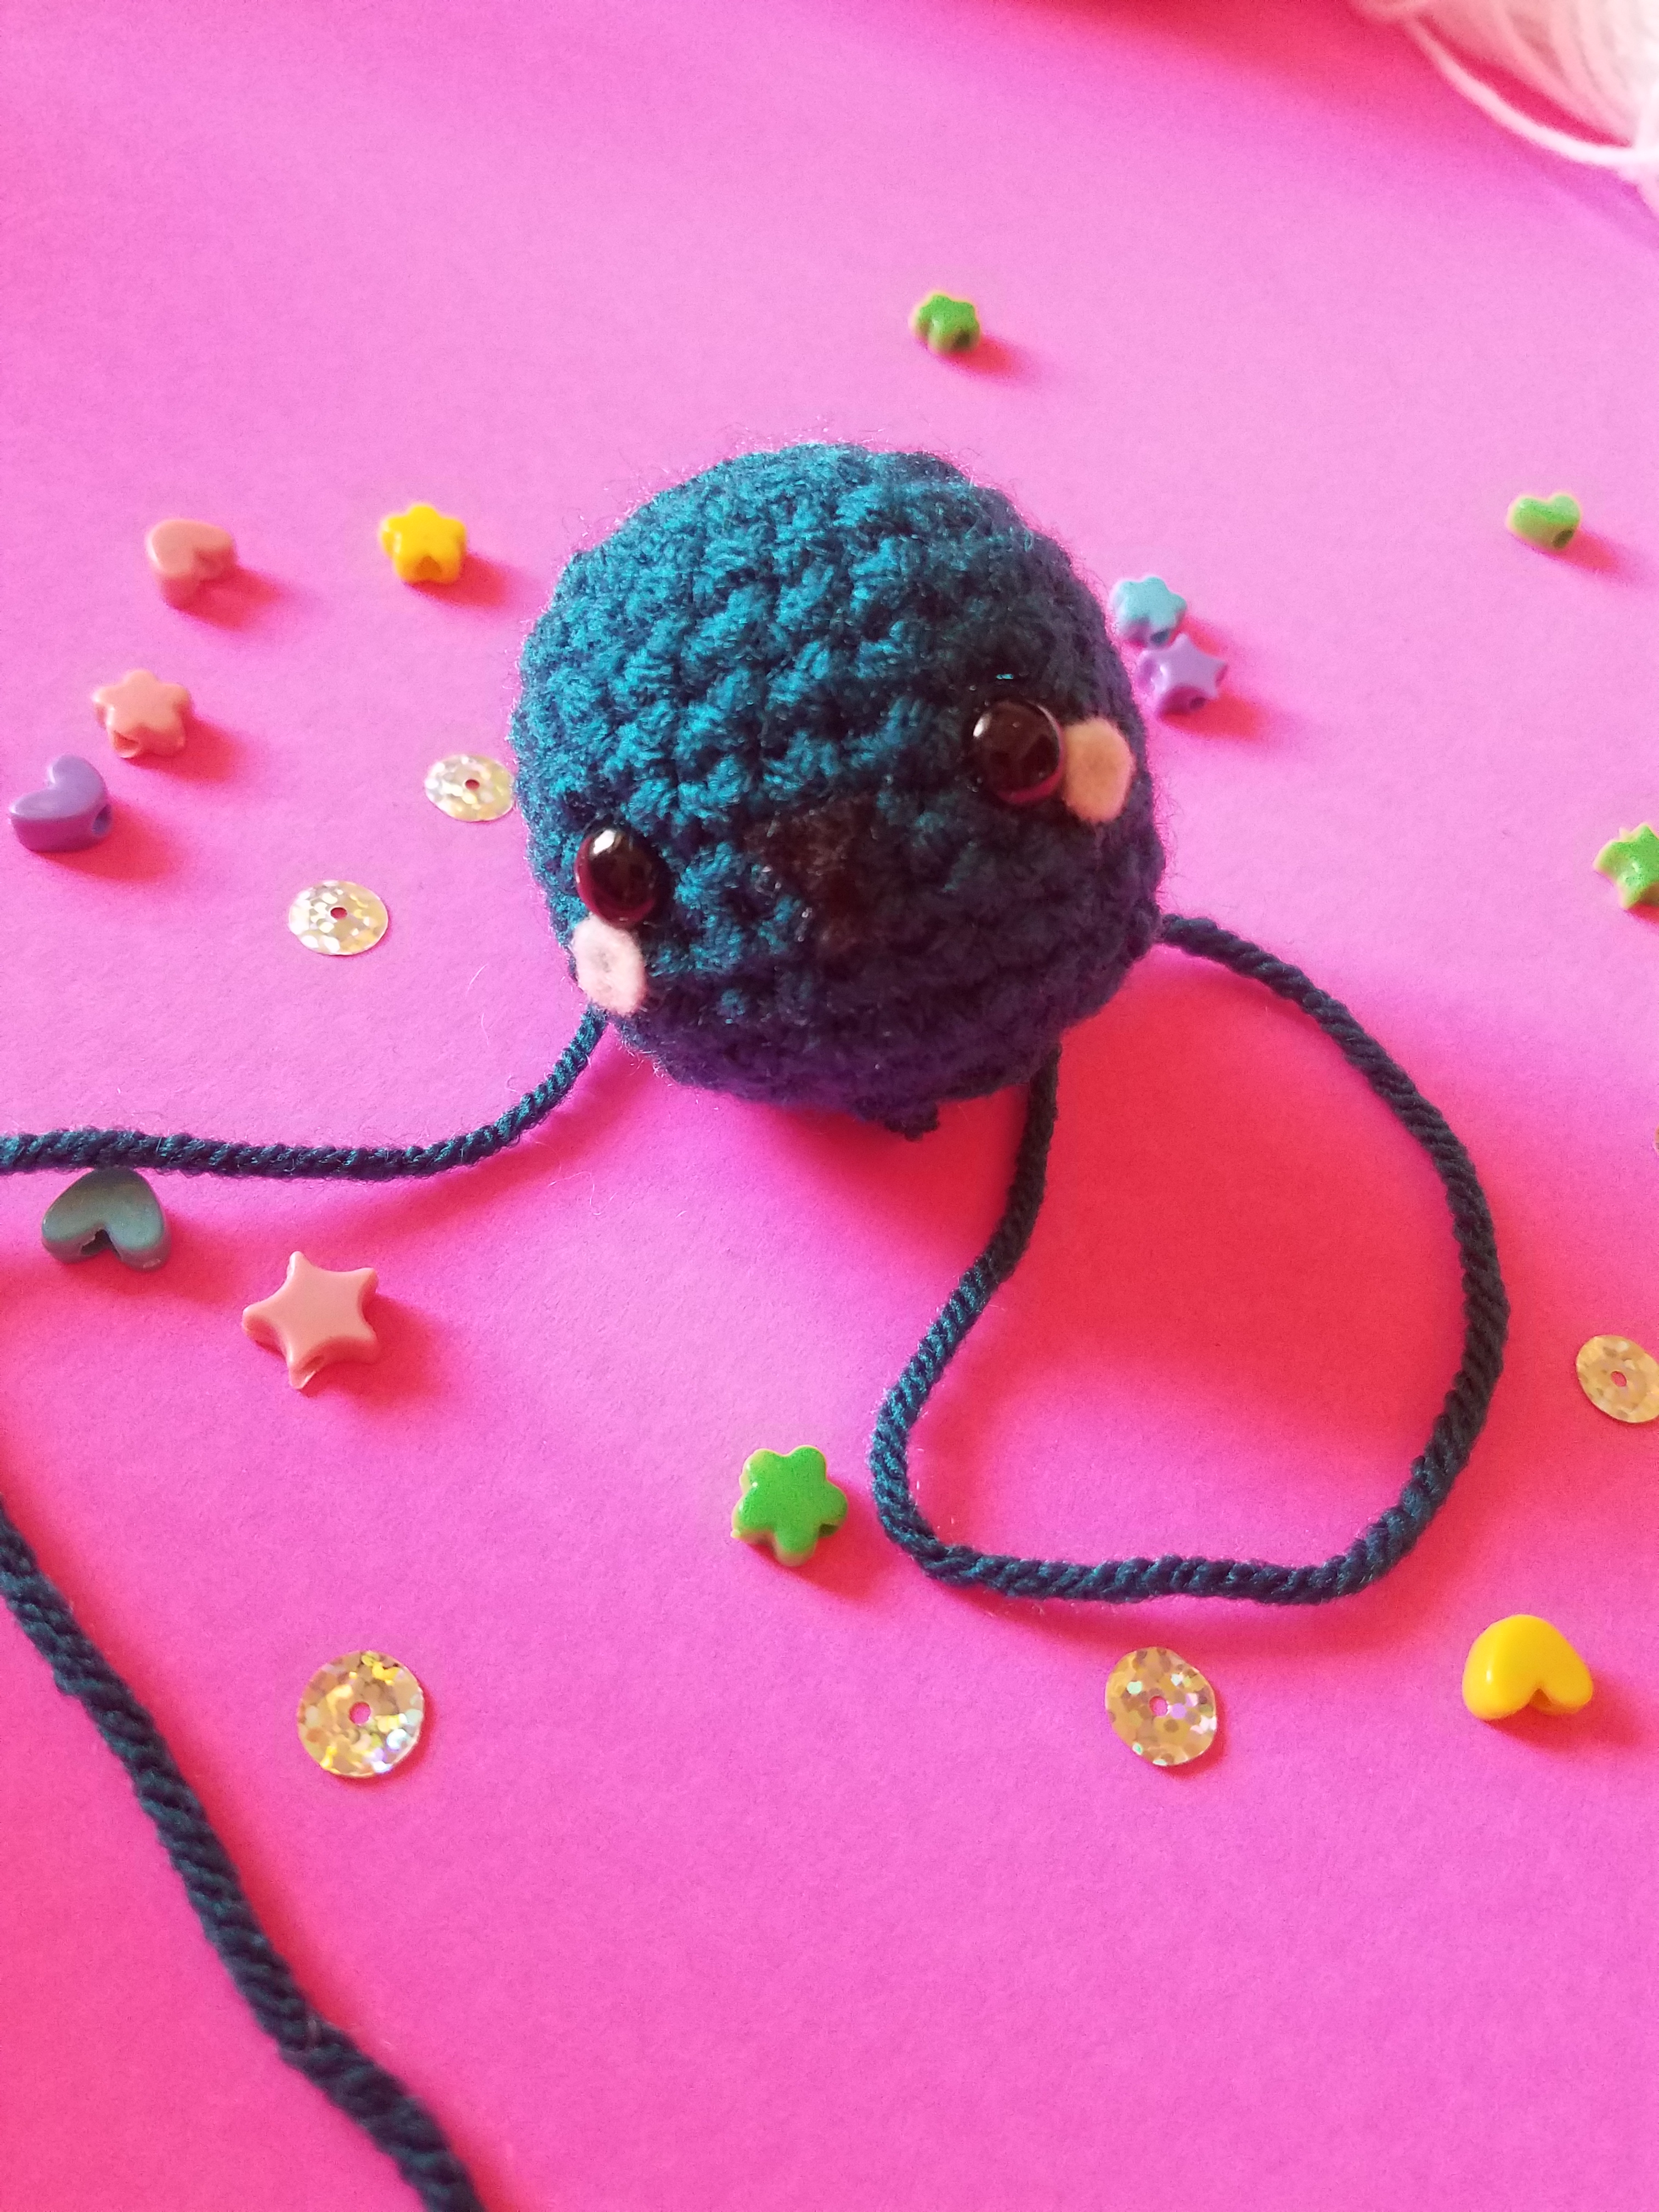
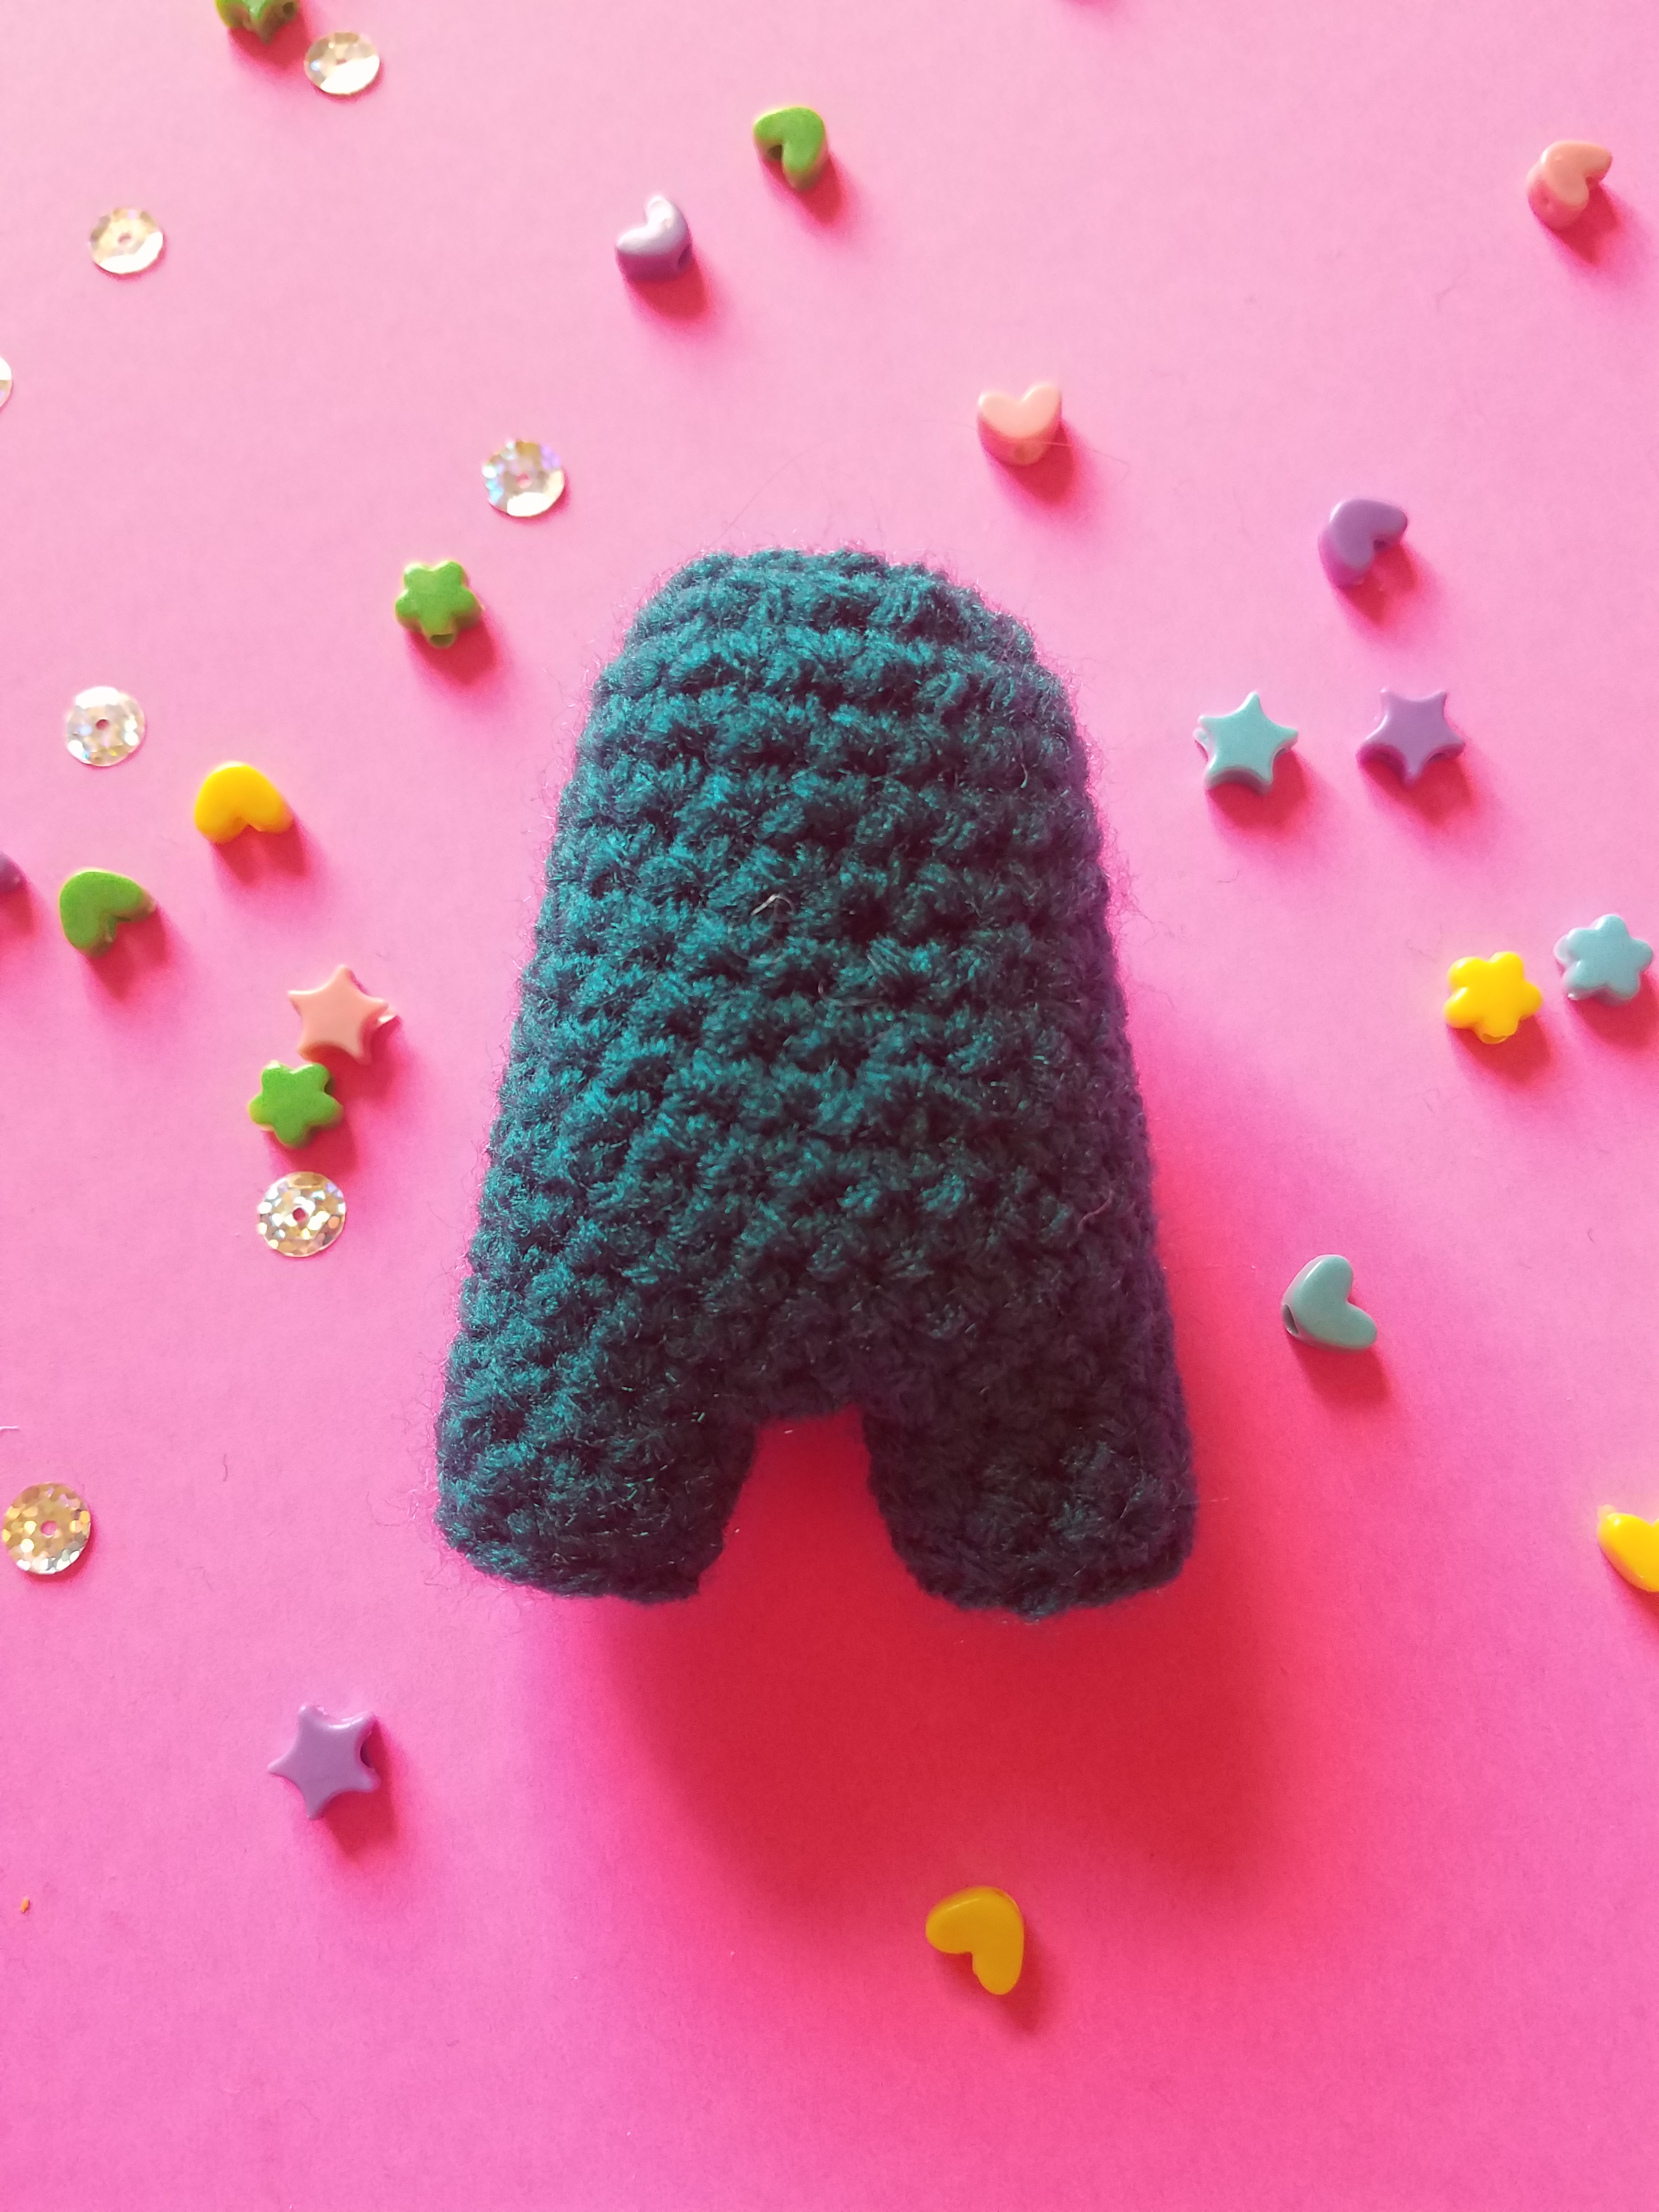
SS and finish off; leave a tail to sew the panda head closed.
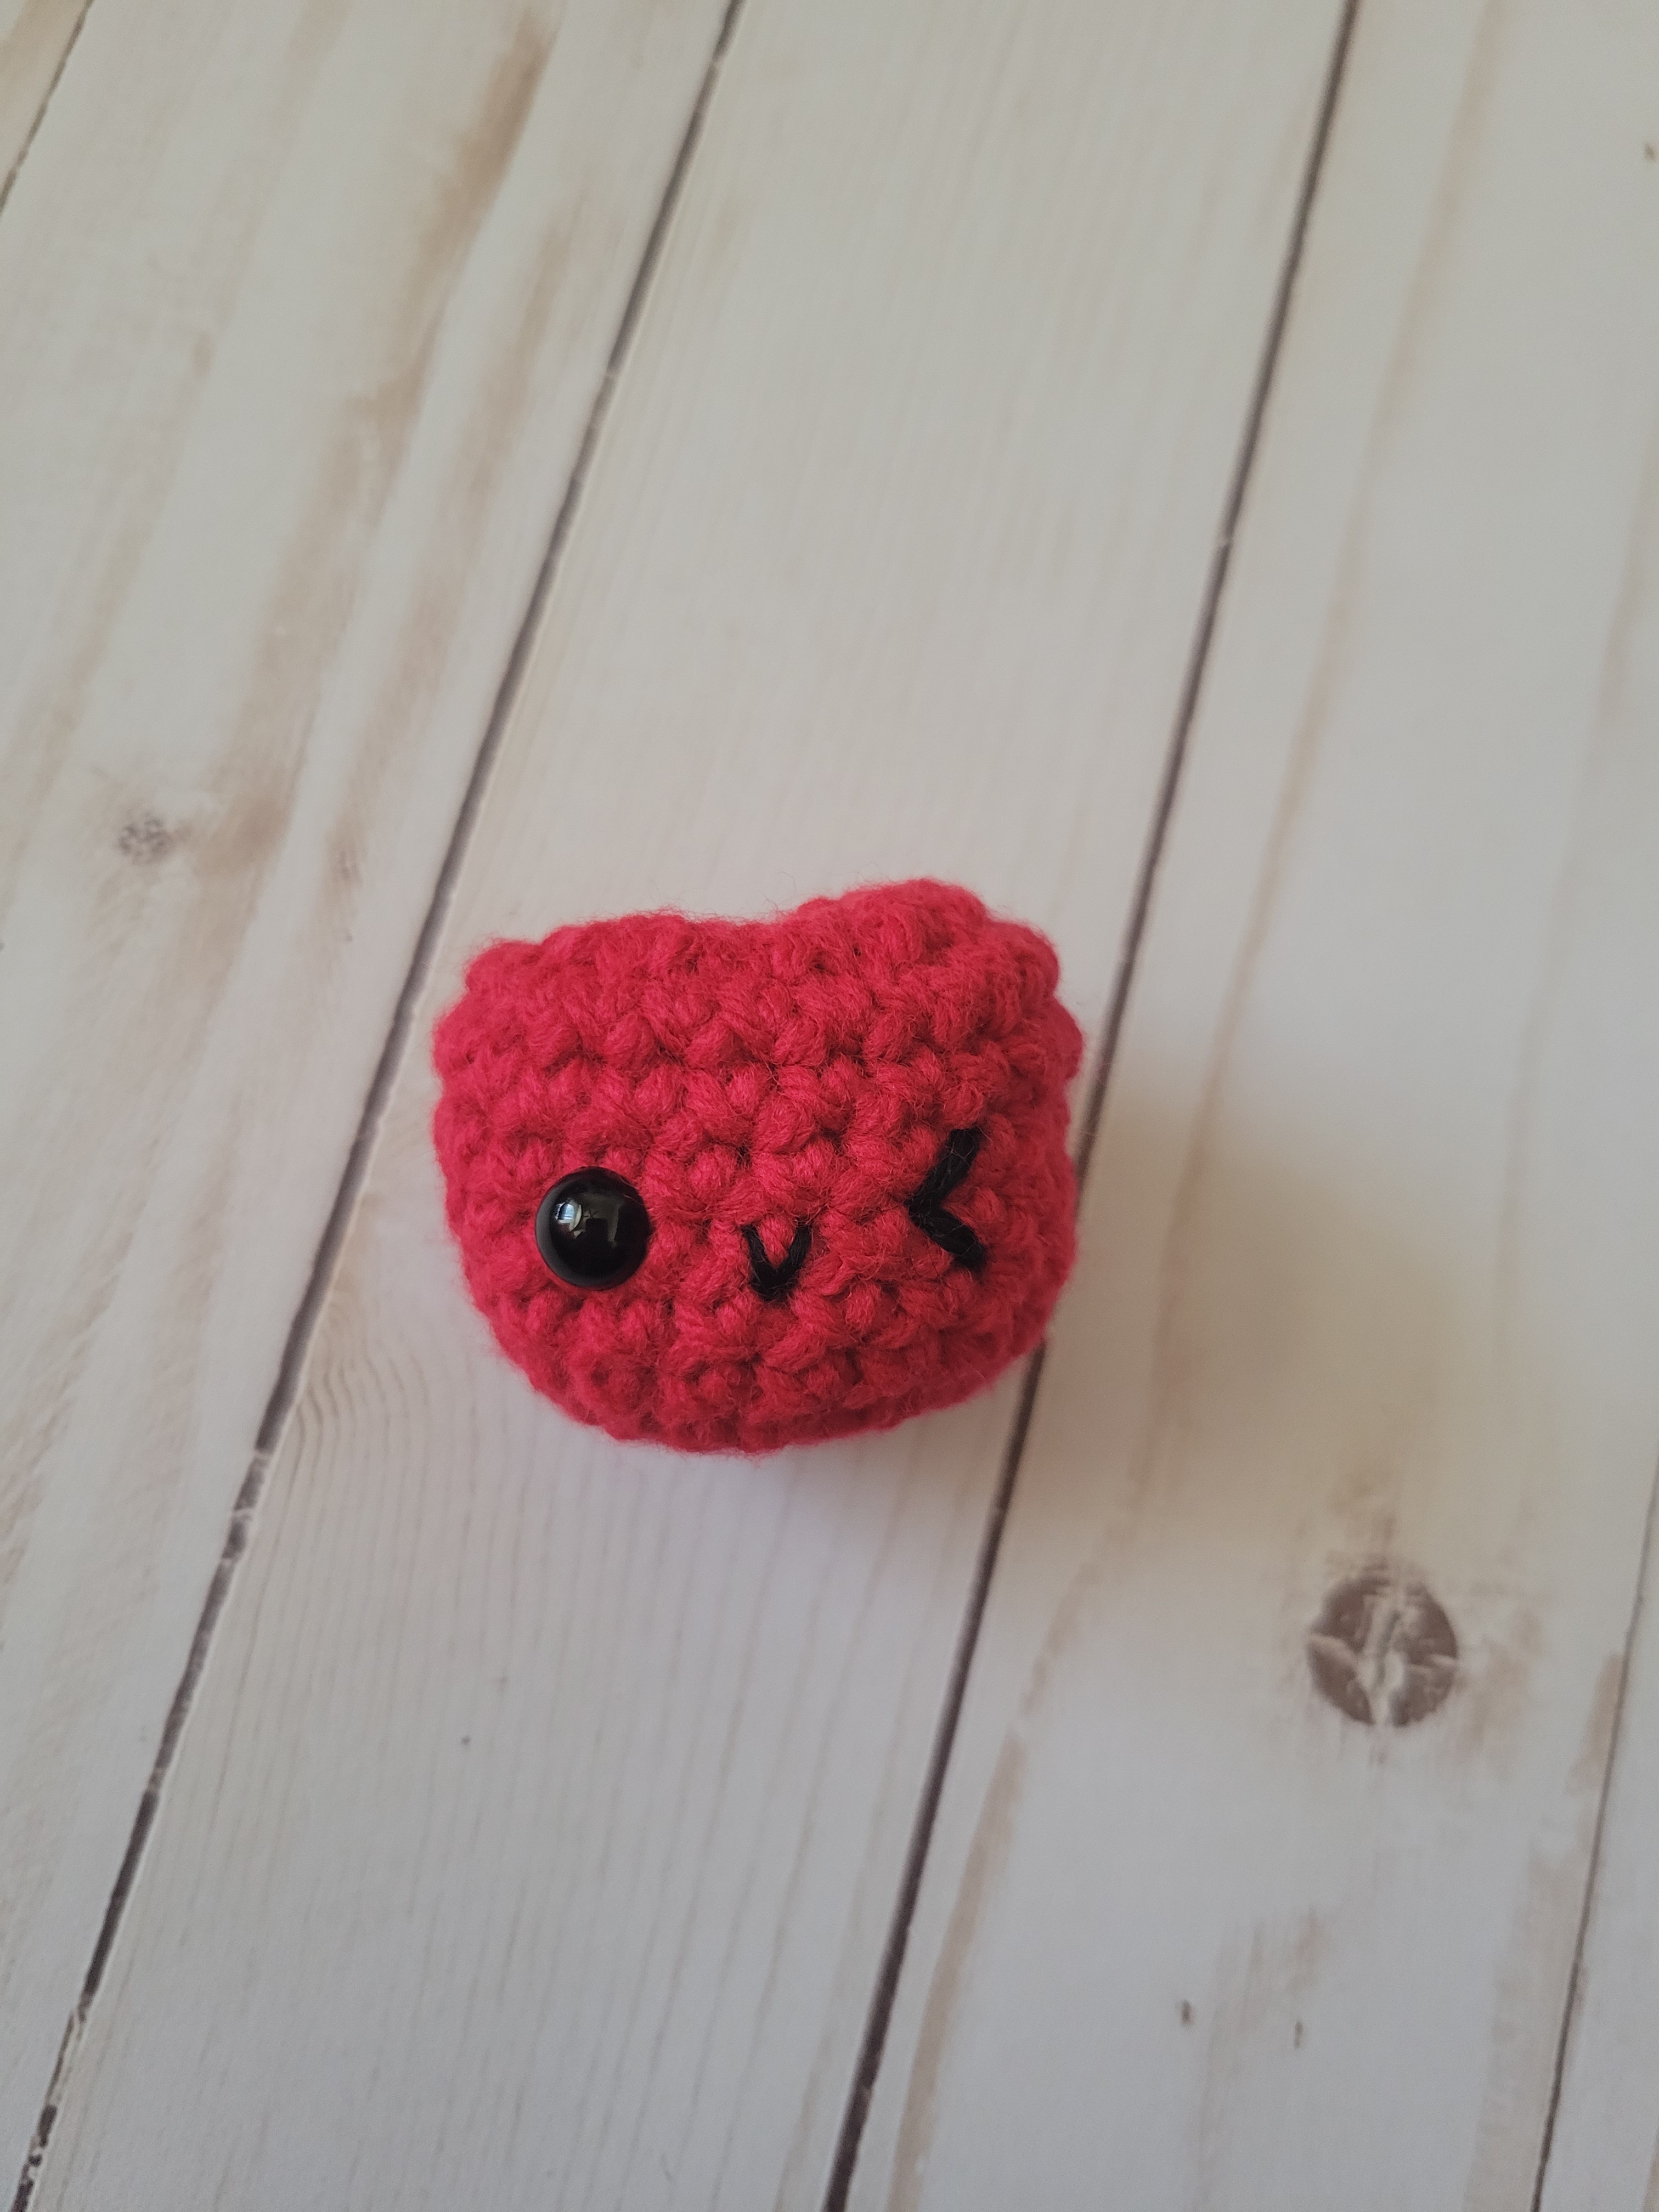
Using the yarn tail, sew the panda head closed.
Using a hot glue gun, secure the black felt around the eyes.
Cut out two small circles in pink felt, and attach next to the eyes using hot glue.
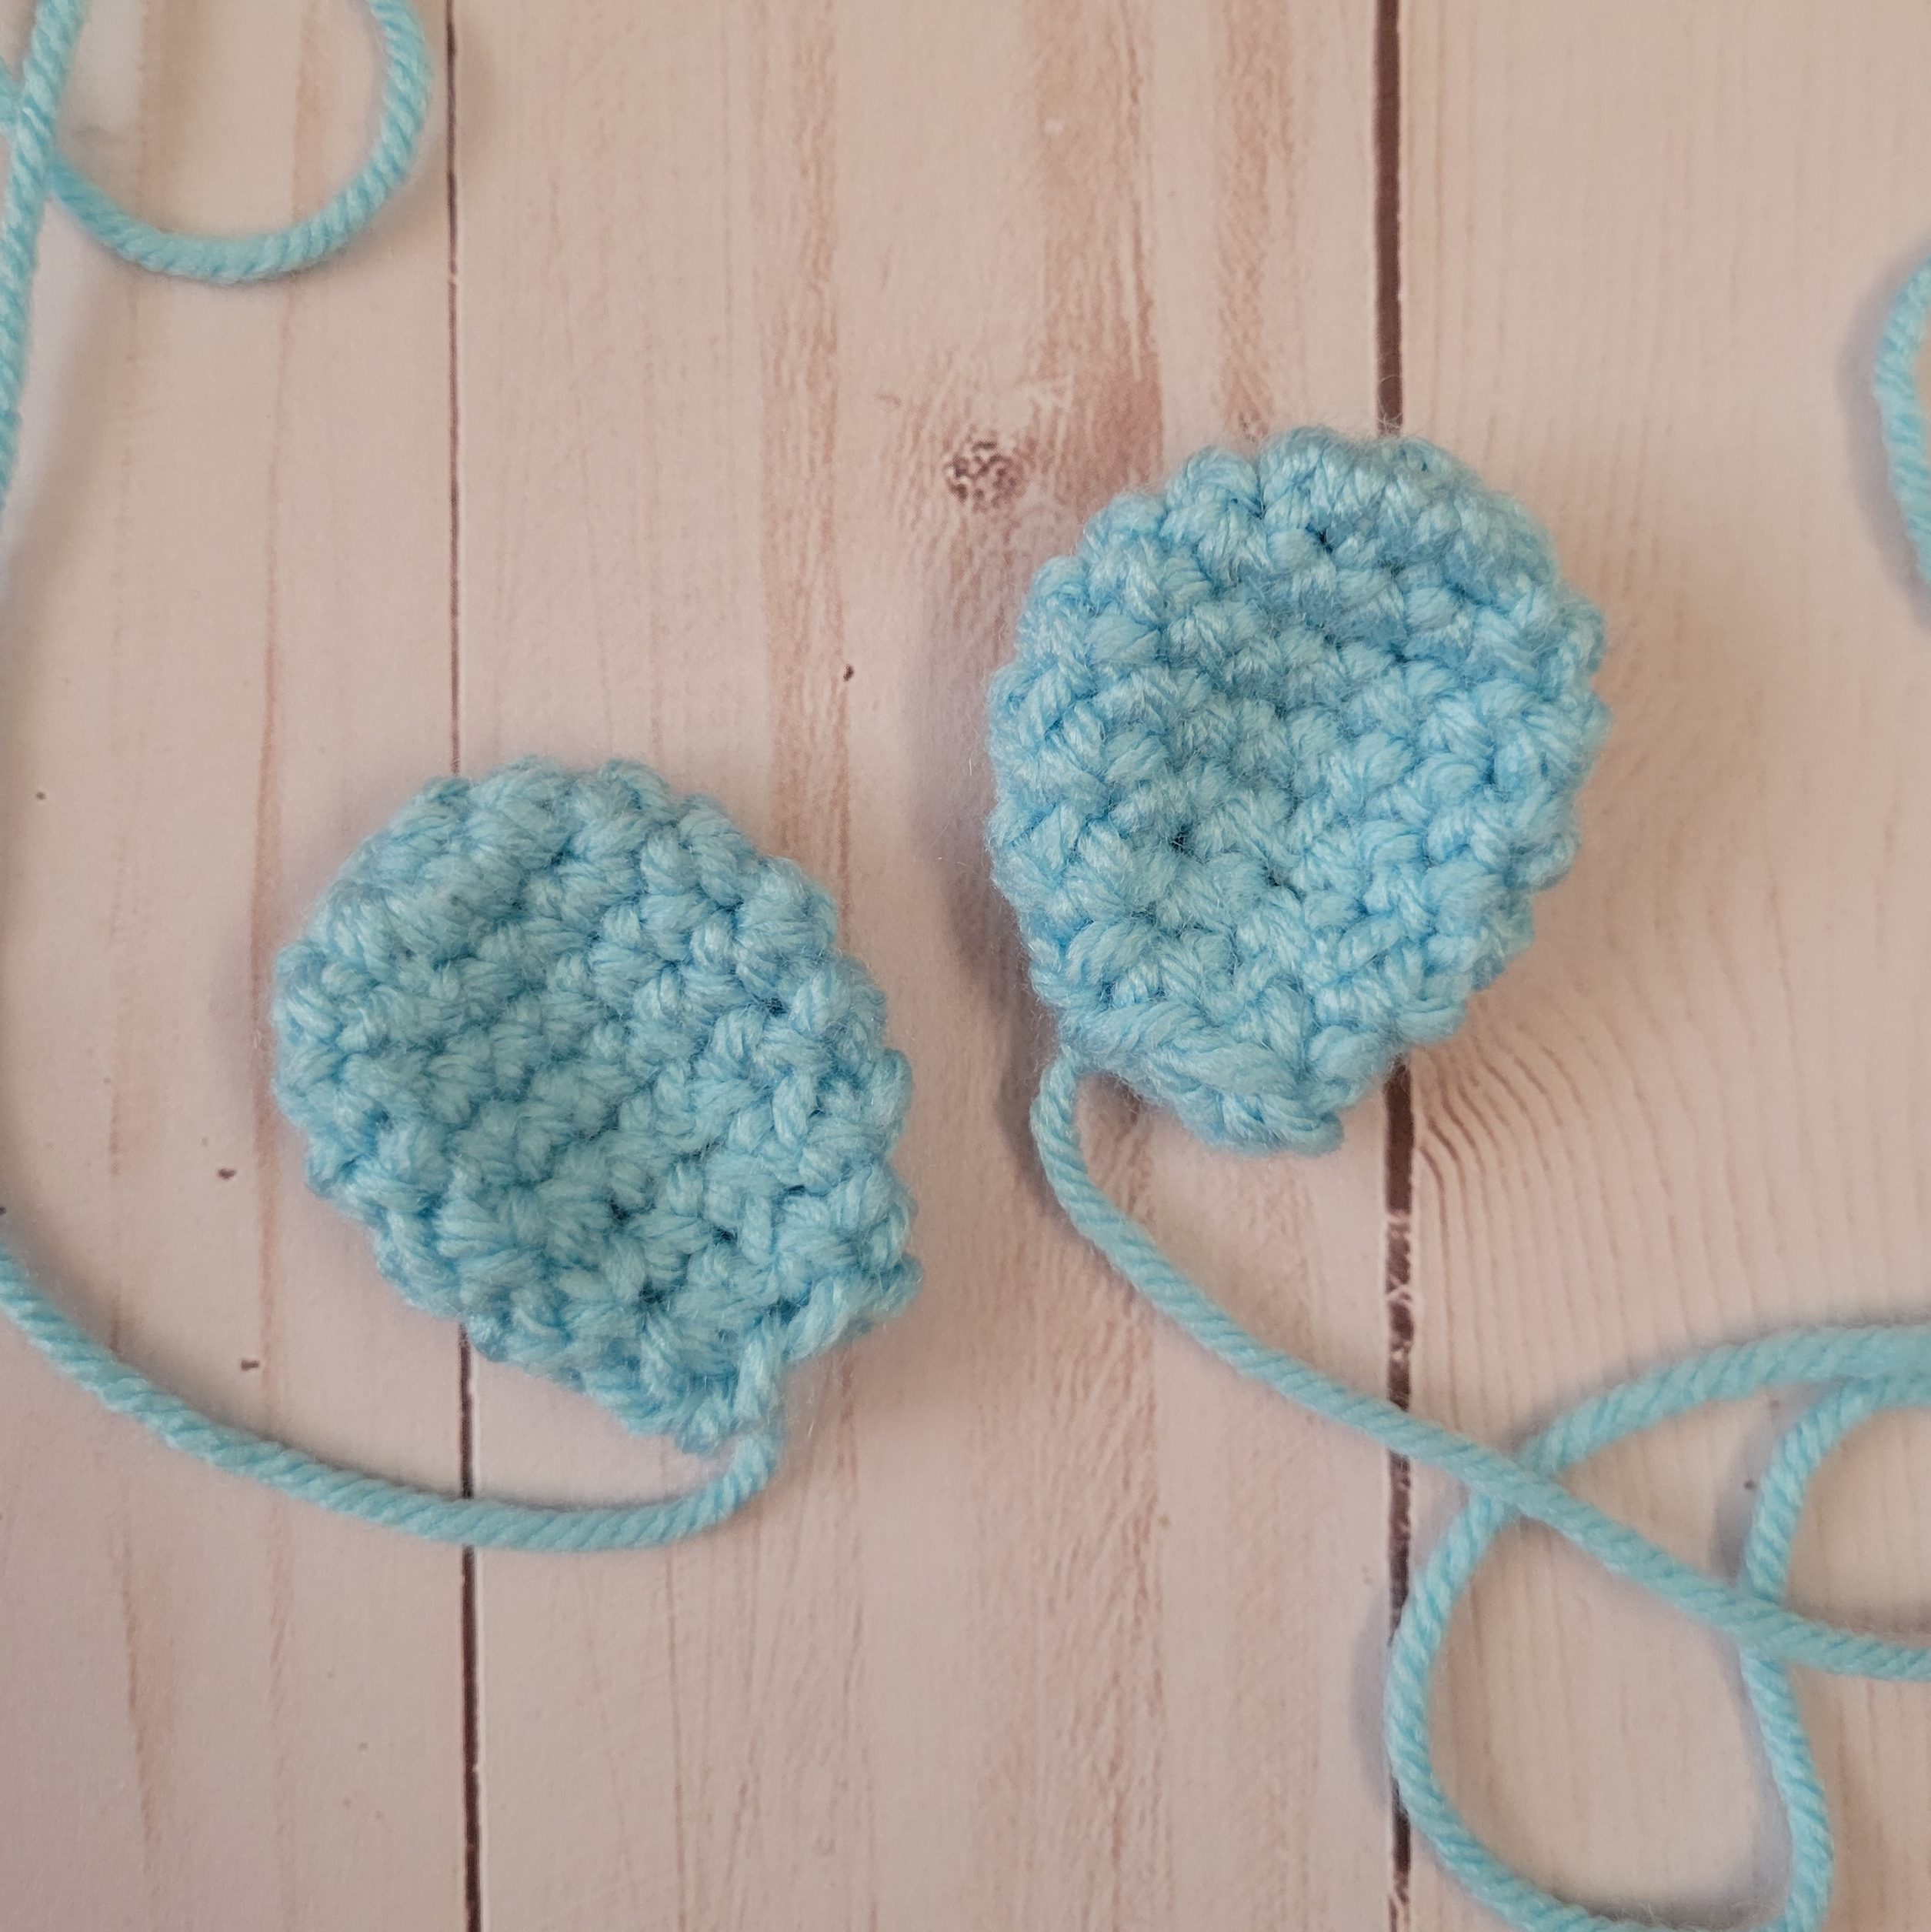
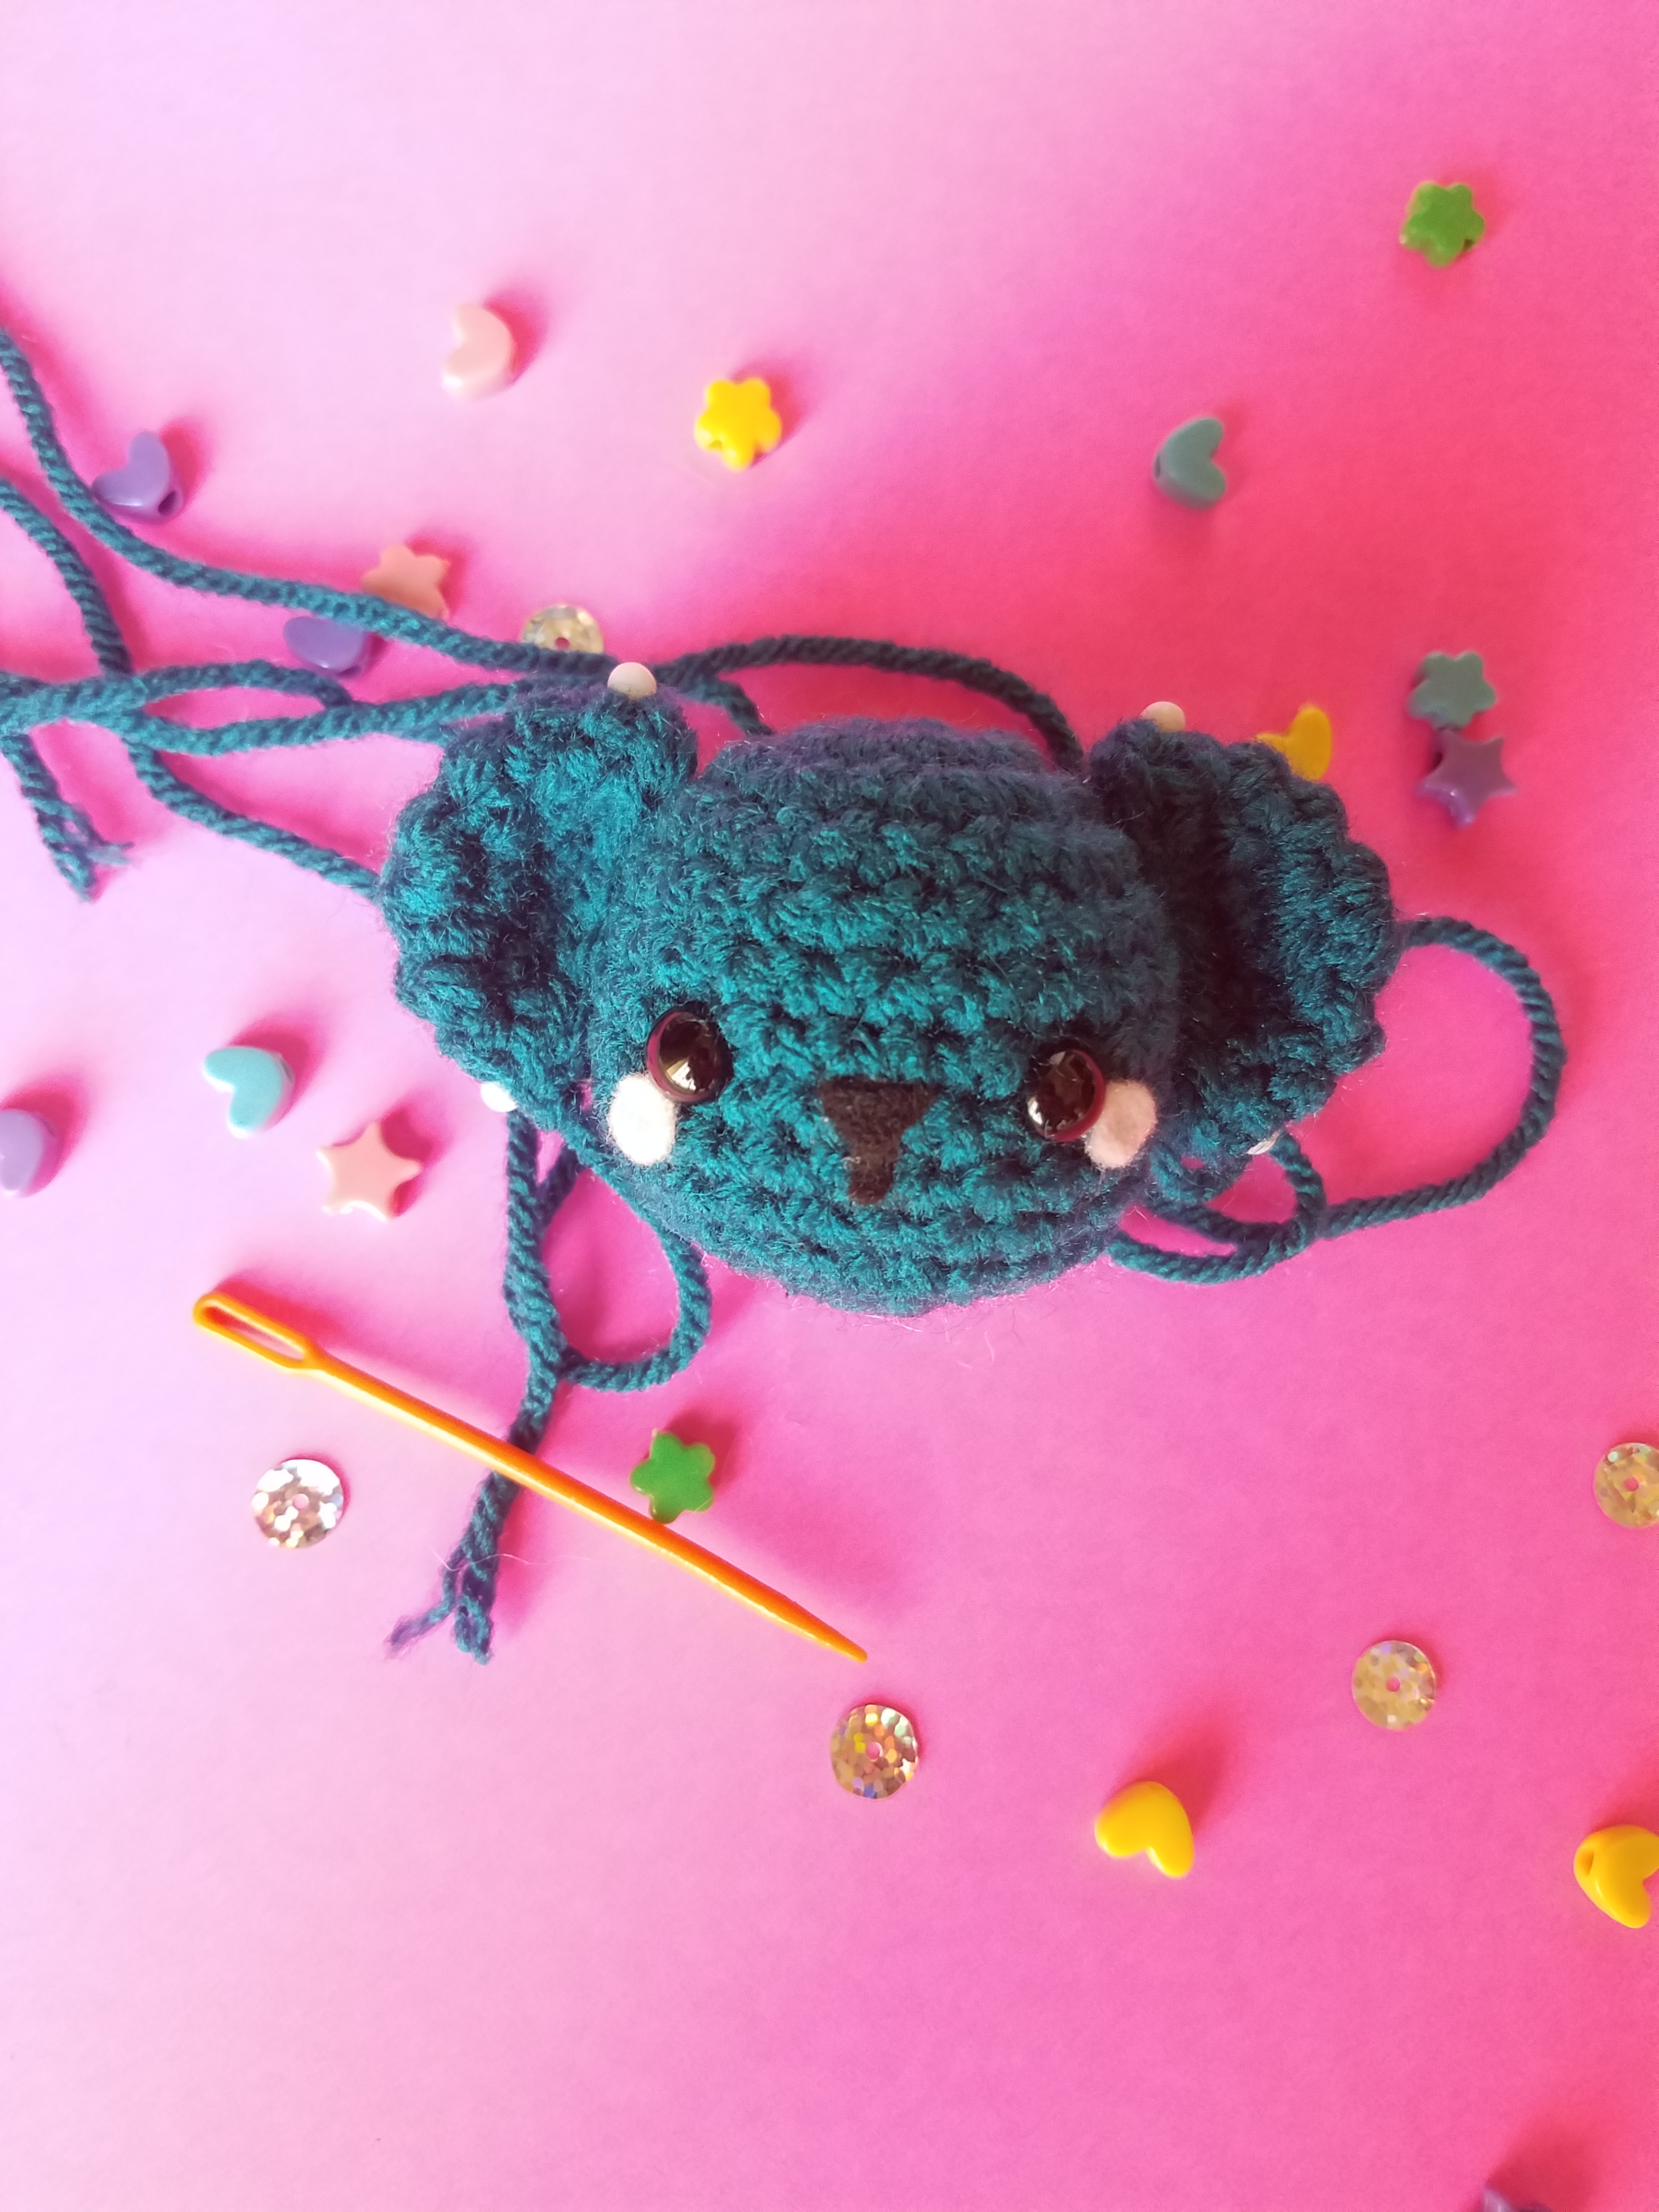
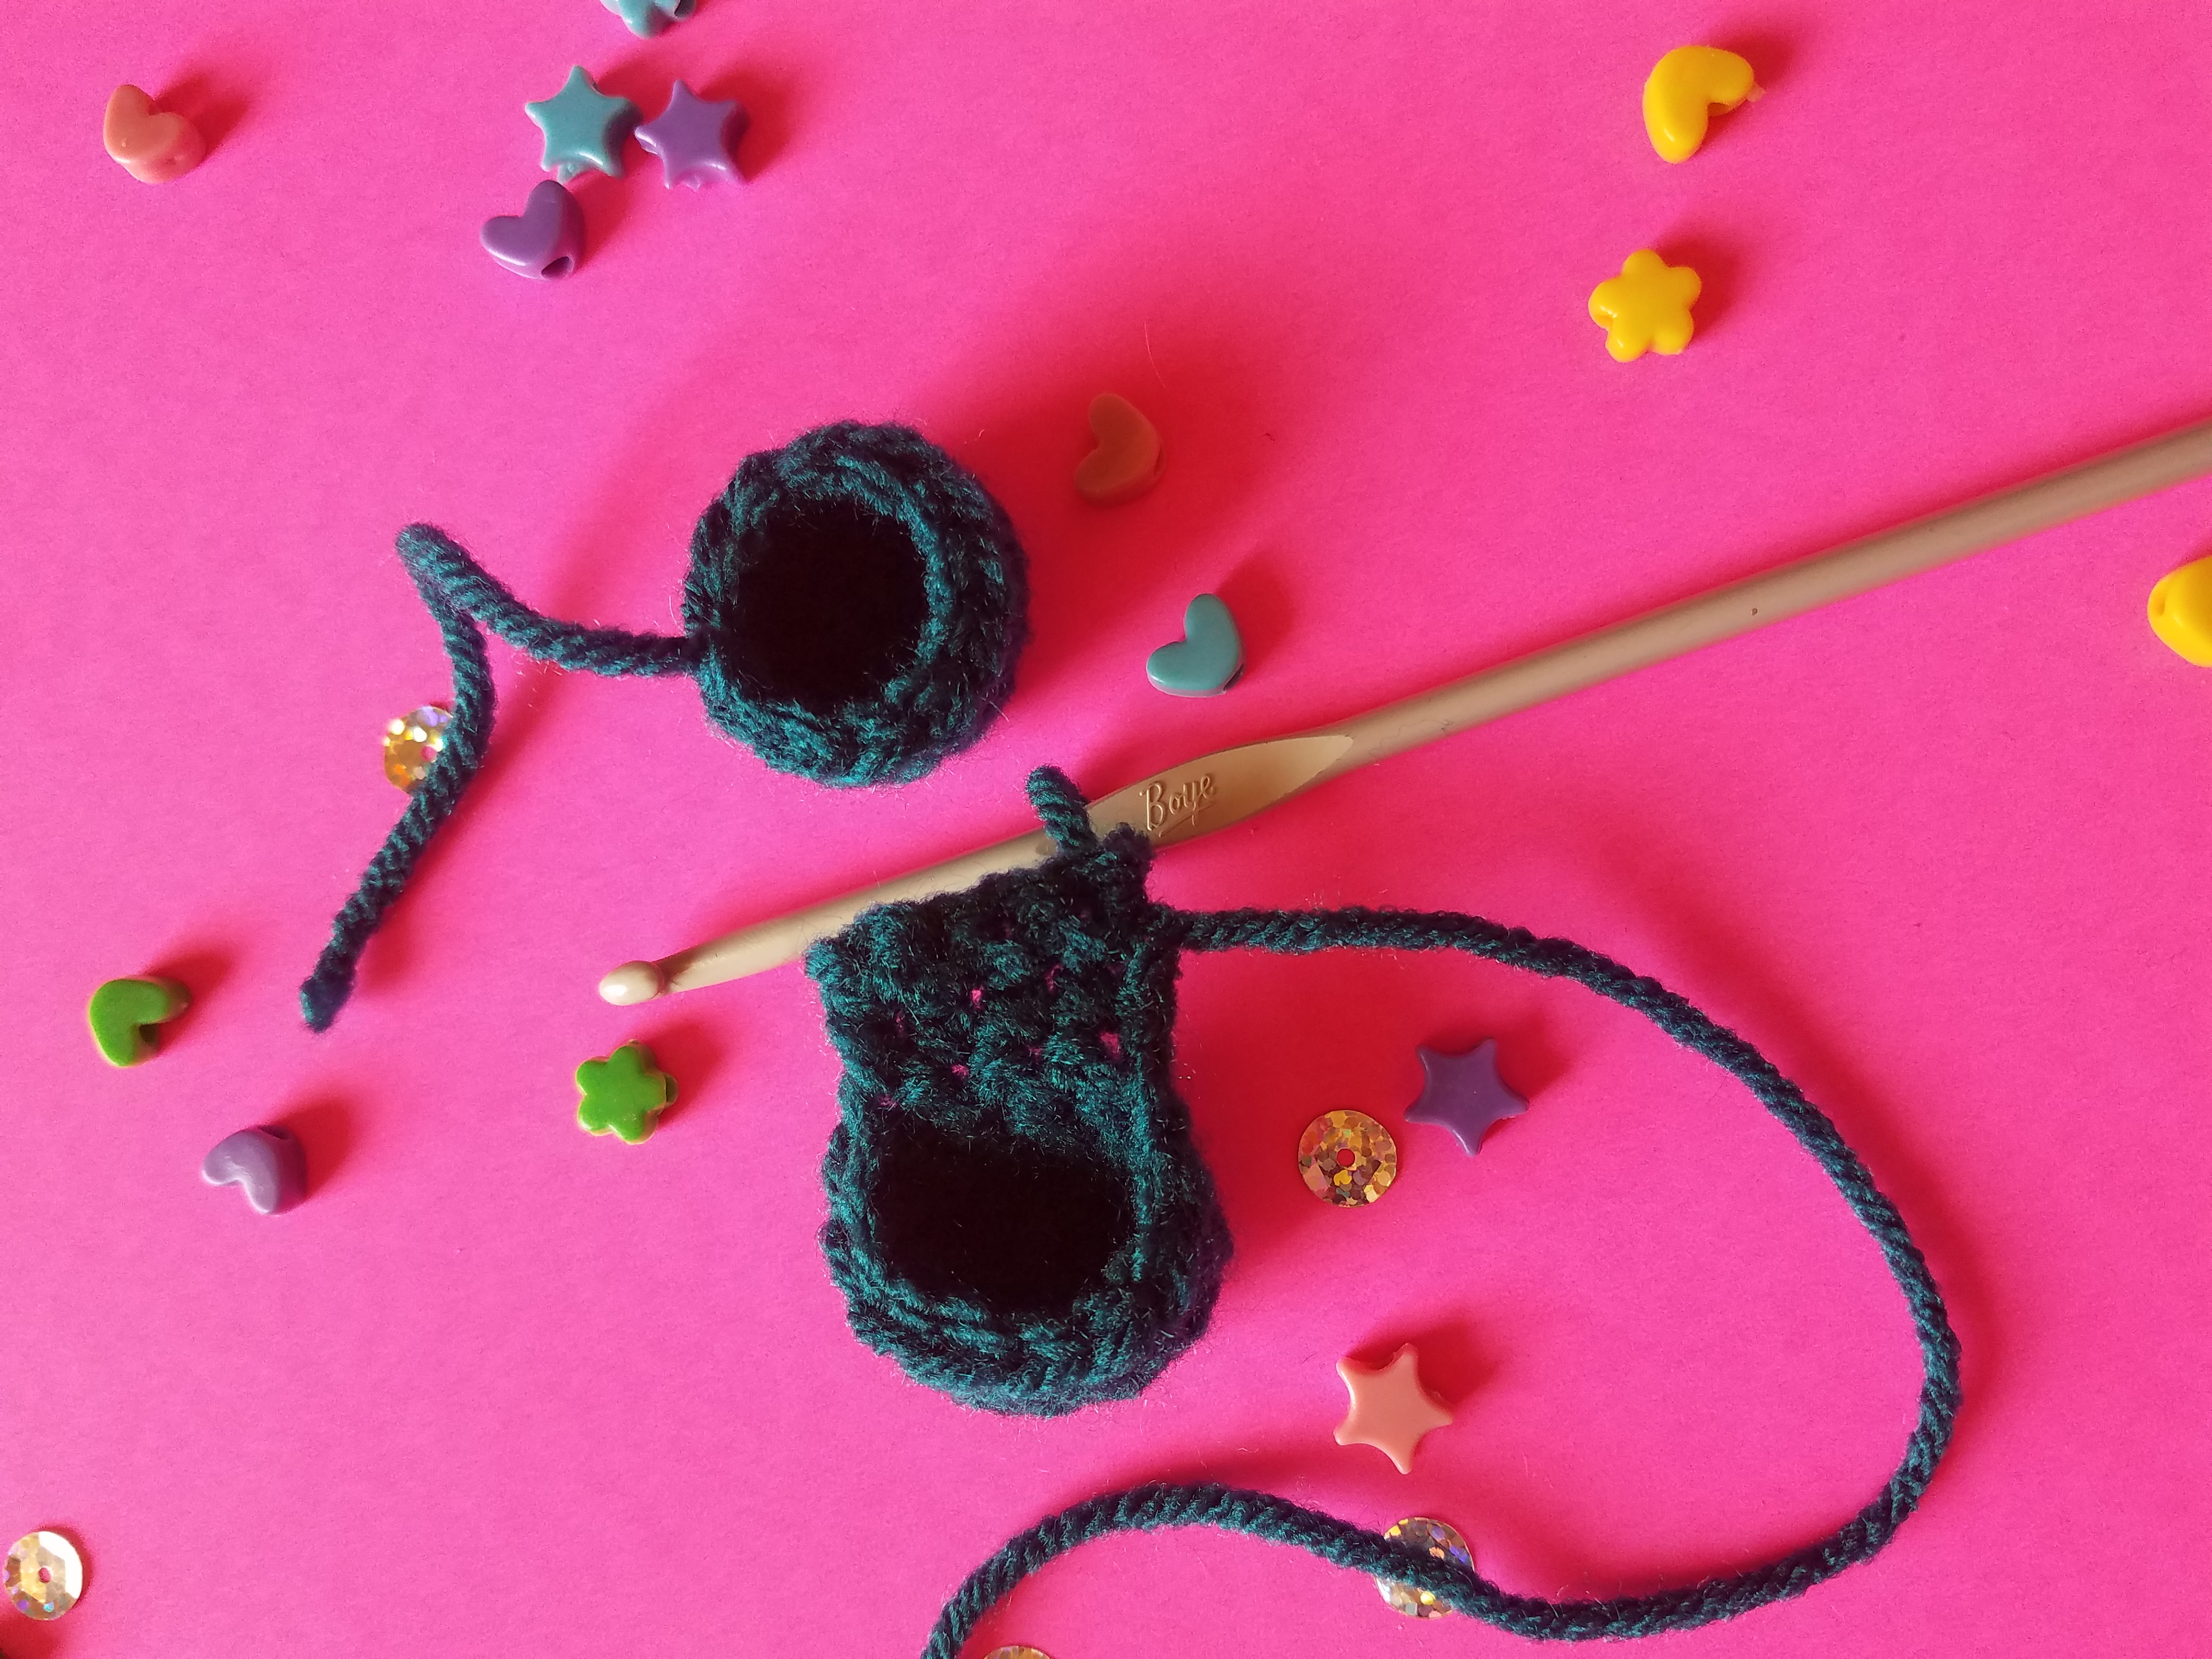
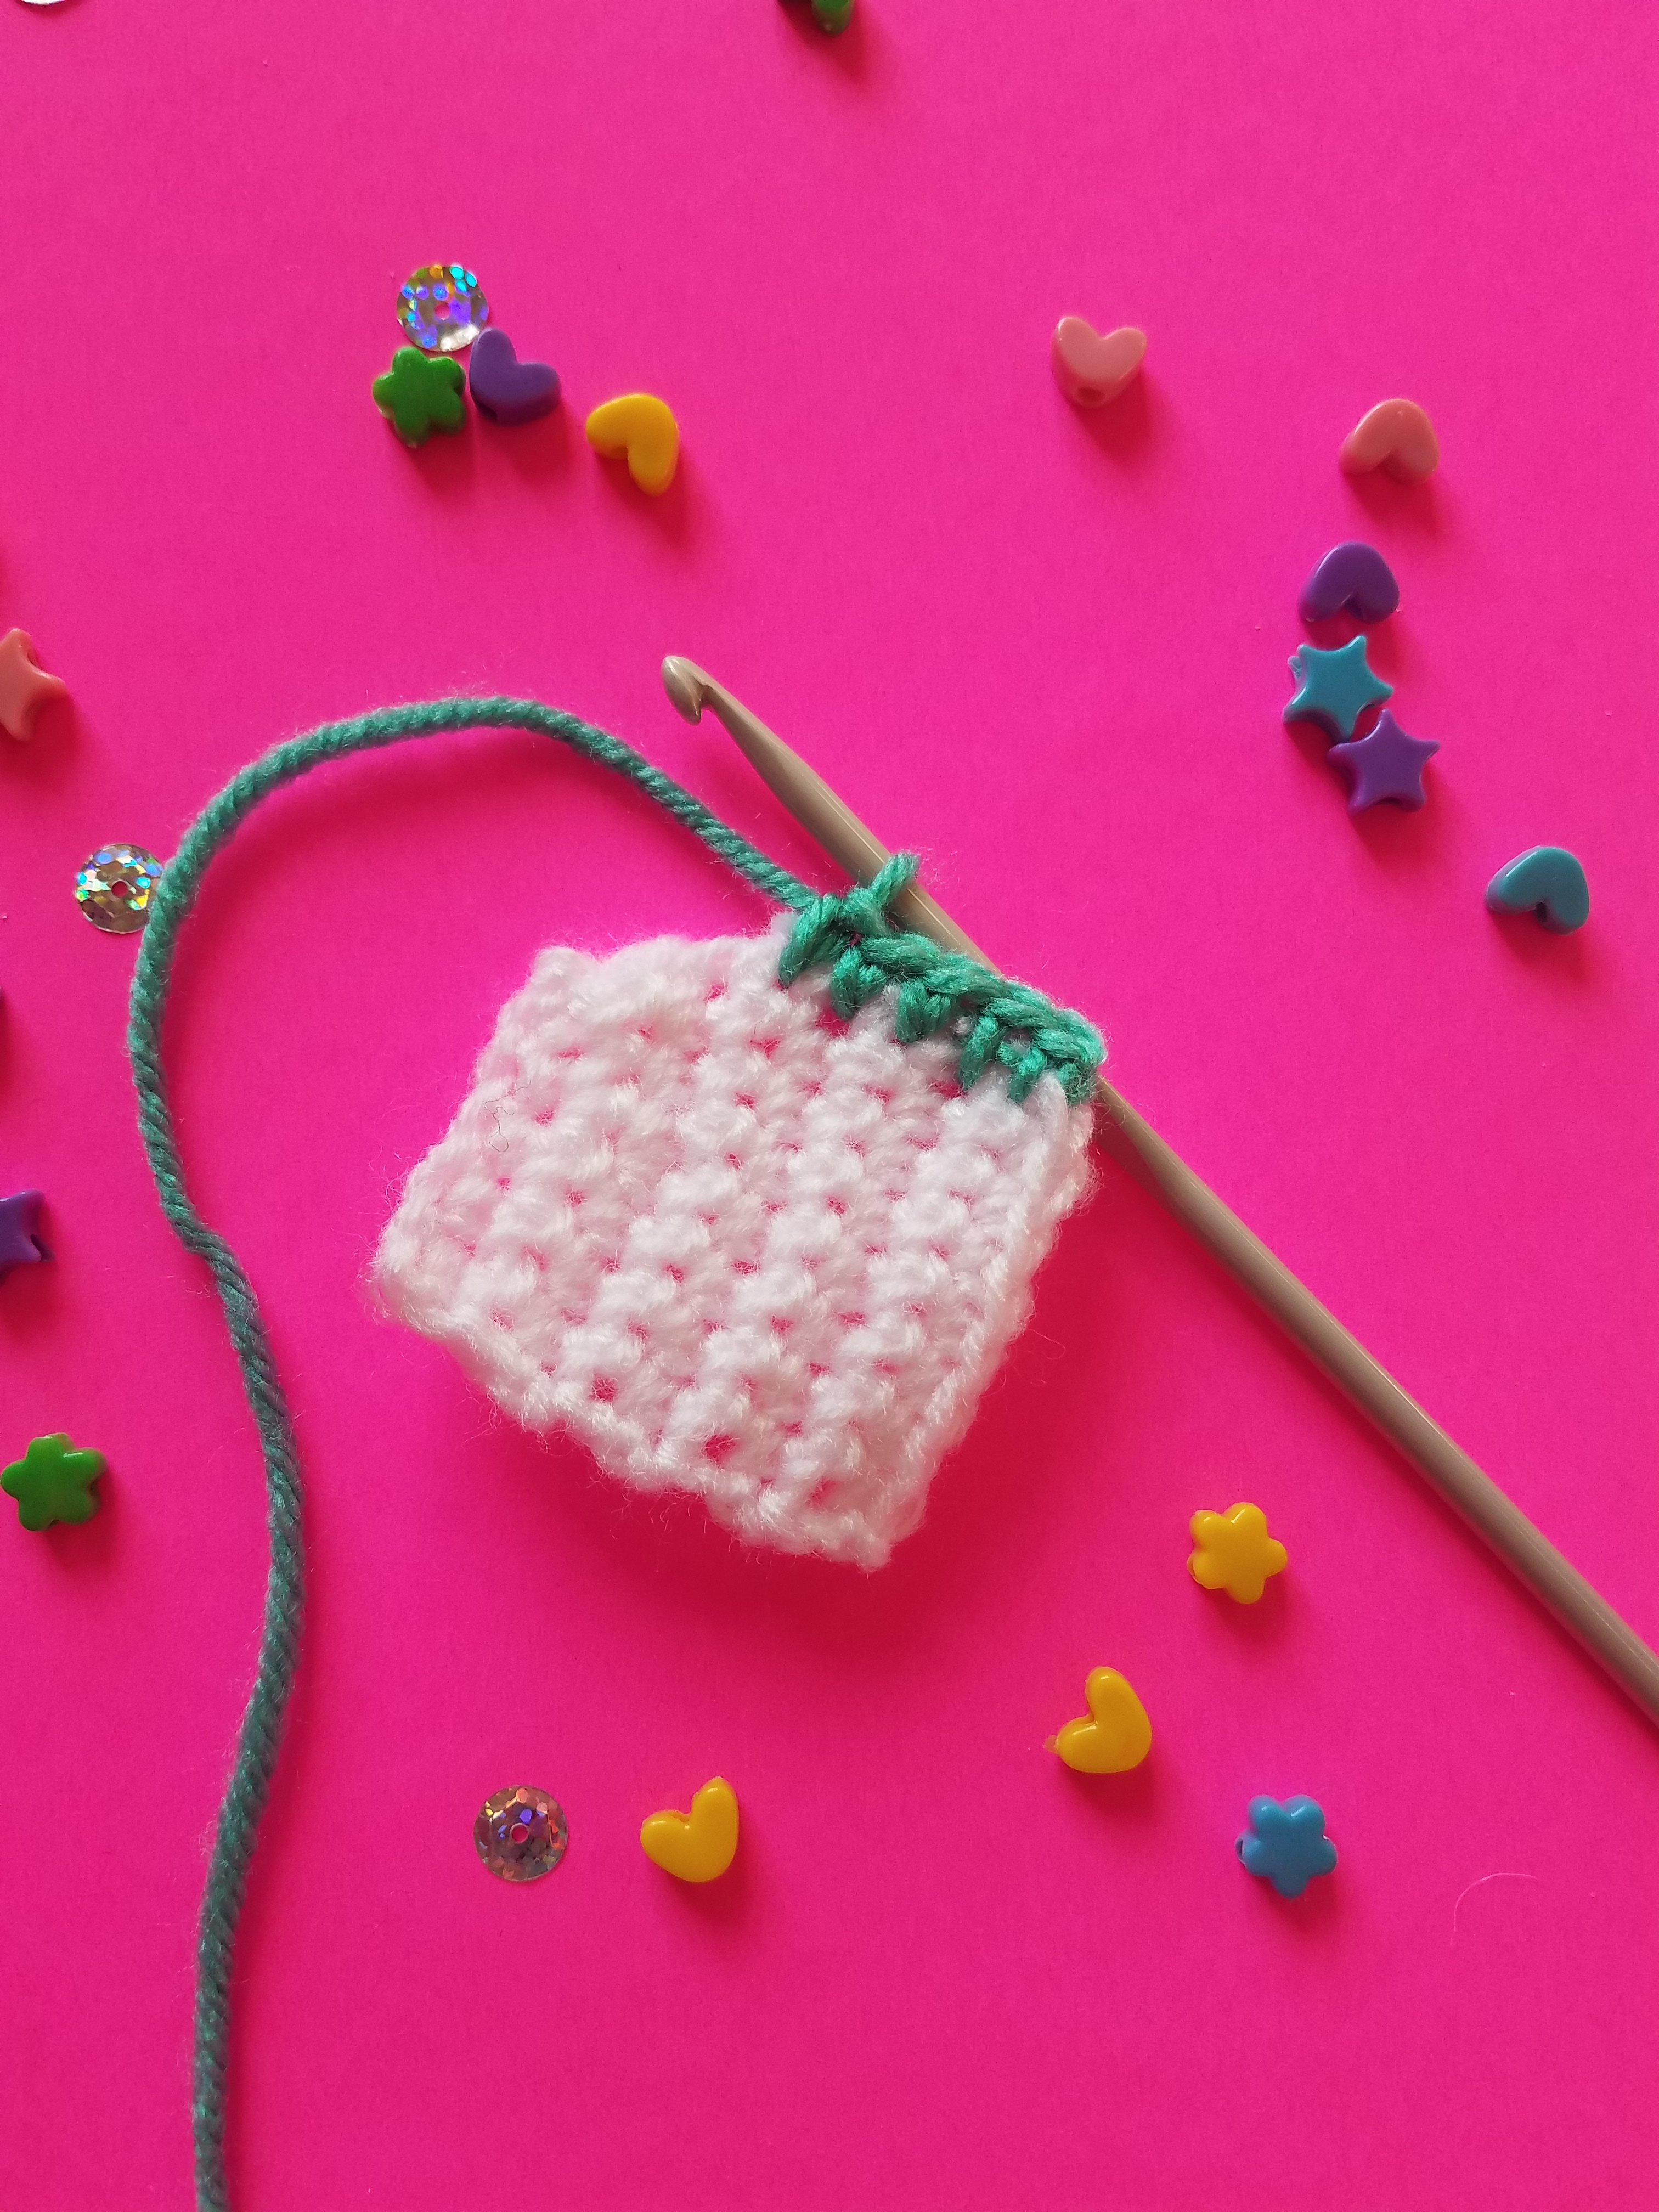
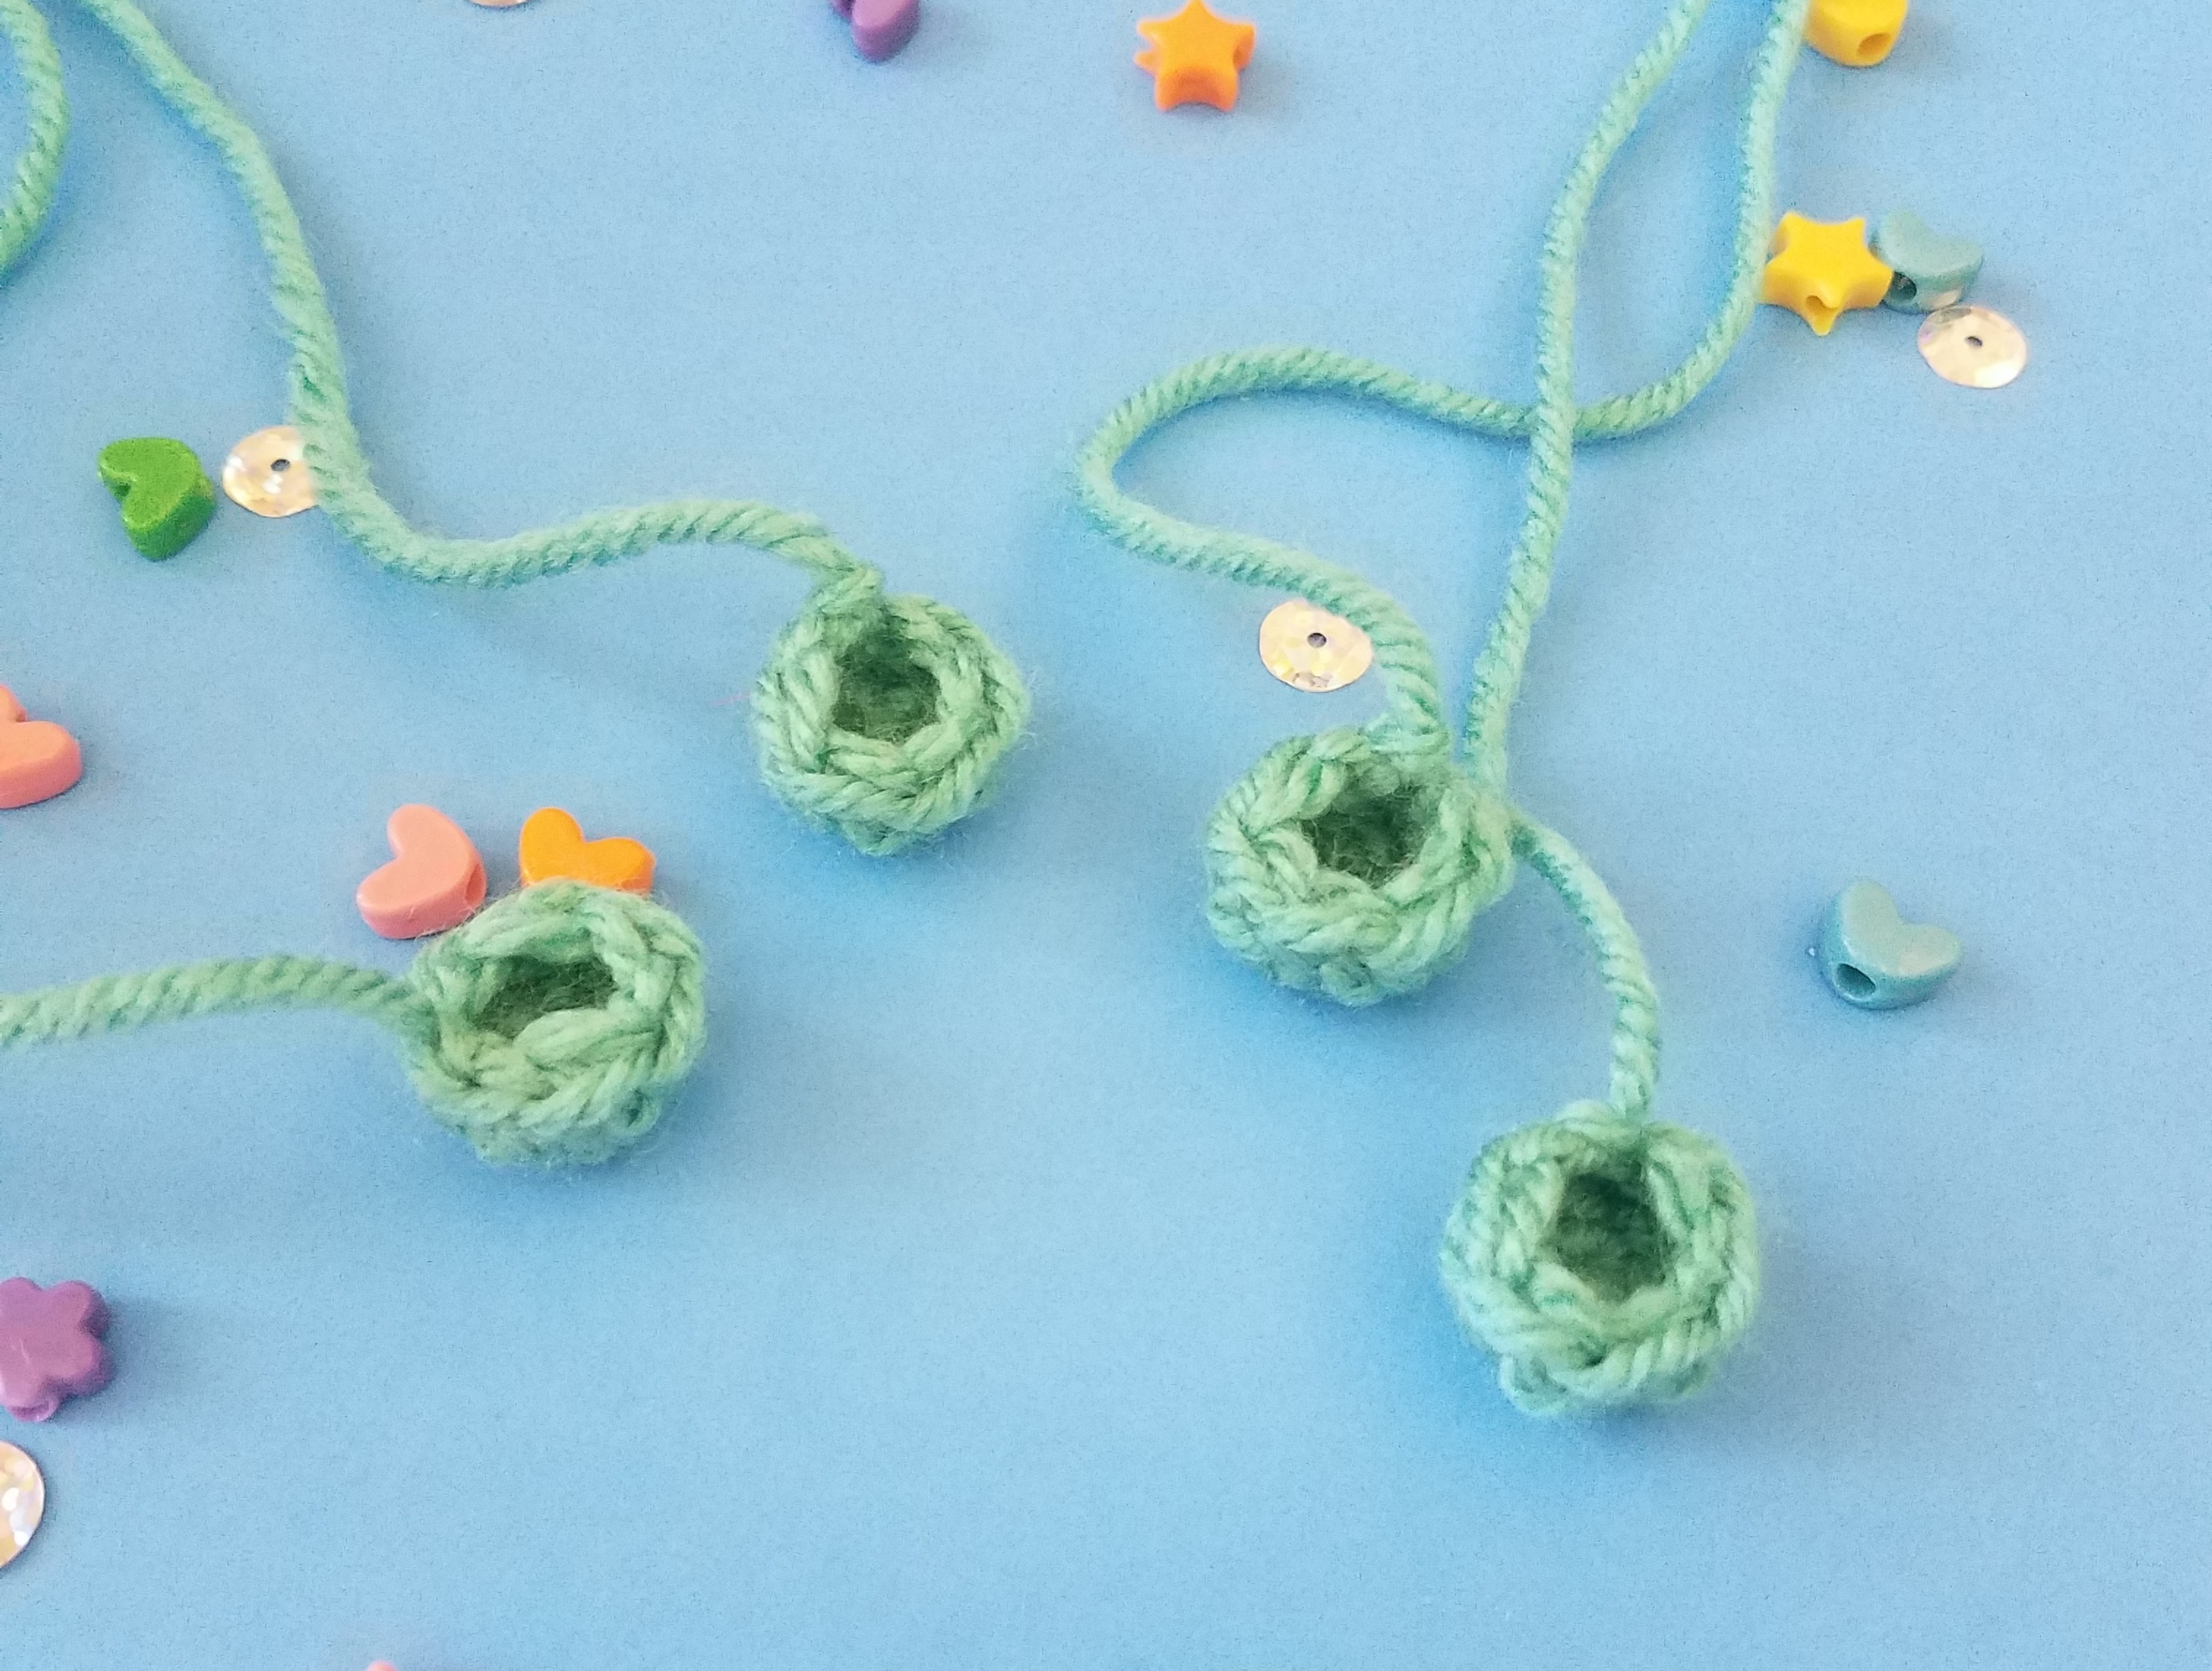
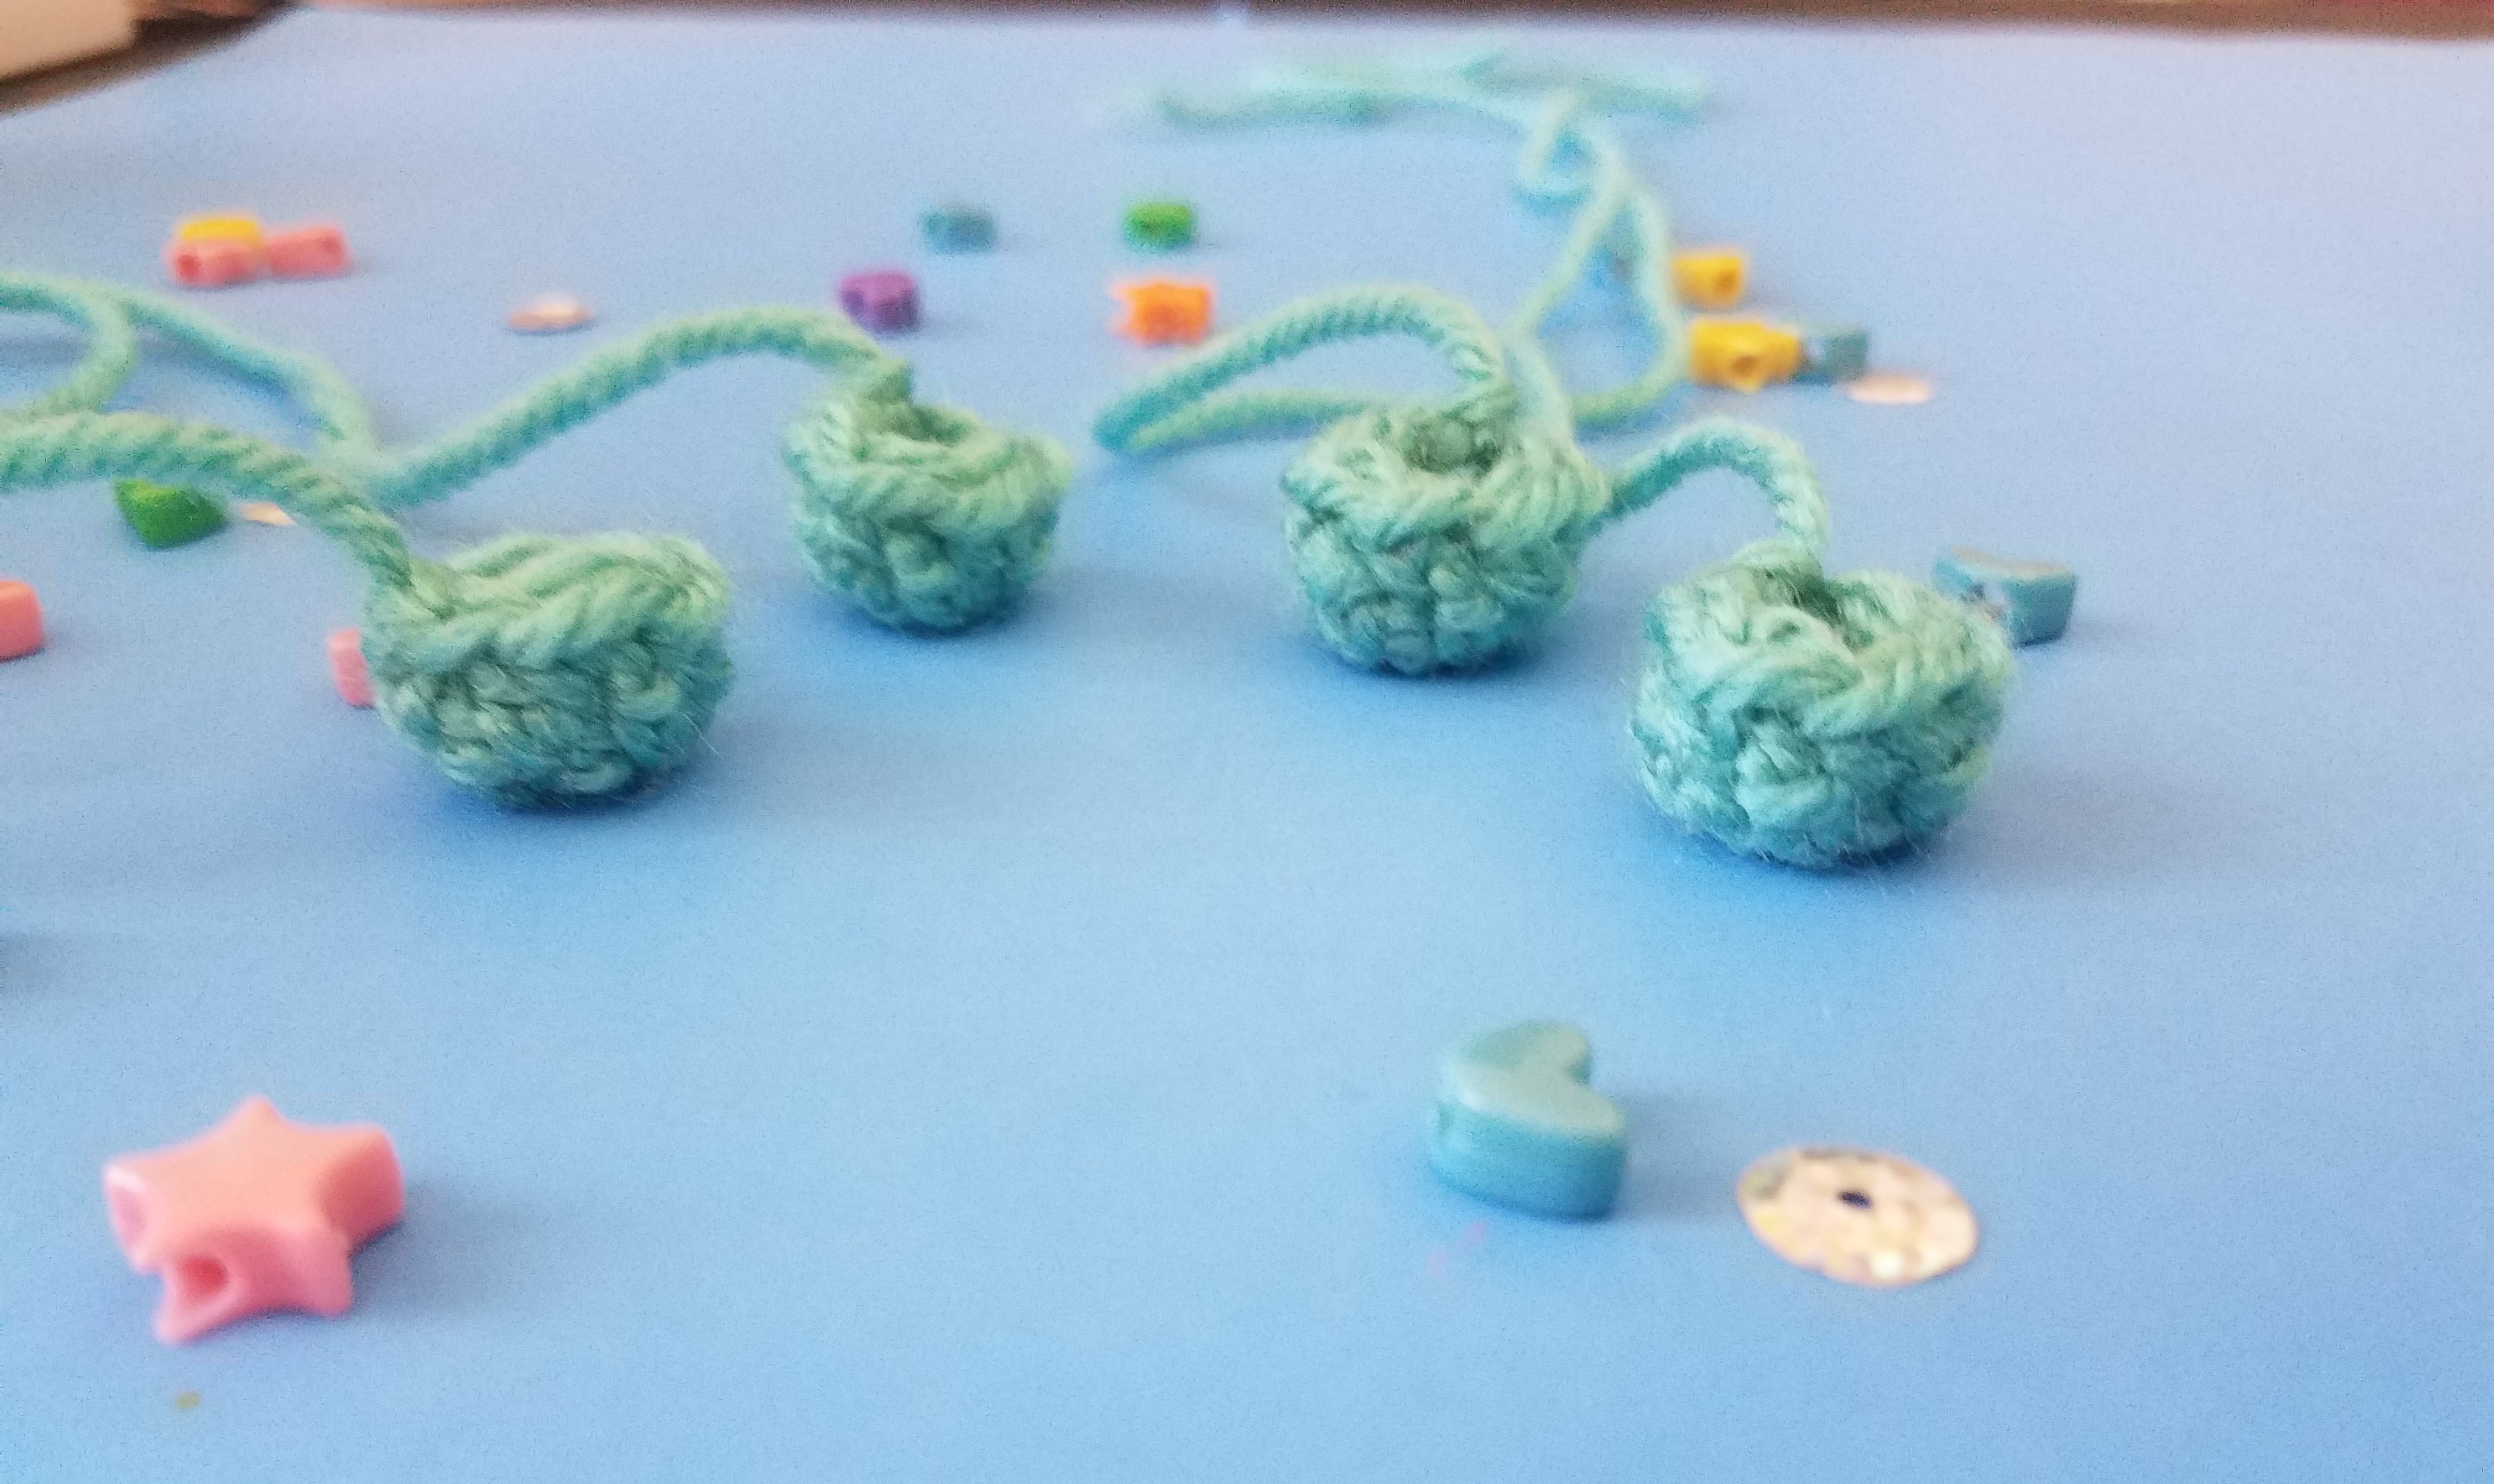
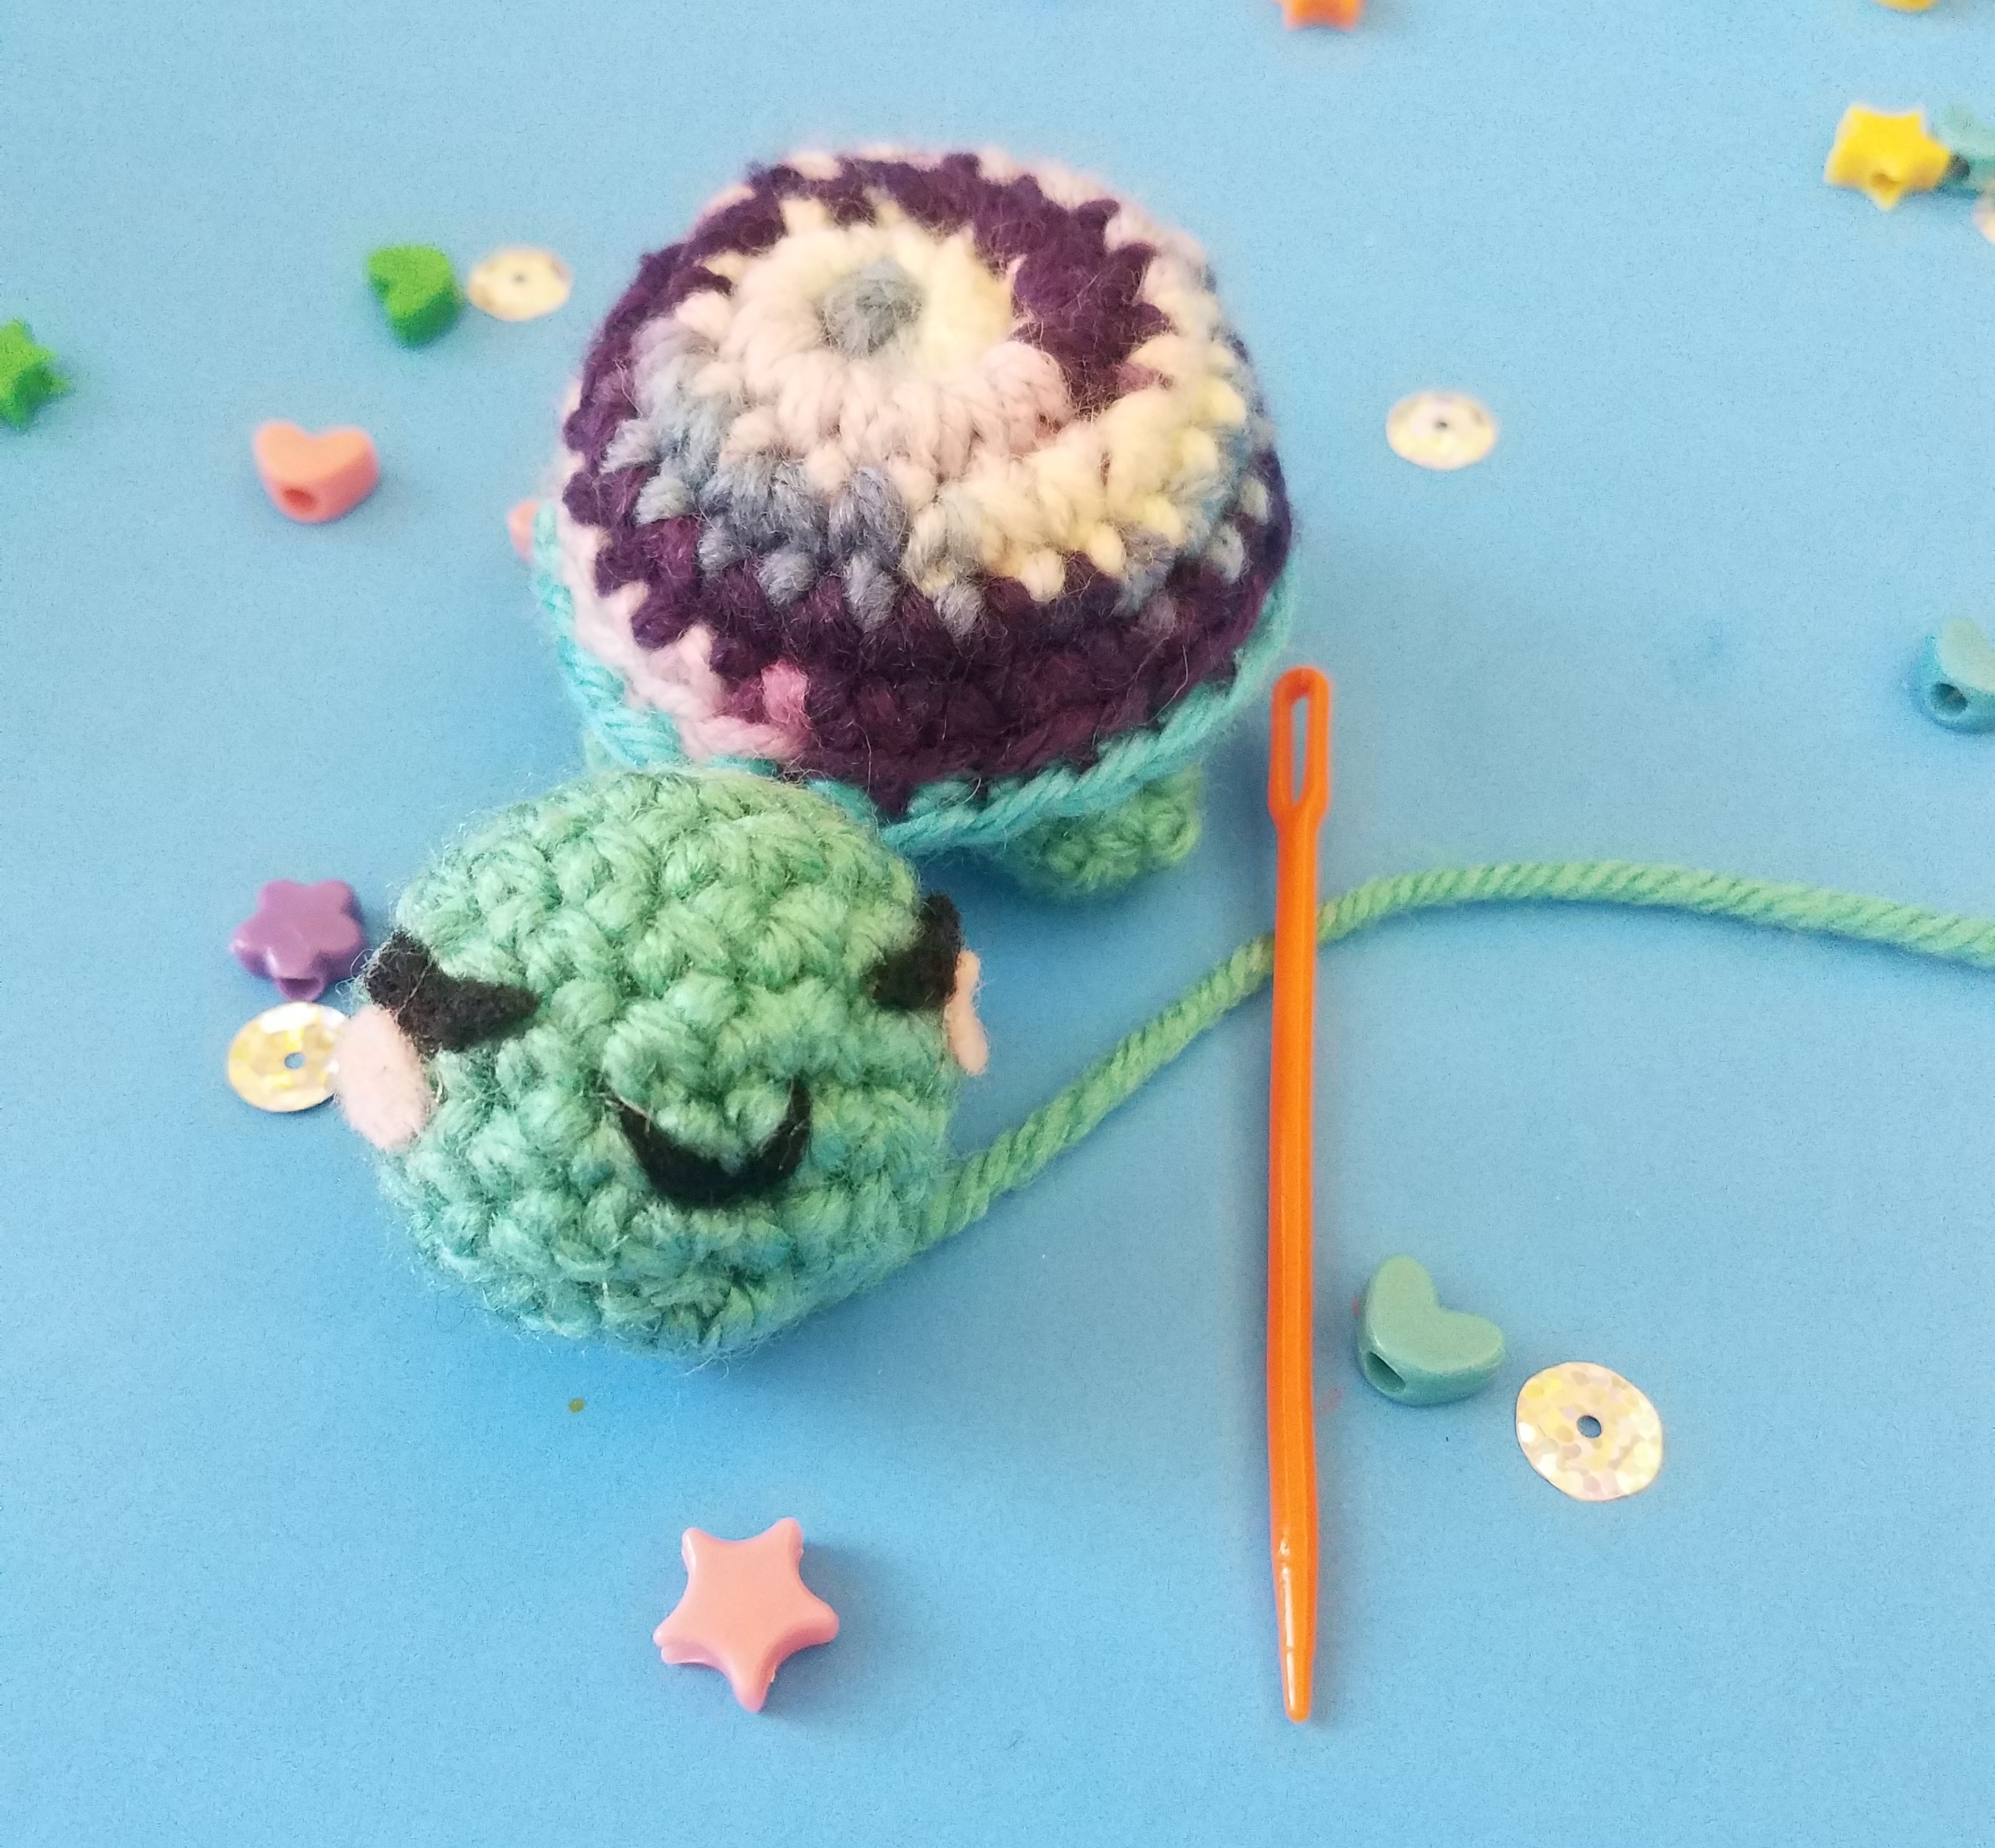
Ears (x2)
Using black yarn…
- SC 6 in MC (6)
- INC * (12)
- SC 1, INC * (18)
- SC * (18)
- SC * (18)
SS and finish off; leave a long tail for sewing.
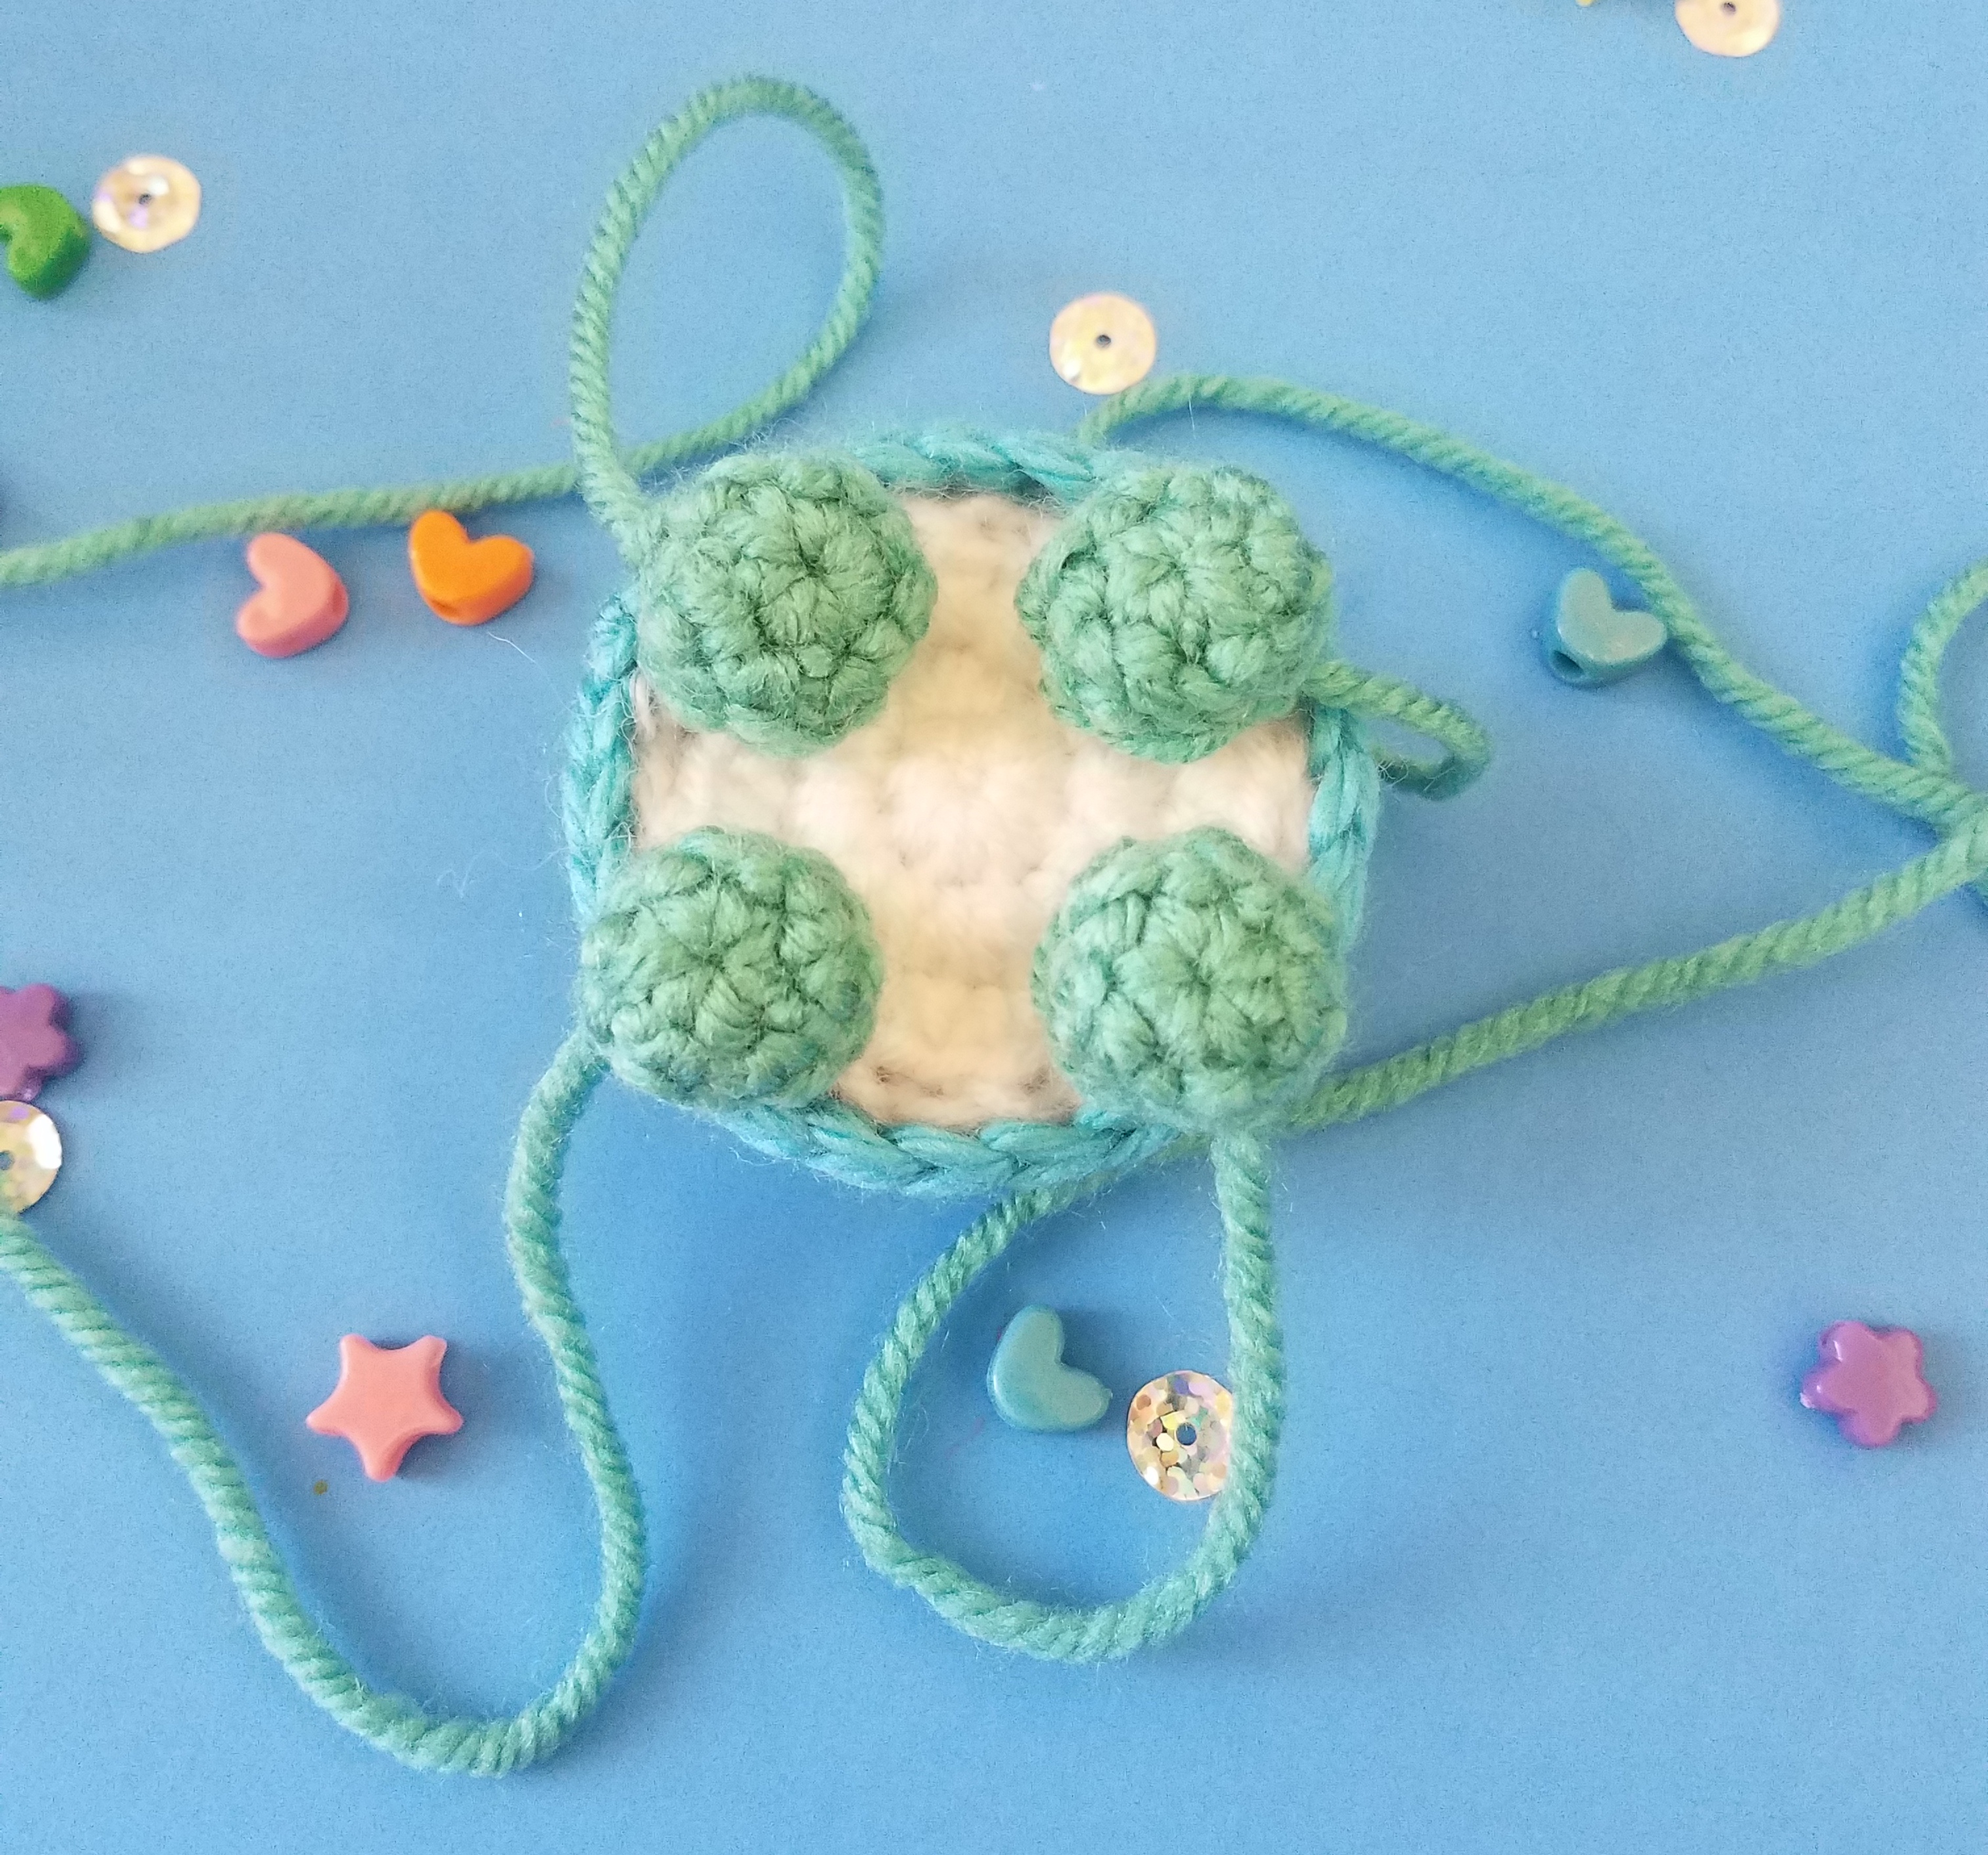
Sew the ears to the sides of the head.
Keychain
Attach a keychain ring to the top of the panda’s head.
Tassels
Using embroidery thread, make two tassels:
1 in red and 1 in gold.
There are lots of great videos on YouTube that show how to make a tassel if you don’t already know how.
After making your tassels, trim it to size, then attach it to the bottom of the panda’s head.
To attach the tassels, I added 1 jump ring to the bottom of the panda’s head, and 2 jump rings to the top of each tassel. Then I attached the tassels to the center jump ring.
And now your New Year’s Panda Keychain is complete, here’s to hoping for a great year!
If you make a New Year’s Panda Keychain, please share it with me (On my Facebook page, this blog, or my Instagram @tokyodragon.crochet)