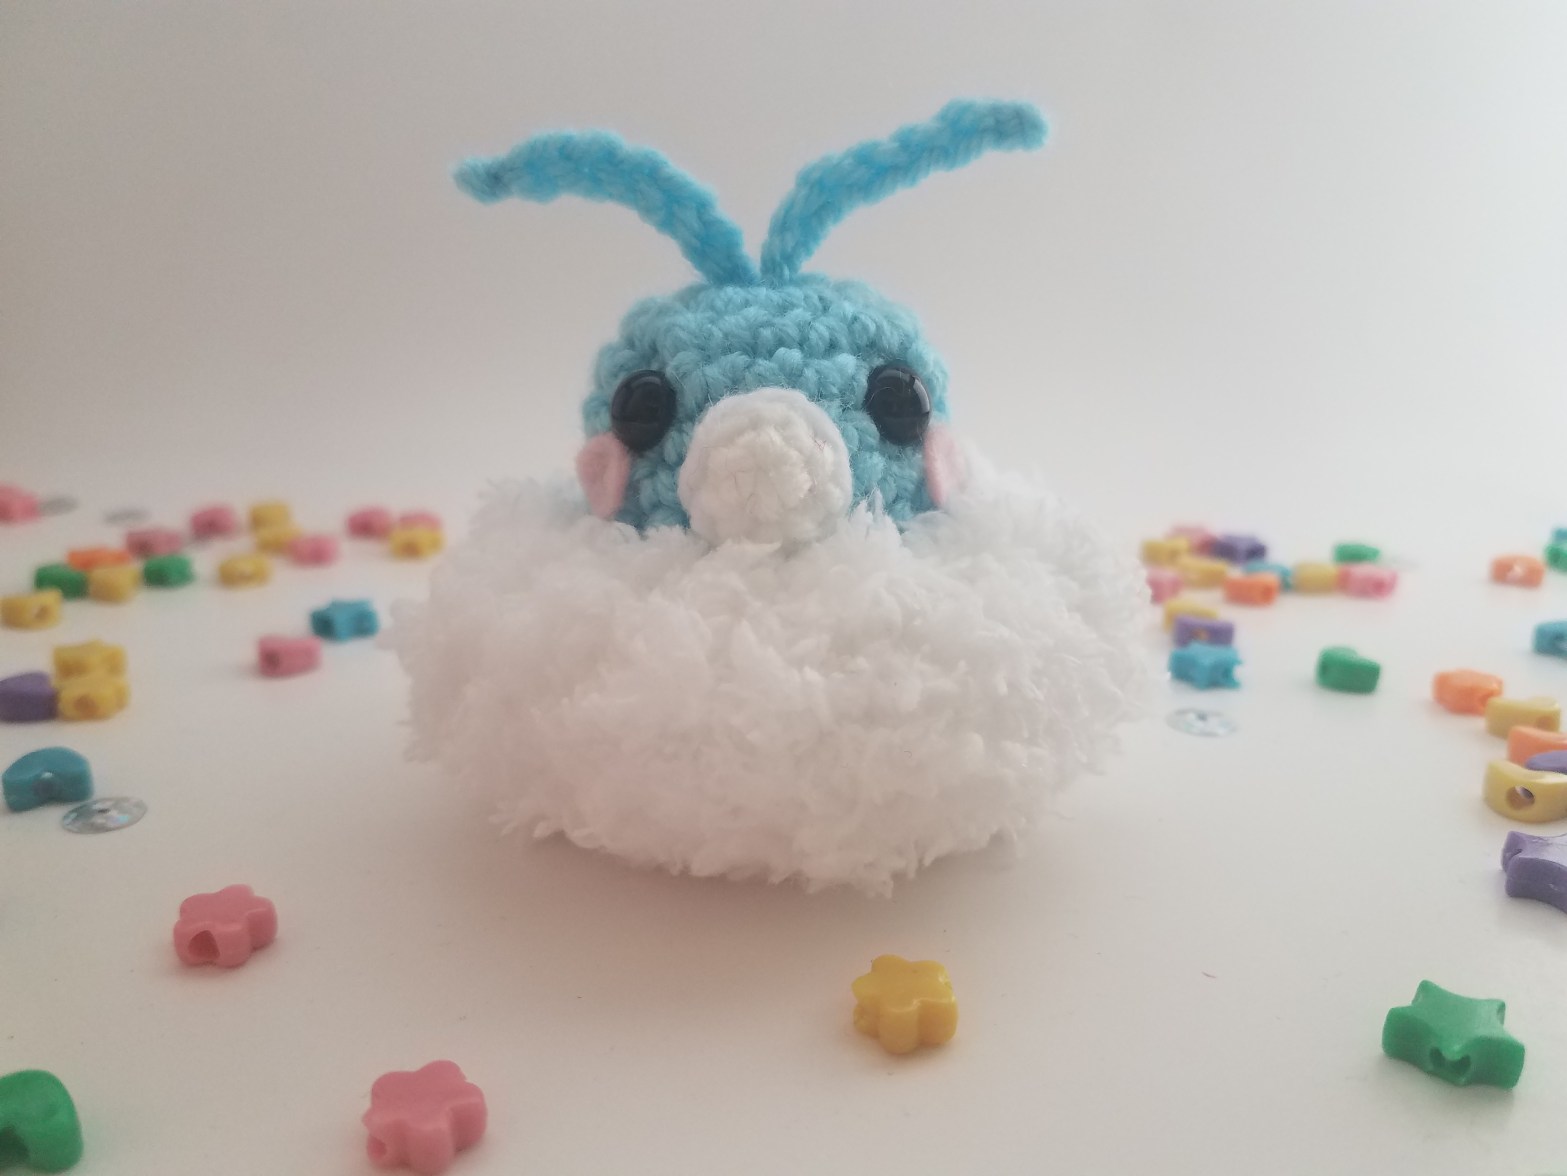
Here is a mini Altaria you can pick up on your way to catch ’em all! ❤

Mini Altaria Pattern
Materials:
- Acrylic Yarn (i.e.: Red Heart)
- Light blue yarn
- White yarn
- Bernat Pipsqueak White yarn
- Pink felt (for blush)
- 8mm safety eyes (x2)
- Crochet hook, size 4.5mm
- Darning needle
- Stuffing
- Hot glue gun (for attaching the felt)
Abbreviations:
*Crochet terms are US terms
- MC = magic circle
- SC = single crochet
- INC = increase
- DEC = decrease
- SS = slip stitch
- CH = chain
- * = repeat around
Main Body
- Using Bernat Pipsqueak white yarn…
- SC 8 in MC (8)
- INC * (16)
- SC 1, INC * (24)
- SC 2, INC * (32)
- SC * (32)
- SC * (32)
- SC * (32)
- SC 2, DEC * (24)
- SC 1, DEC * (16)
- DEC * (8)
- Finish off, leave a short tail to weave in
- Stuff the body lightly so it has some room to “squish”
Head:
- Using light blue yarn…
- SC 8 in MC (8)
- INC * (16)
- SC 3, INC * (20)
- SC * (20)
- SC * (20)
- SC * (20)
- SC * (20)
- Finish off, leaving a long tail for sewing
- Add the 8mm eyes between Round 4 & Round 5, about 4-5 stitches apart
- Stuff the head
Beak
- Using white yarn…
- SC 4 in MC (4)
- SC * (4)
- Finish off and leave a long tail for sewing
Antennas (x2)
- Using light blue yarn…
- CH 7
- Finish off and leave a long tail for sewing
- Weave the tail to the starting side so that both the end tail and beginning tail are on the same side
Assembly:
Now it’s time to assemble all the pieces together!
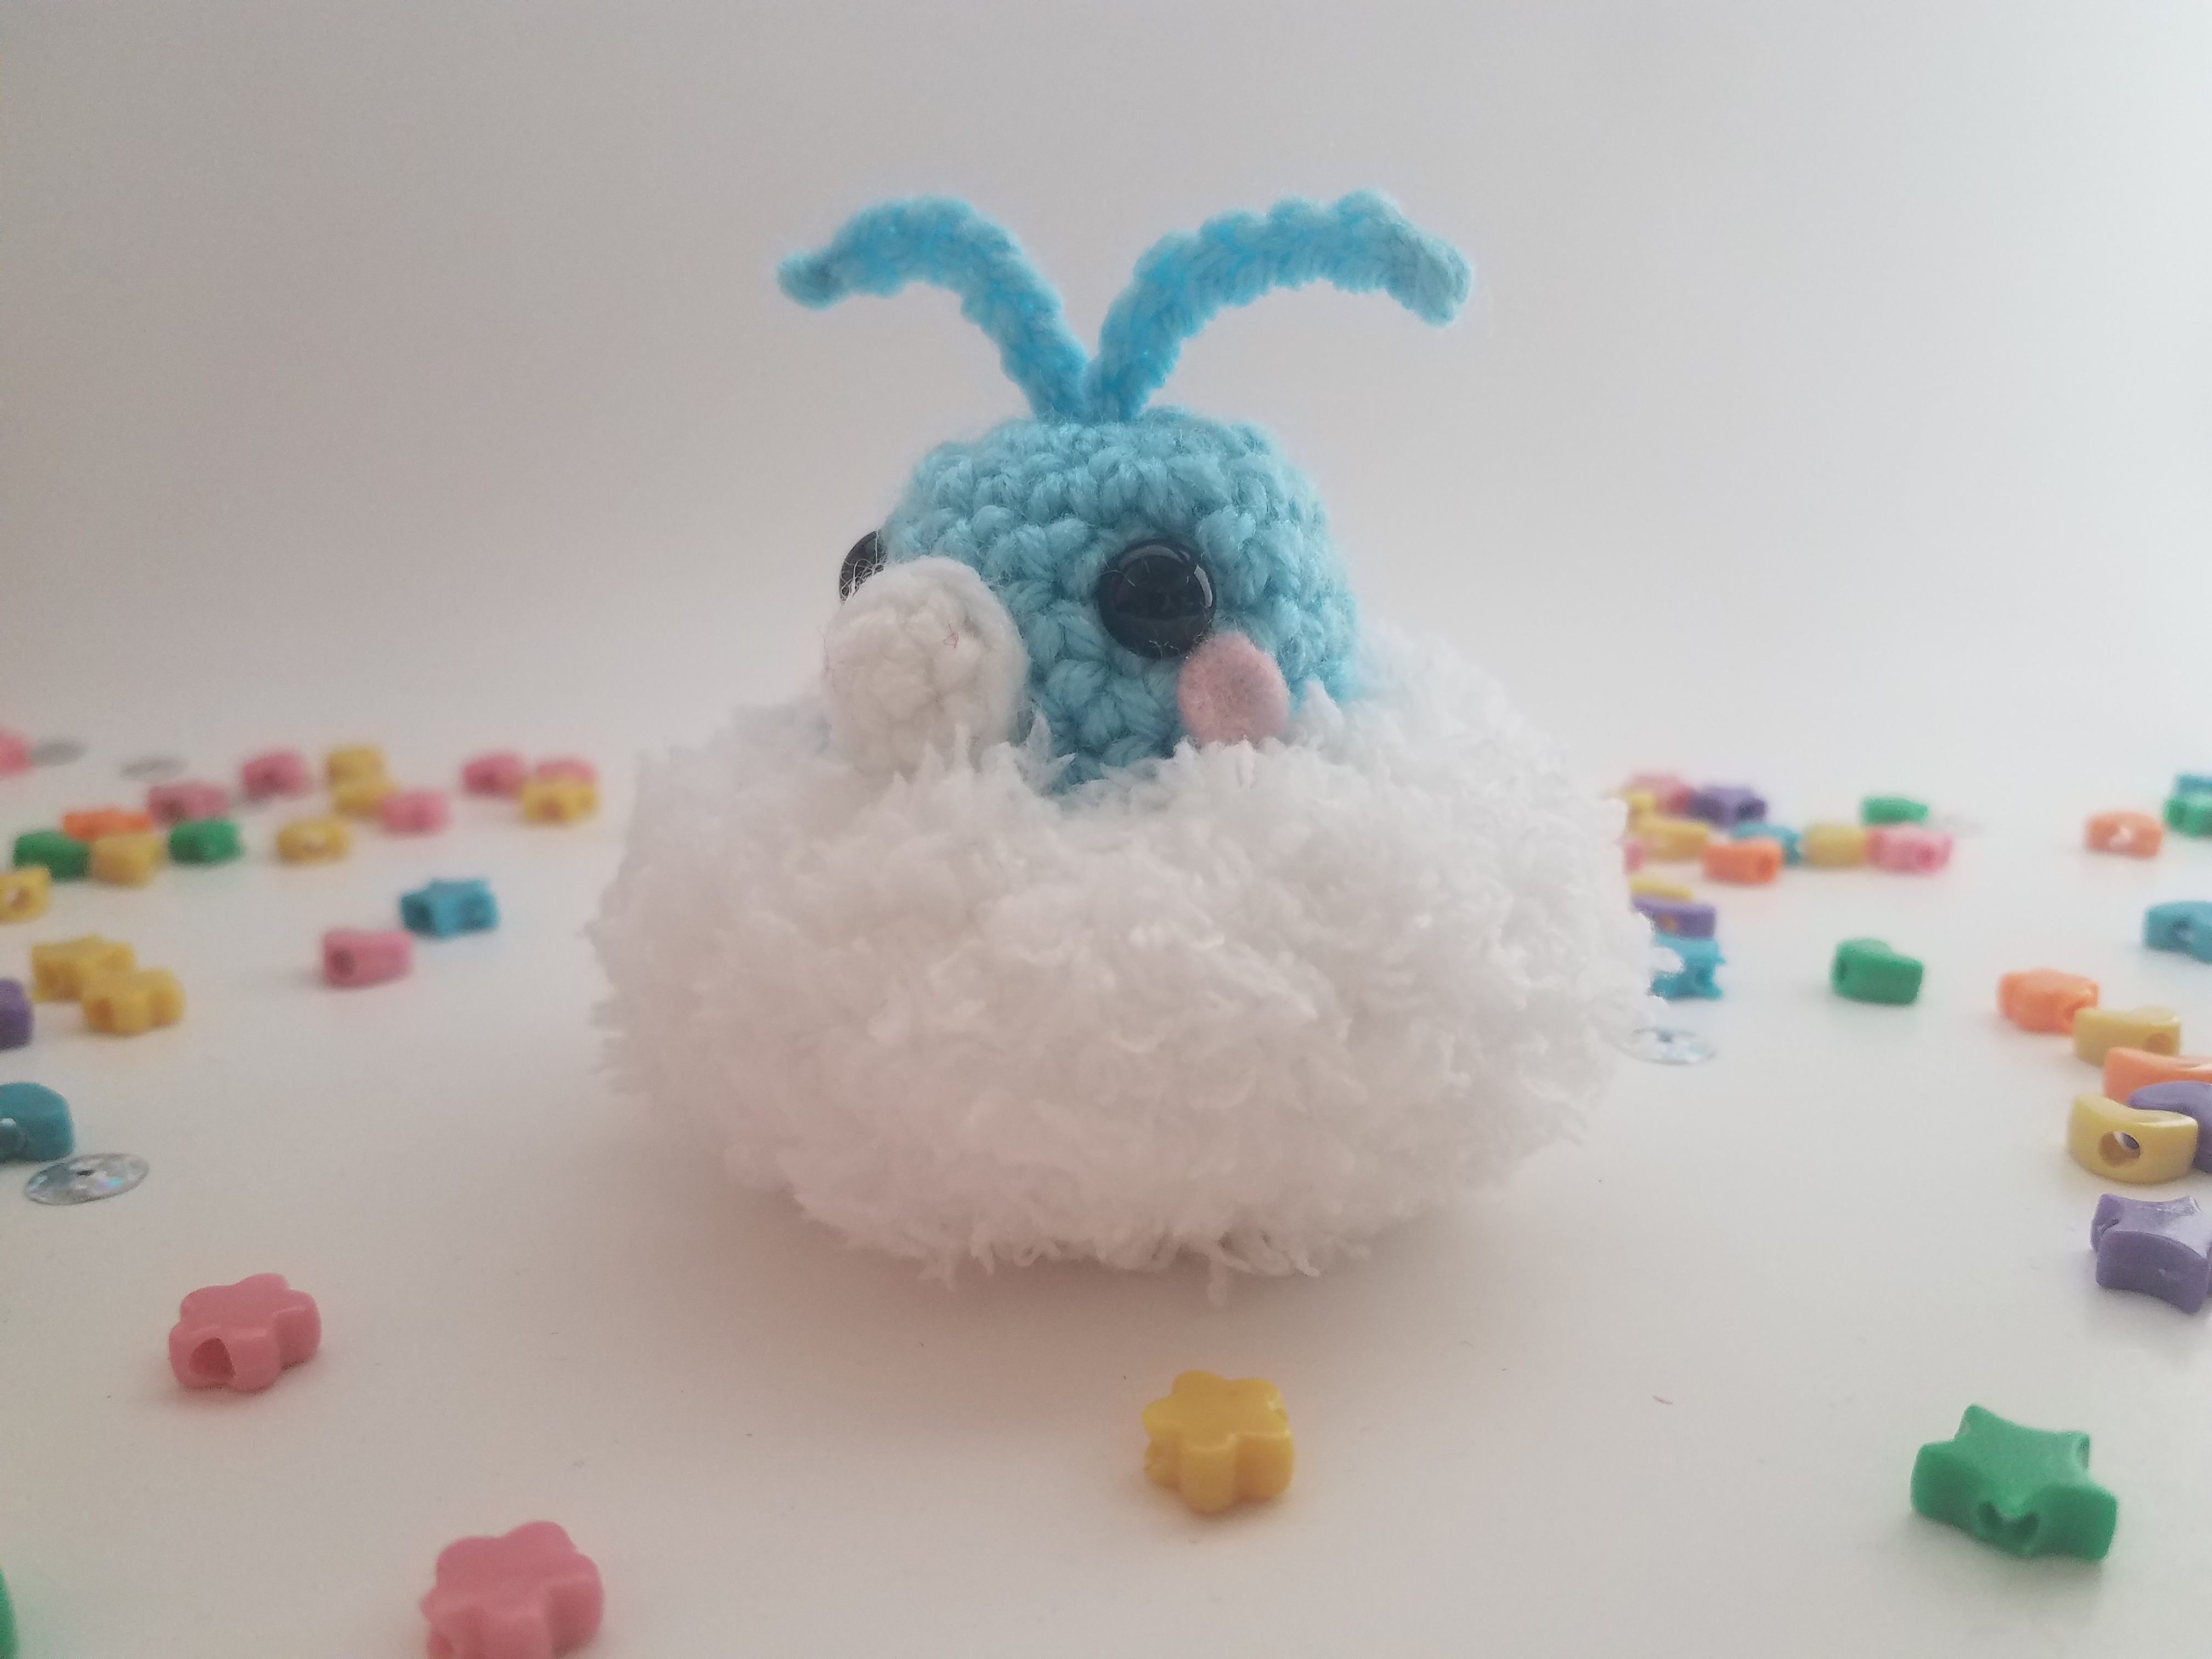
- Cut out two small circles in pink felt, then attach them just under the eyes using hot glue
- Sew the beak to the head
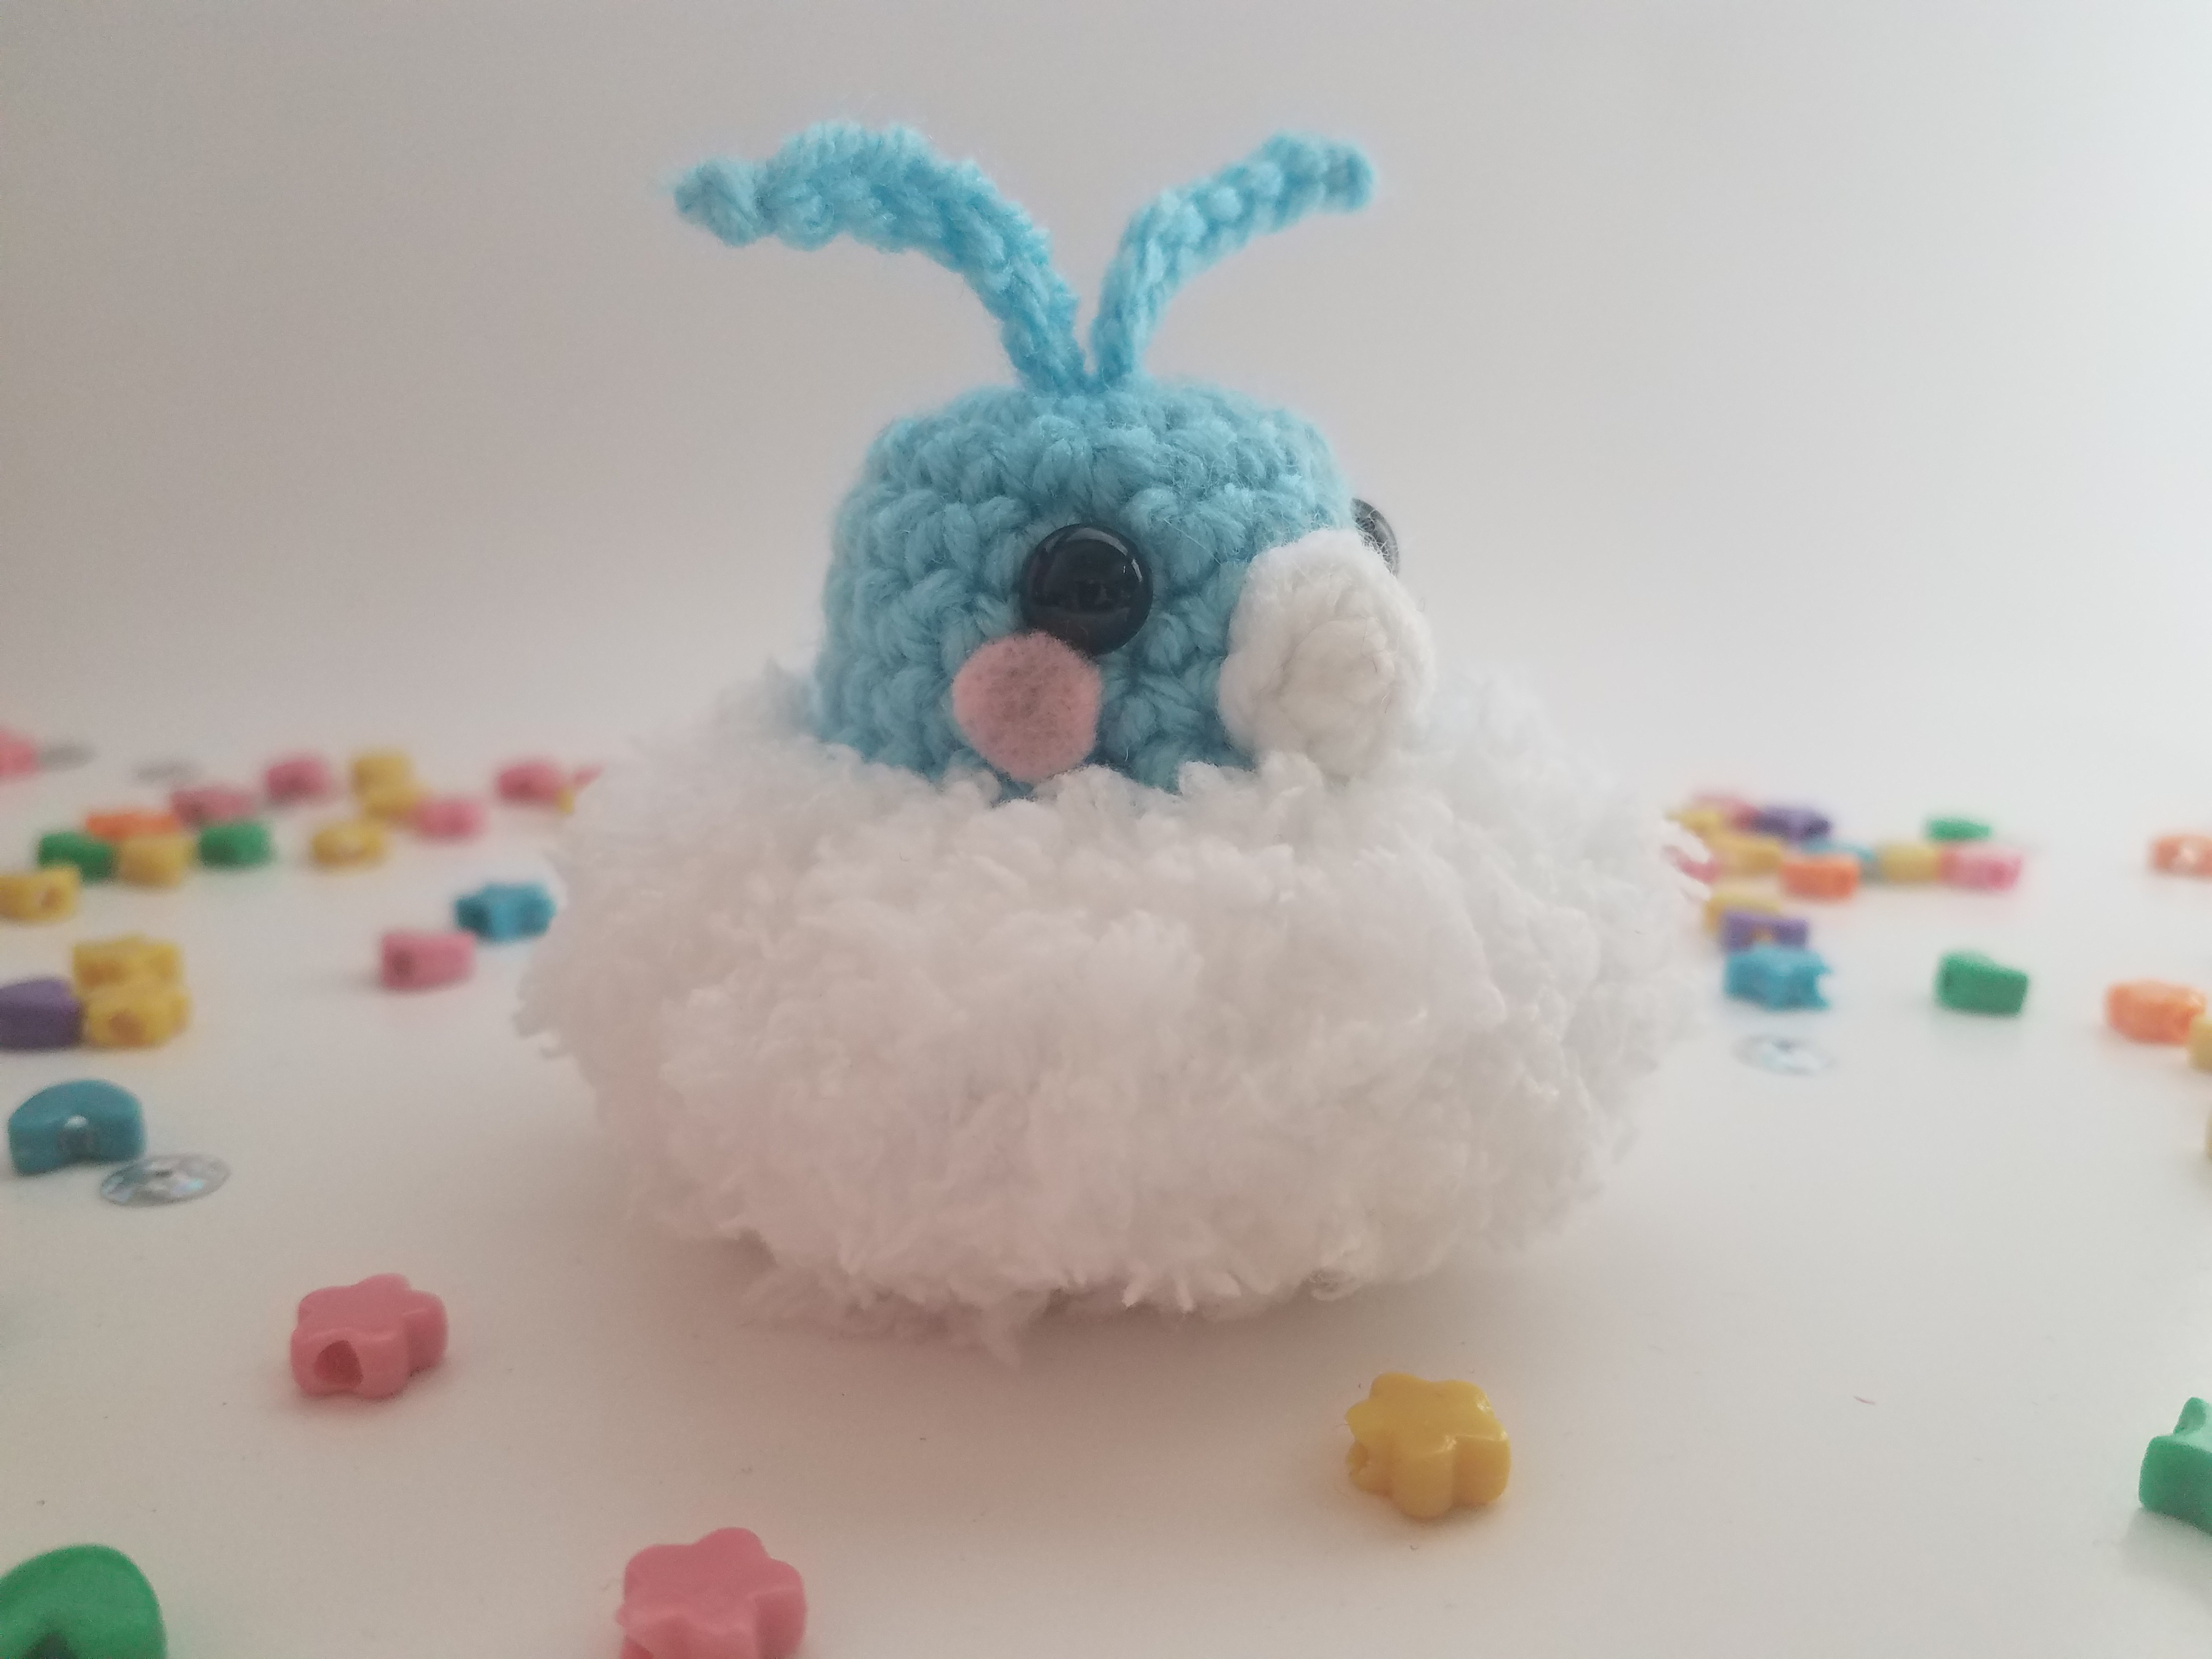
- Attach the head to the fluffy body by sewing or using hot glue (I found that using hot glue was easier to get the look I was going for, where the head looks “squished” into the body)
- Sew the antennas onto the top of the head (use / weave in both tails)
And now your mini Altaria is finished! I hope you enjoy this free pattern, and if you make one please share it with me! (On my Facebook page, this blog, or my Instagram @tokyodragon.crochet)
